Easy & Free Remote Access For Home Assistant!
I have covered quite a few different remote access solutions for Home Assistant, either through port forwarding or setting up a VPN. But recently, it has emerged there is another way to do it...via a Cloudflare tunnel! It's easy to get started and best of all? It's free!


I have covered quite a few different remote access solutions for Home assistant in the past, either through port forwarding or setting up VPNs, but recently there has emerged another way to do it via a Cloudflare tunnel - let’s show you how to set that up with a free domain name and explain why you may do this over some of those other methods we’ve talked about in the past!
Video
So, in the past we’ve looked at a method that involves getting a free domain on DuckDNS, an SSL certificate from Let's Encrypt and port forwarding on your router straight to Home Assistant to open up remote access and gives you a very convenient way of accessing your HA. However, this isn’t the most secure way and it doesn’t work if you have a cg or carrier grade nat. We’ve also looked at methods that create a VPN through WireGuard or Tailscale, which are a bit more secure than a straight port forward and they do work with a CGnat, but do have their drawbacks like not being able to use them with Google Home or Amazon's Alexa.
Introducing Cloudflare
That is where this service comes in: it gives you the convenience of remote access from anywhere in the world without having to connect to a VPN or anything like that, whilst also being more secure than port forwarding. The real bonus is that it works if you have a CGN at and it can also be used with services like Google Home or Amazon's Alexa - basically it has all of the good points of each of the other methods, with none of the bad points! Also, like those other methods, this one is also 100% free too!
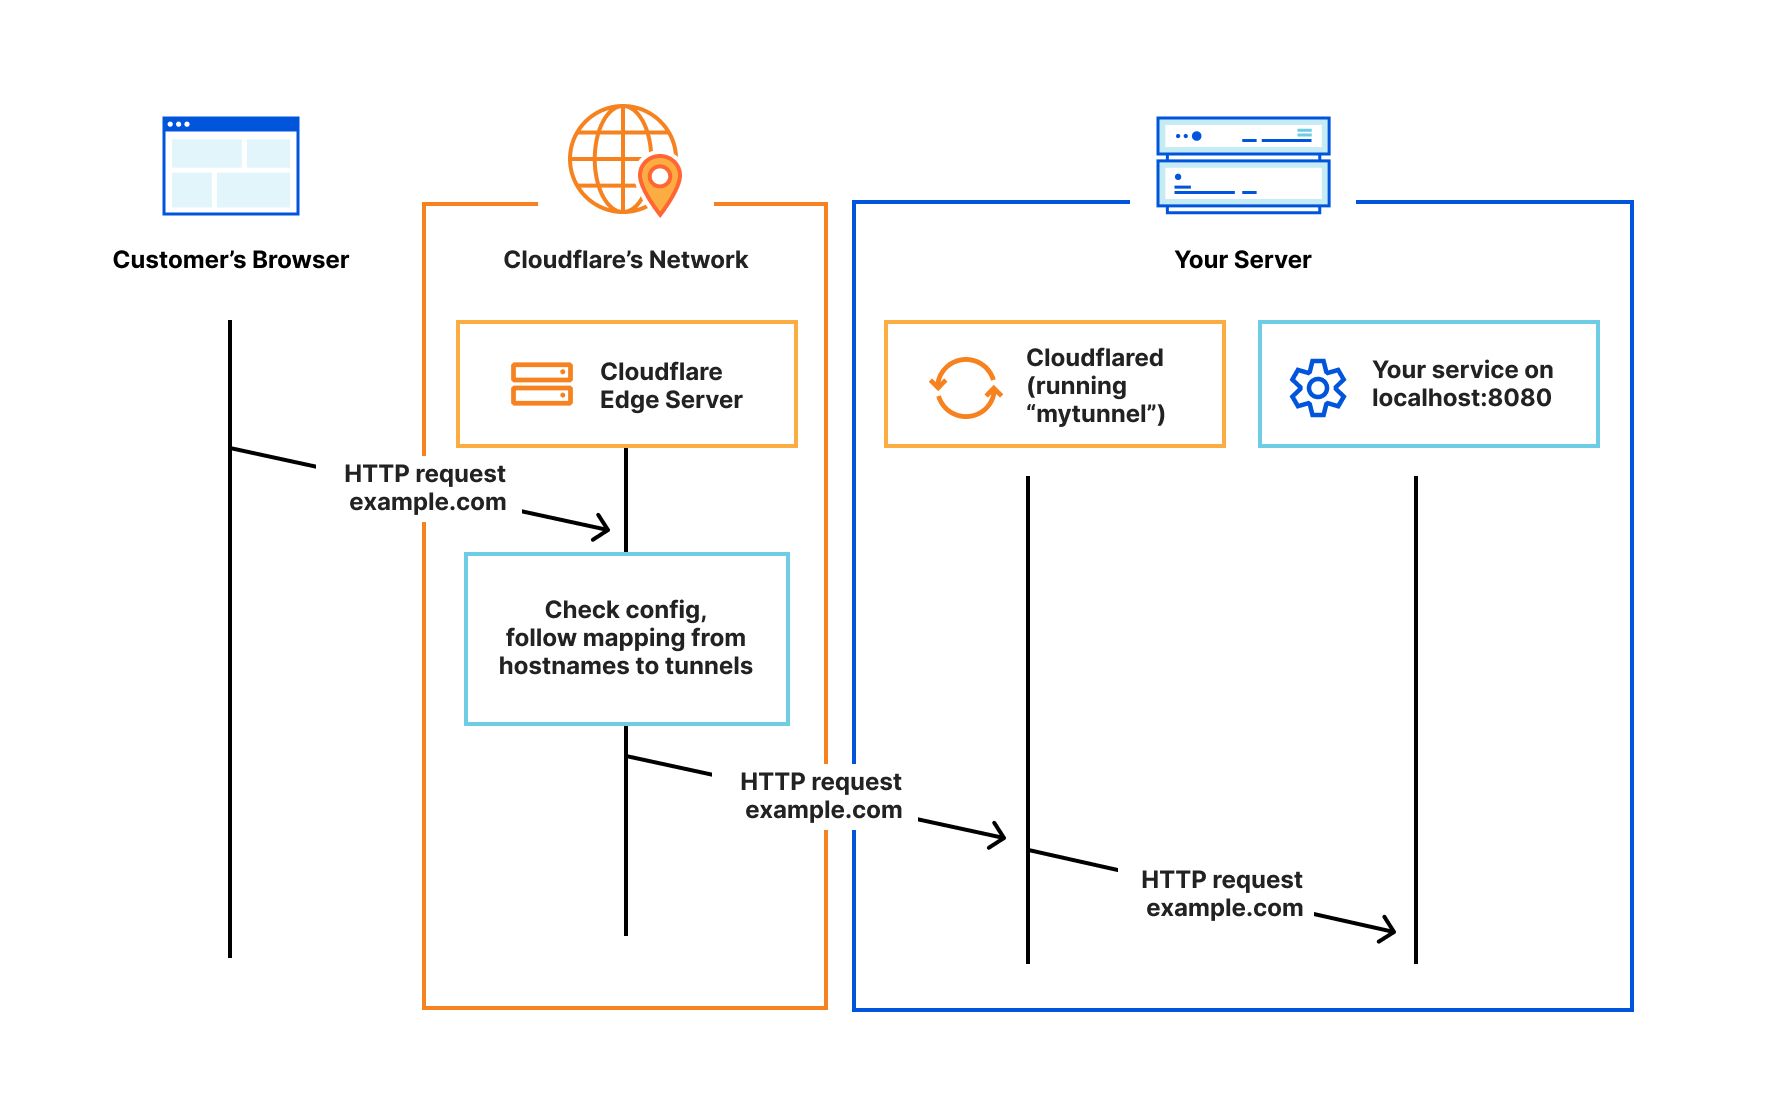
This new service is from Cloudflare (who make a ton of great things, by the way and I do really like Cloudflare as a company). Essentially, Cloudflare create a small lightweight tunnel from your Home Assistant server, to Cloudflare and then any traffic that wants to access your Home Assistant, goes through Cloudflare first, rather than through a port forward in your router.
I would like to mention that the easiest and quickest way to get started with Home Assistant is to use Nabu Casa - it is low cost, directly helps support the Home Assistant project and is very easy to use - if you just want something to work then that’s the best way to go. However, I do understand that not everyone has the spare money, or perhaps prefers the DIY route which is why we talk about these alternative methods.
The Cloudflare tunnel is very similar to the way Nabu Casa works. In fact, if I had to guess I would guess it is a very similar, if not the same, technology that they use. Again, I’m just guessing, I have no idea or insight into how they do it, but the end result is very similar.
Creating A Domain Name
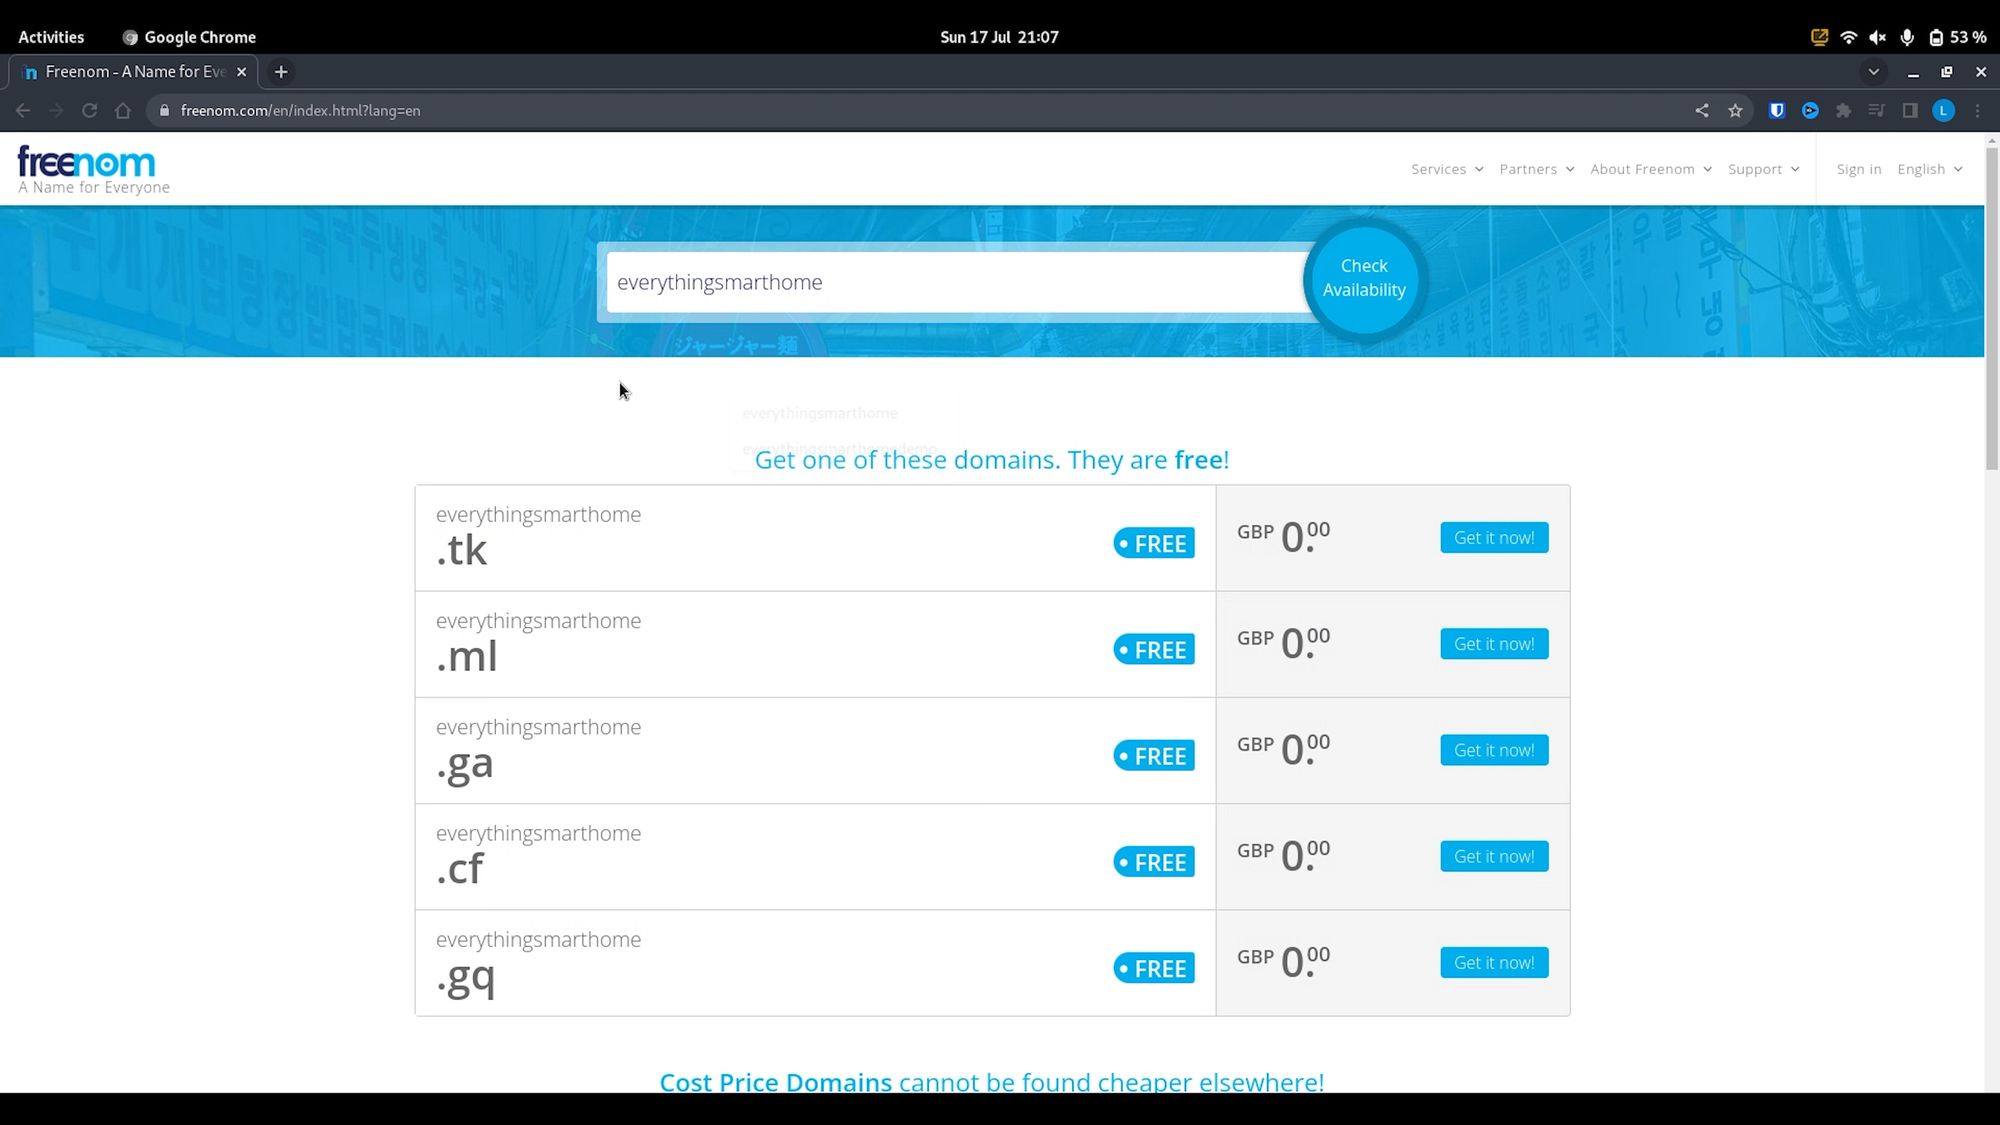
First we need to get ourselves a domain name and there are a few ways to do this, but we are going to get a free one from Freenom. Now, because we are going to be using a free domain, it does mean that our choices for domain names are more limited and less likely to get anything fancy. But, if you do want to use your own domain name then they can be had for not much very much money at all and will give you a nicer URL.
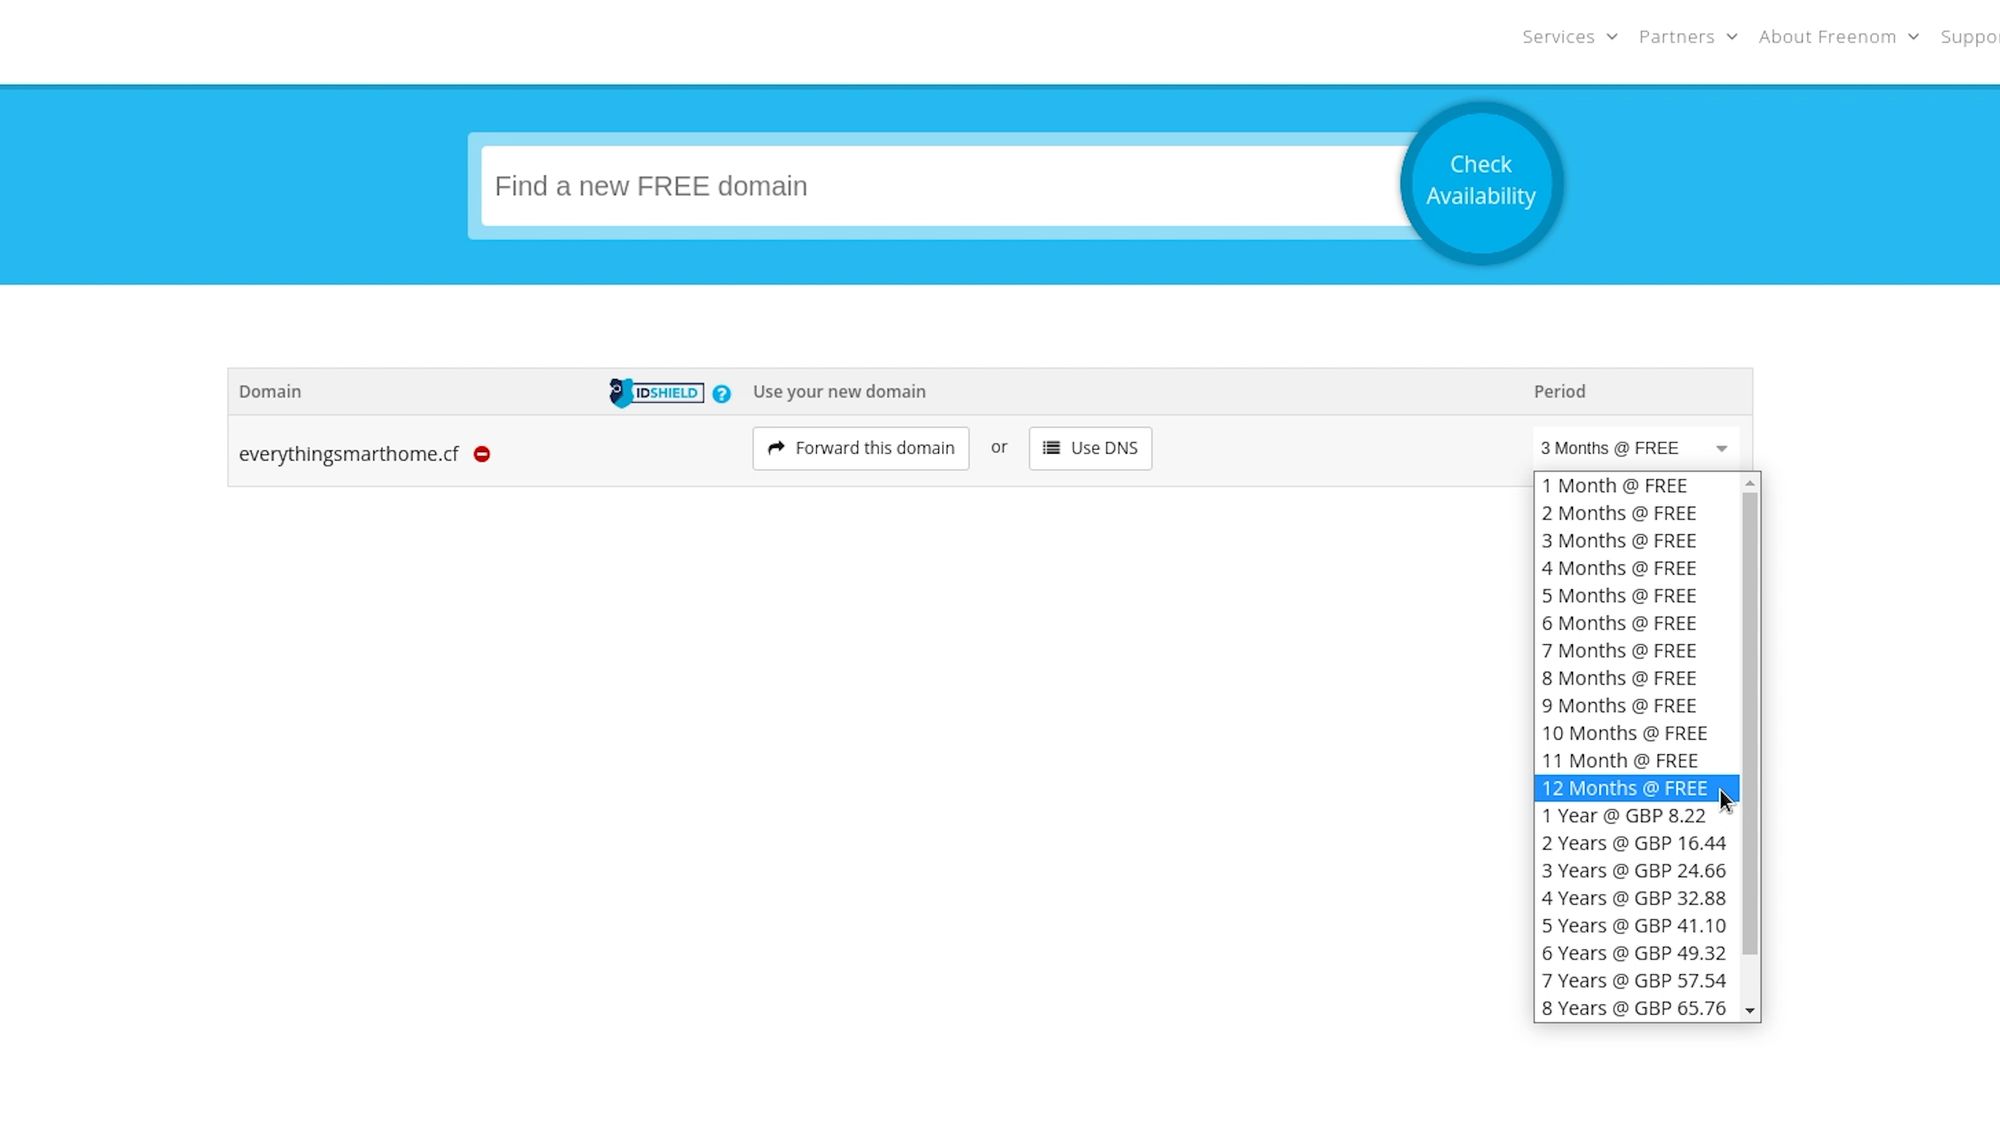
On Freenom, you will need to quickly create an account and then search for a domain you want to use and it will return the options available for you to select.
*Note that there is currently a bug on the site where when you select it, it will tell you it's not available*
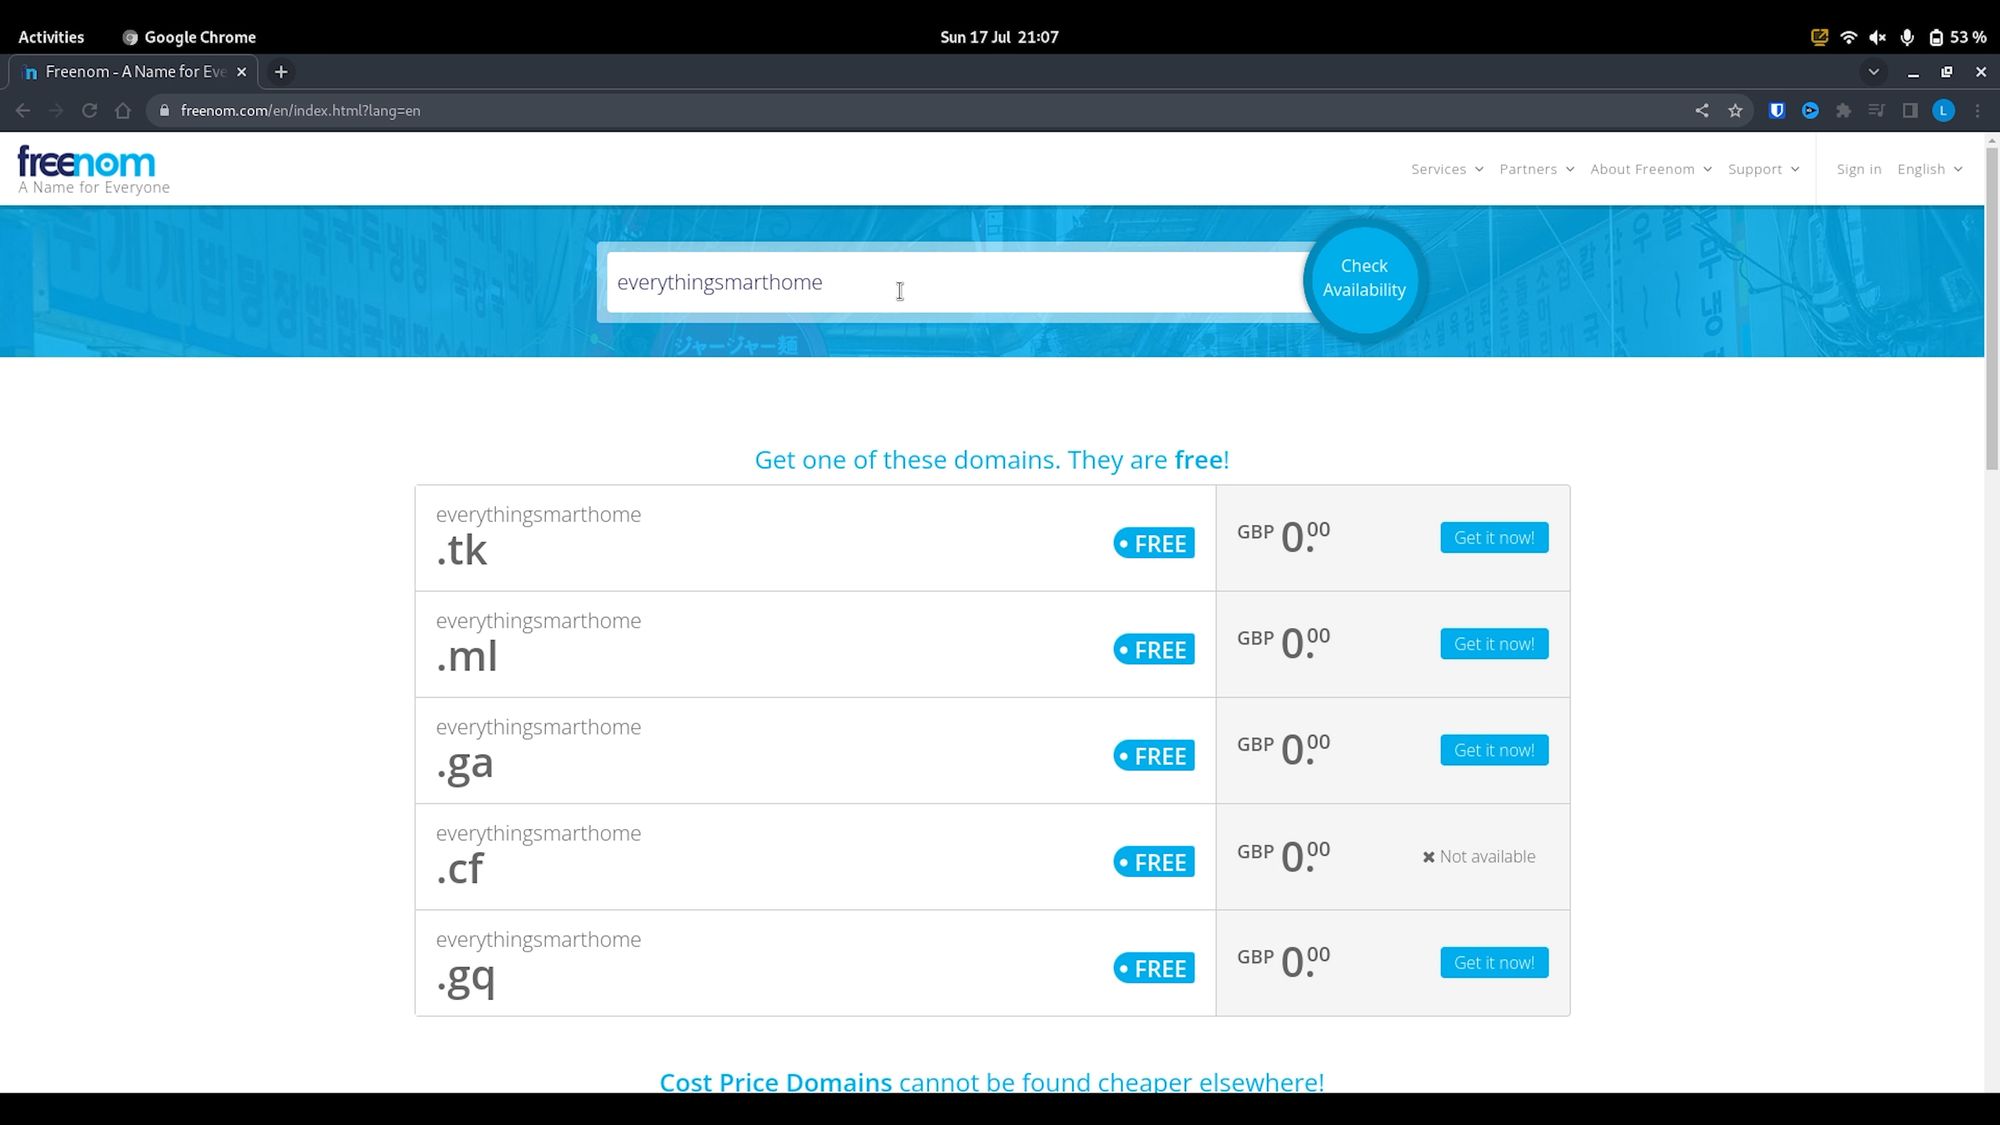
So, to get around this, type in the full domain of the one you want back into the search and you should be able to proceed to cart.
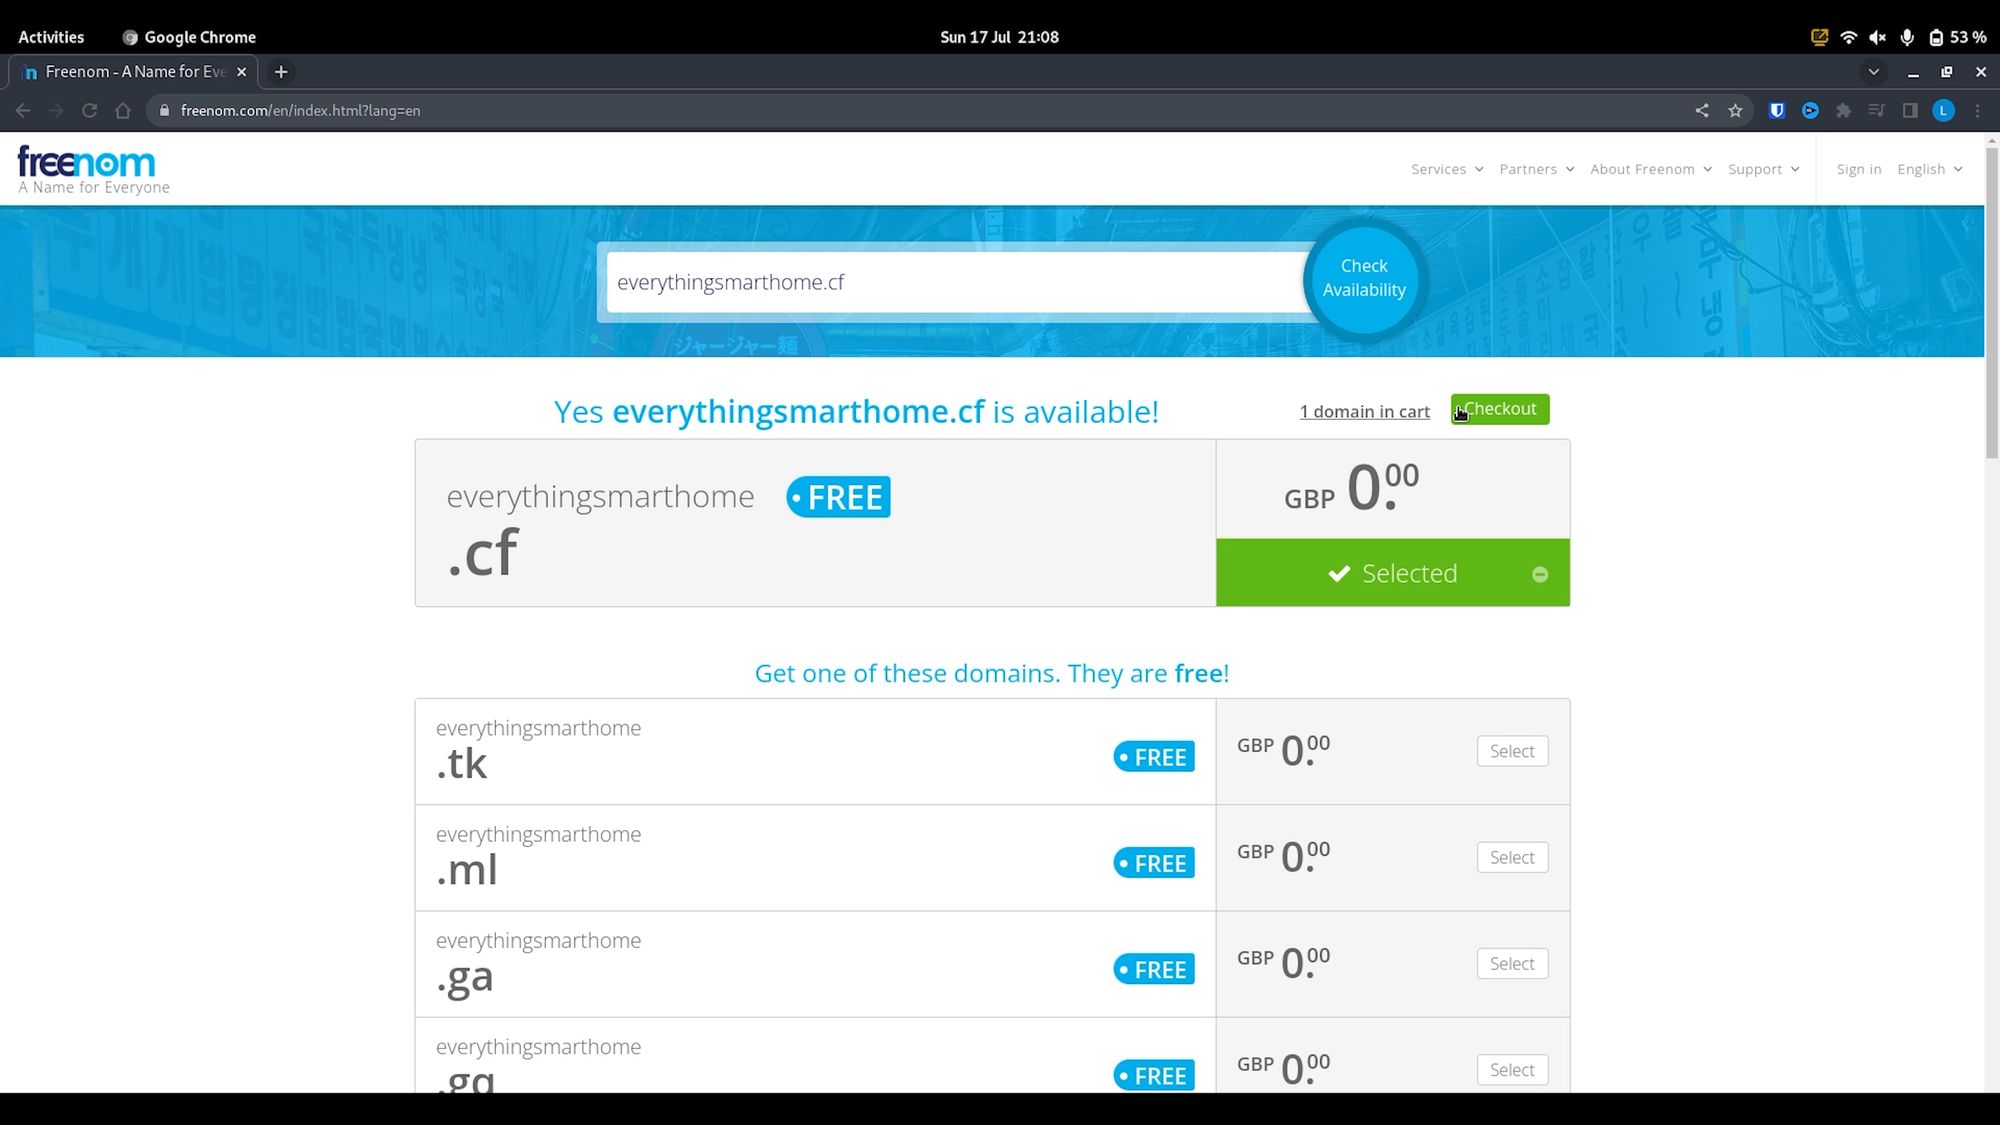
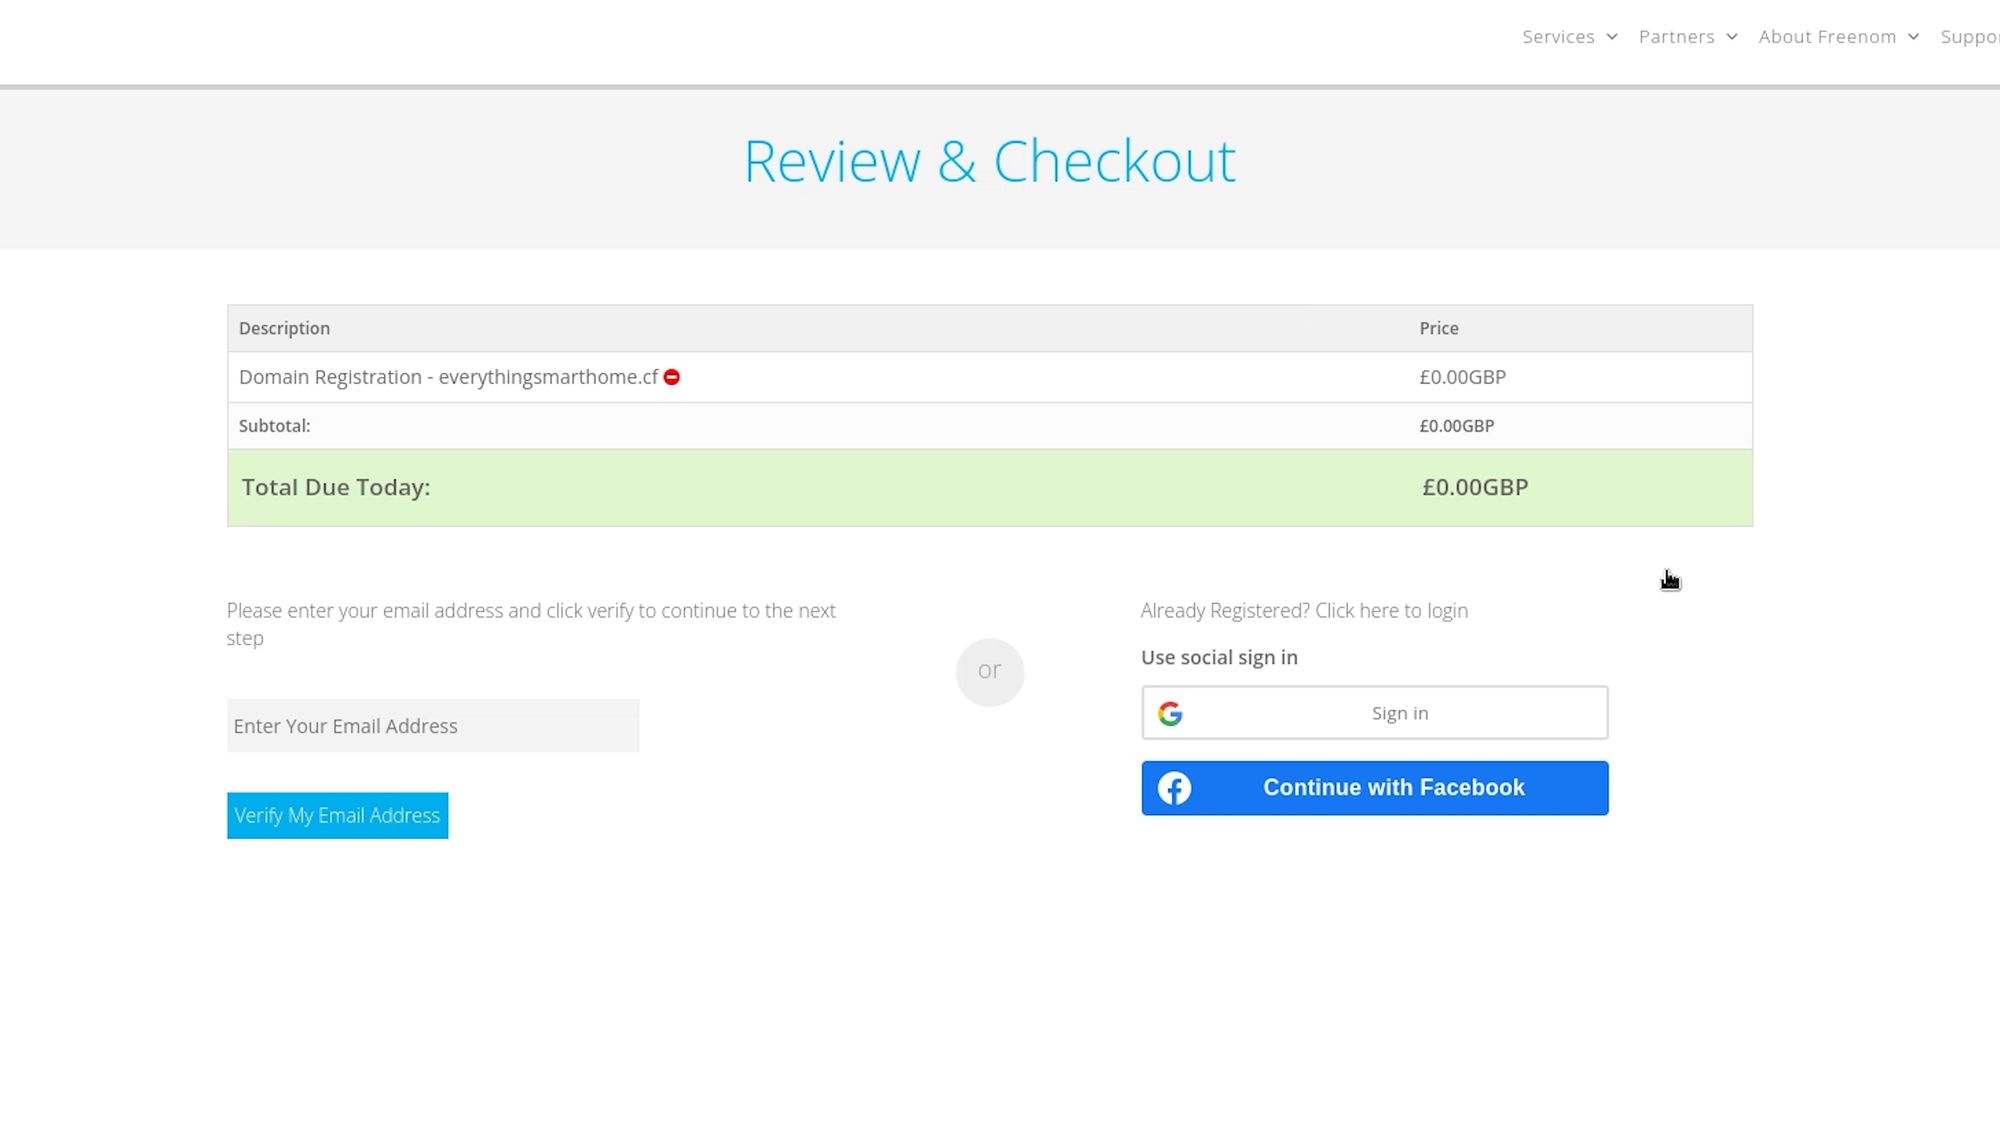
On the next page, make sure to select 12 months from the drop instead of the default 3 months. Then continue to proceed through the rest of the pages and confirm your identity, and verify your address, etc.
Creating A Cloudflare Account
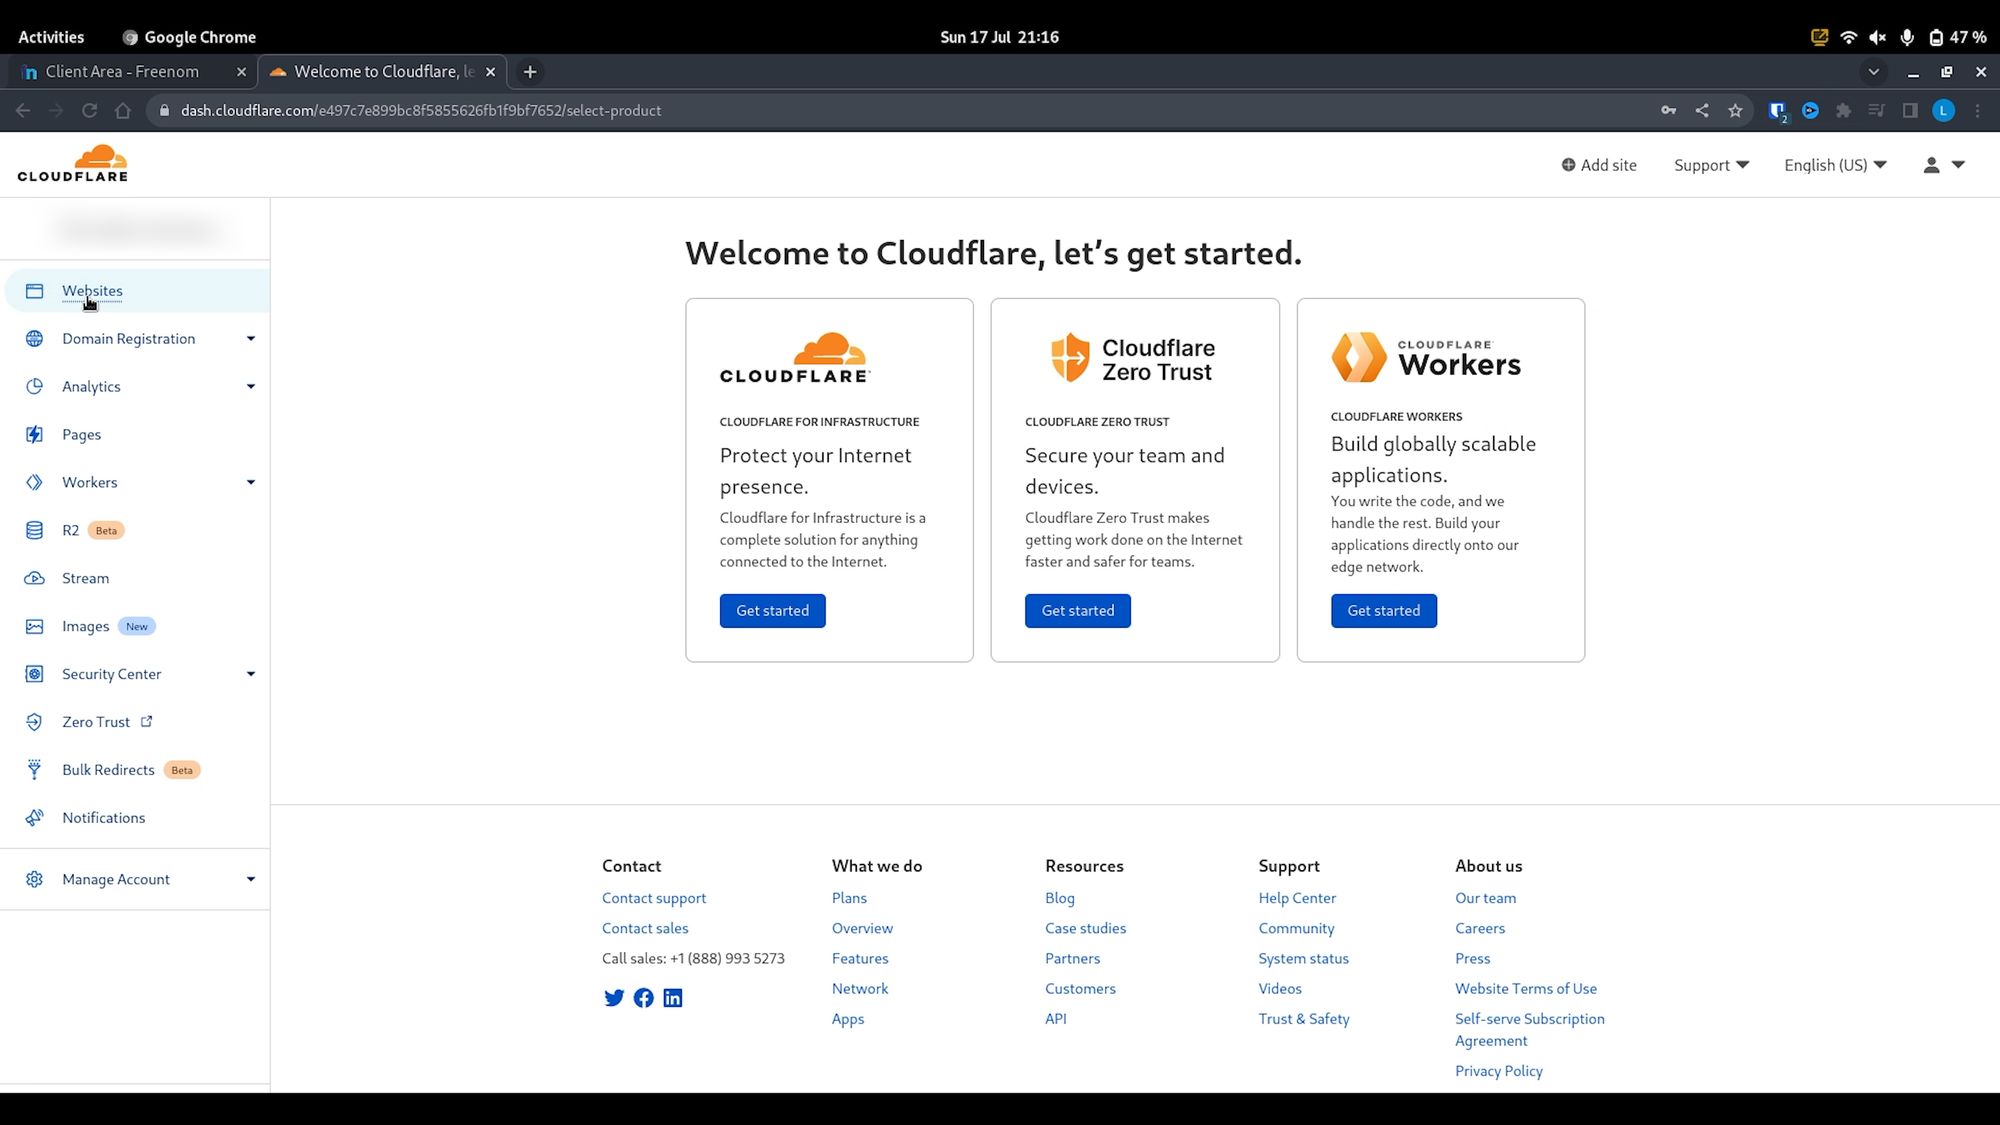
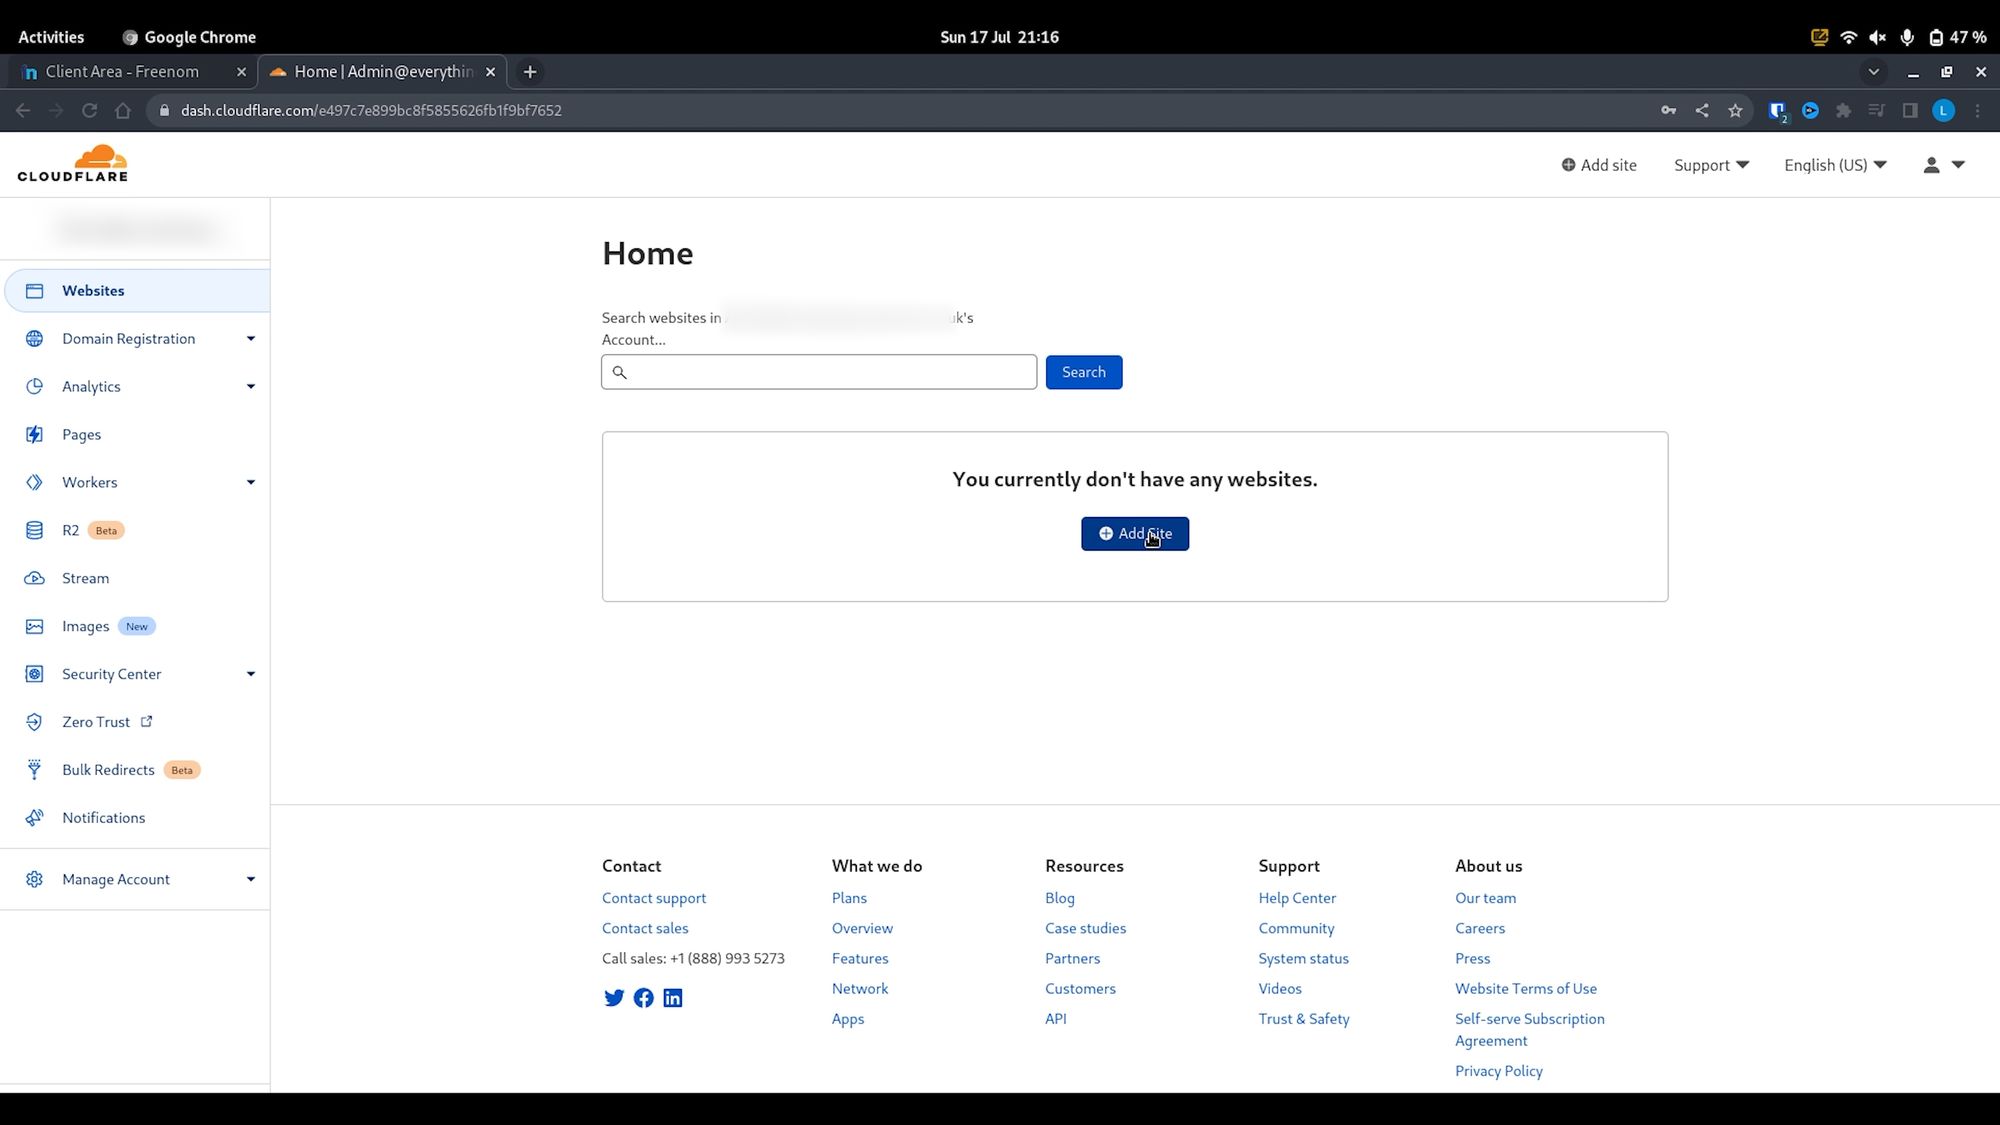
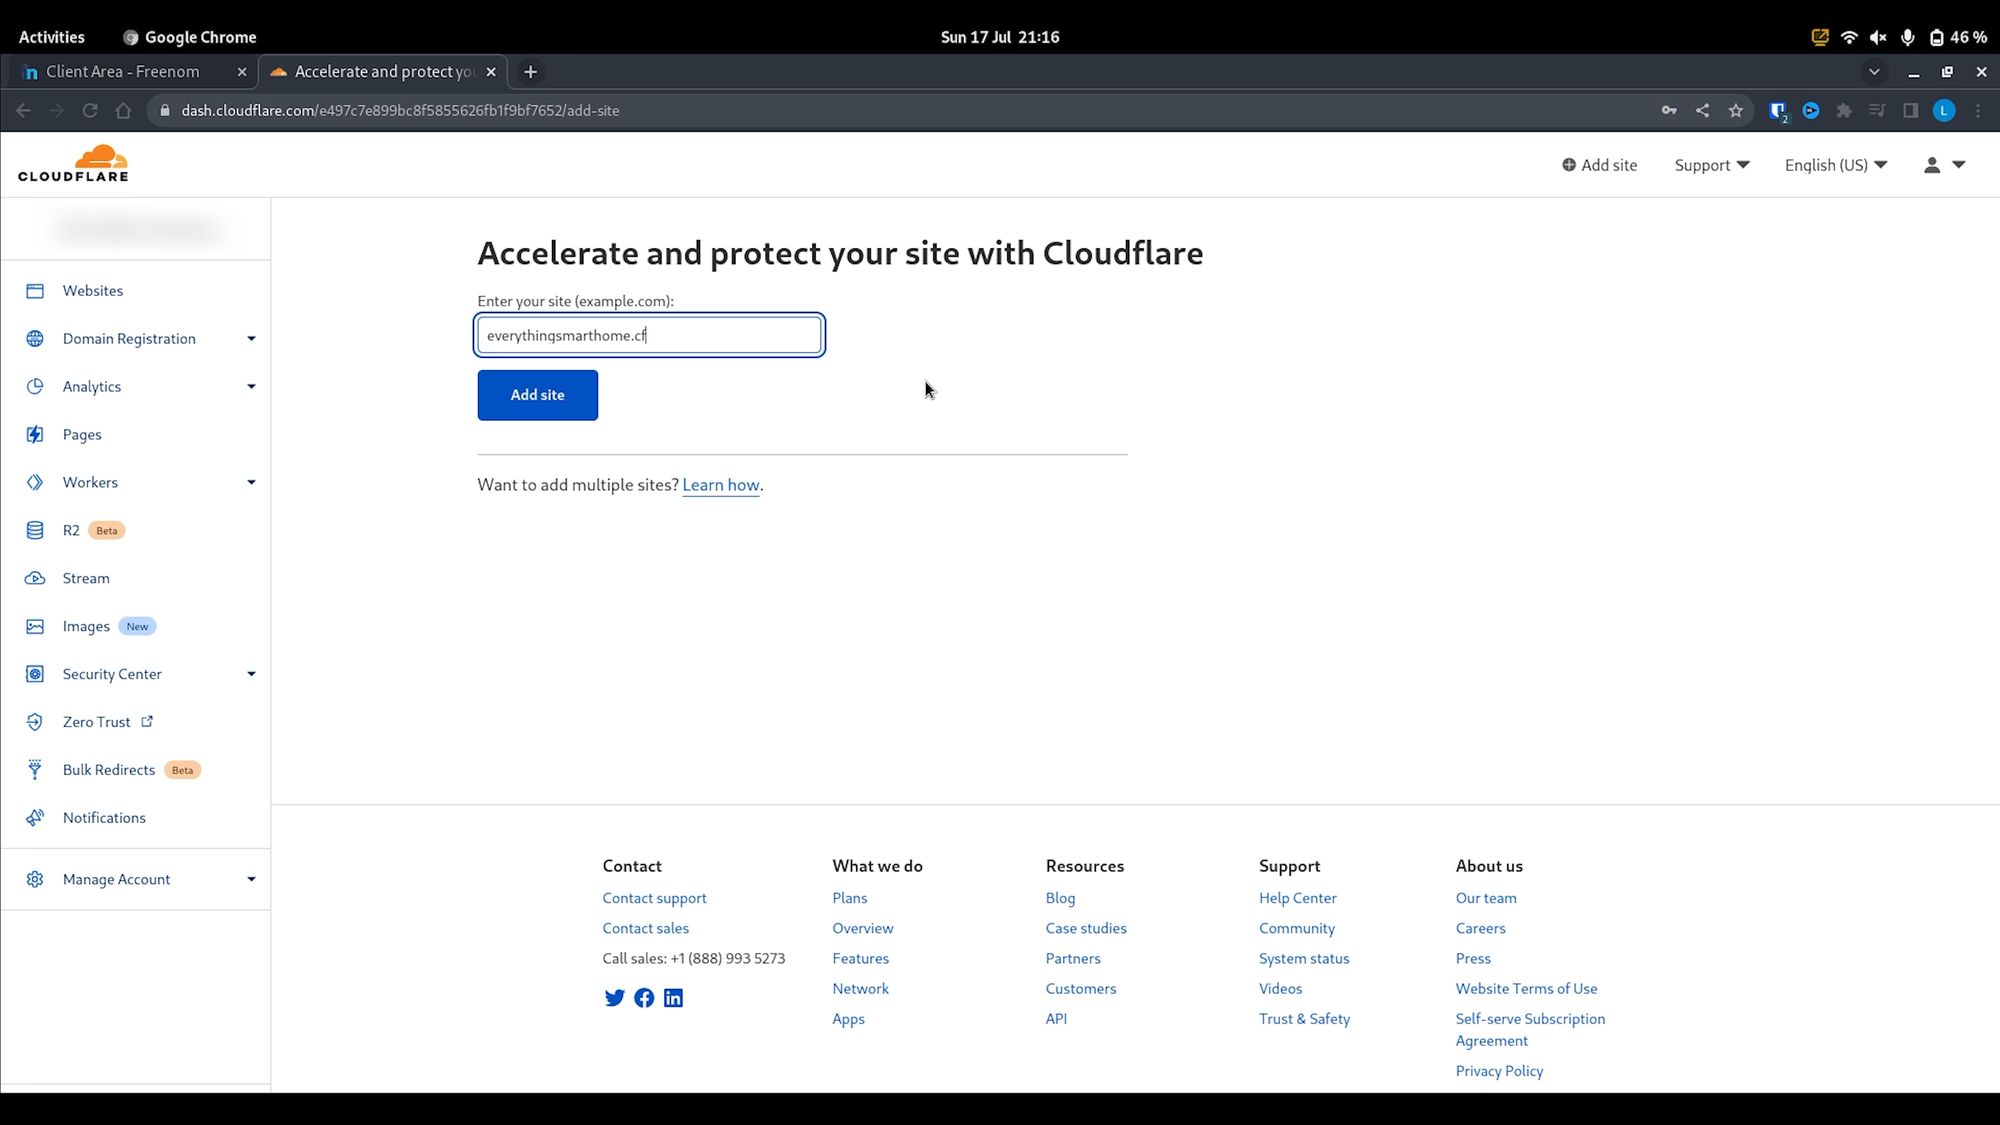
Once you have the free domain name, head over to Cloudflare and create a new Cloudflare account. Then click on the websites page in the top left, add a new website and then enter your Freenom domain in the box - make sure you get this correct.
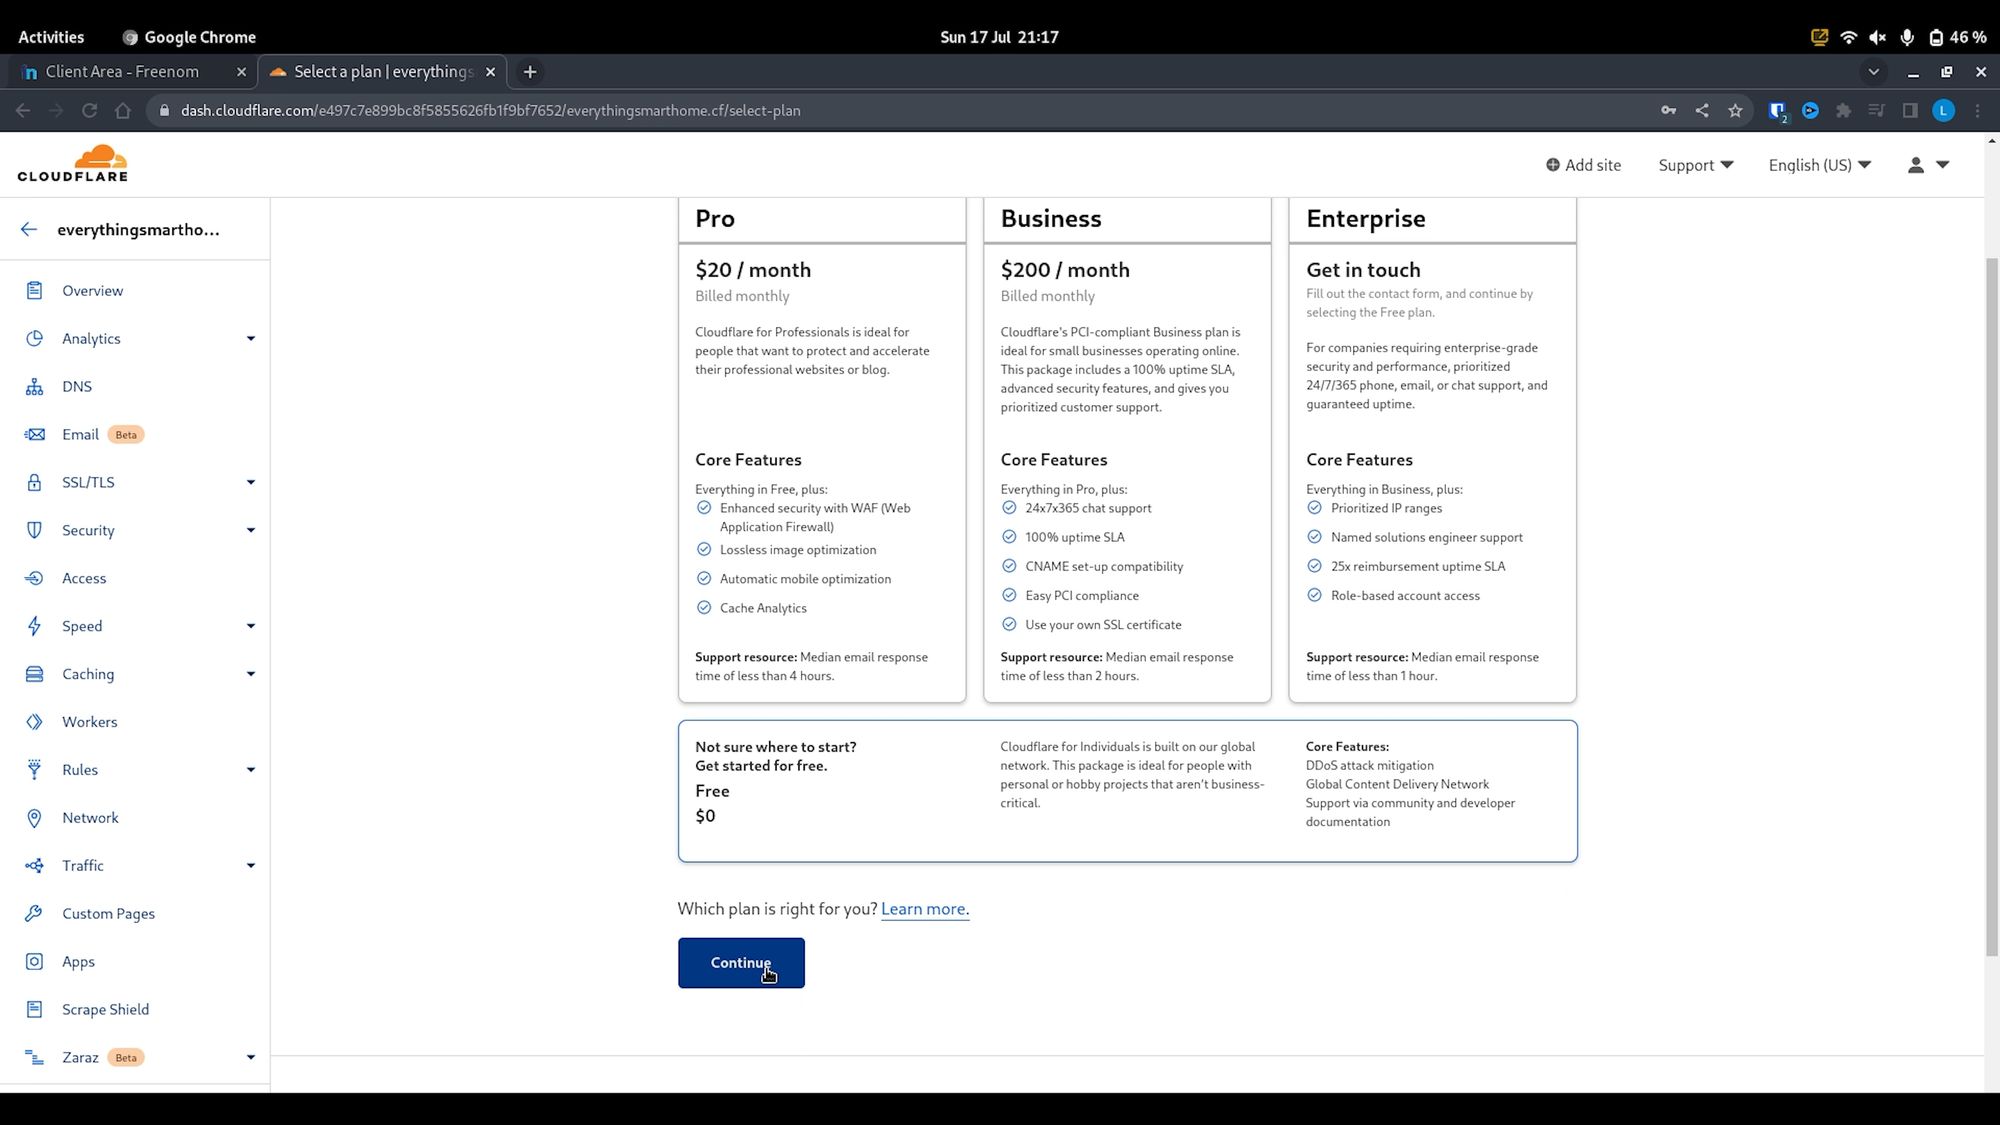
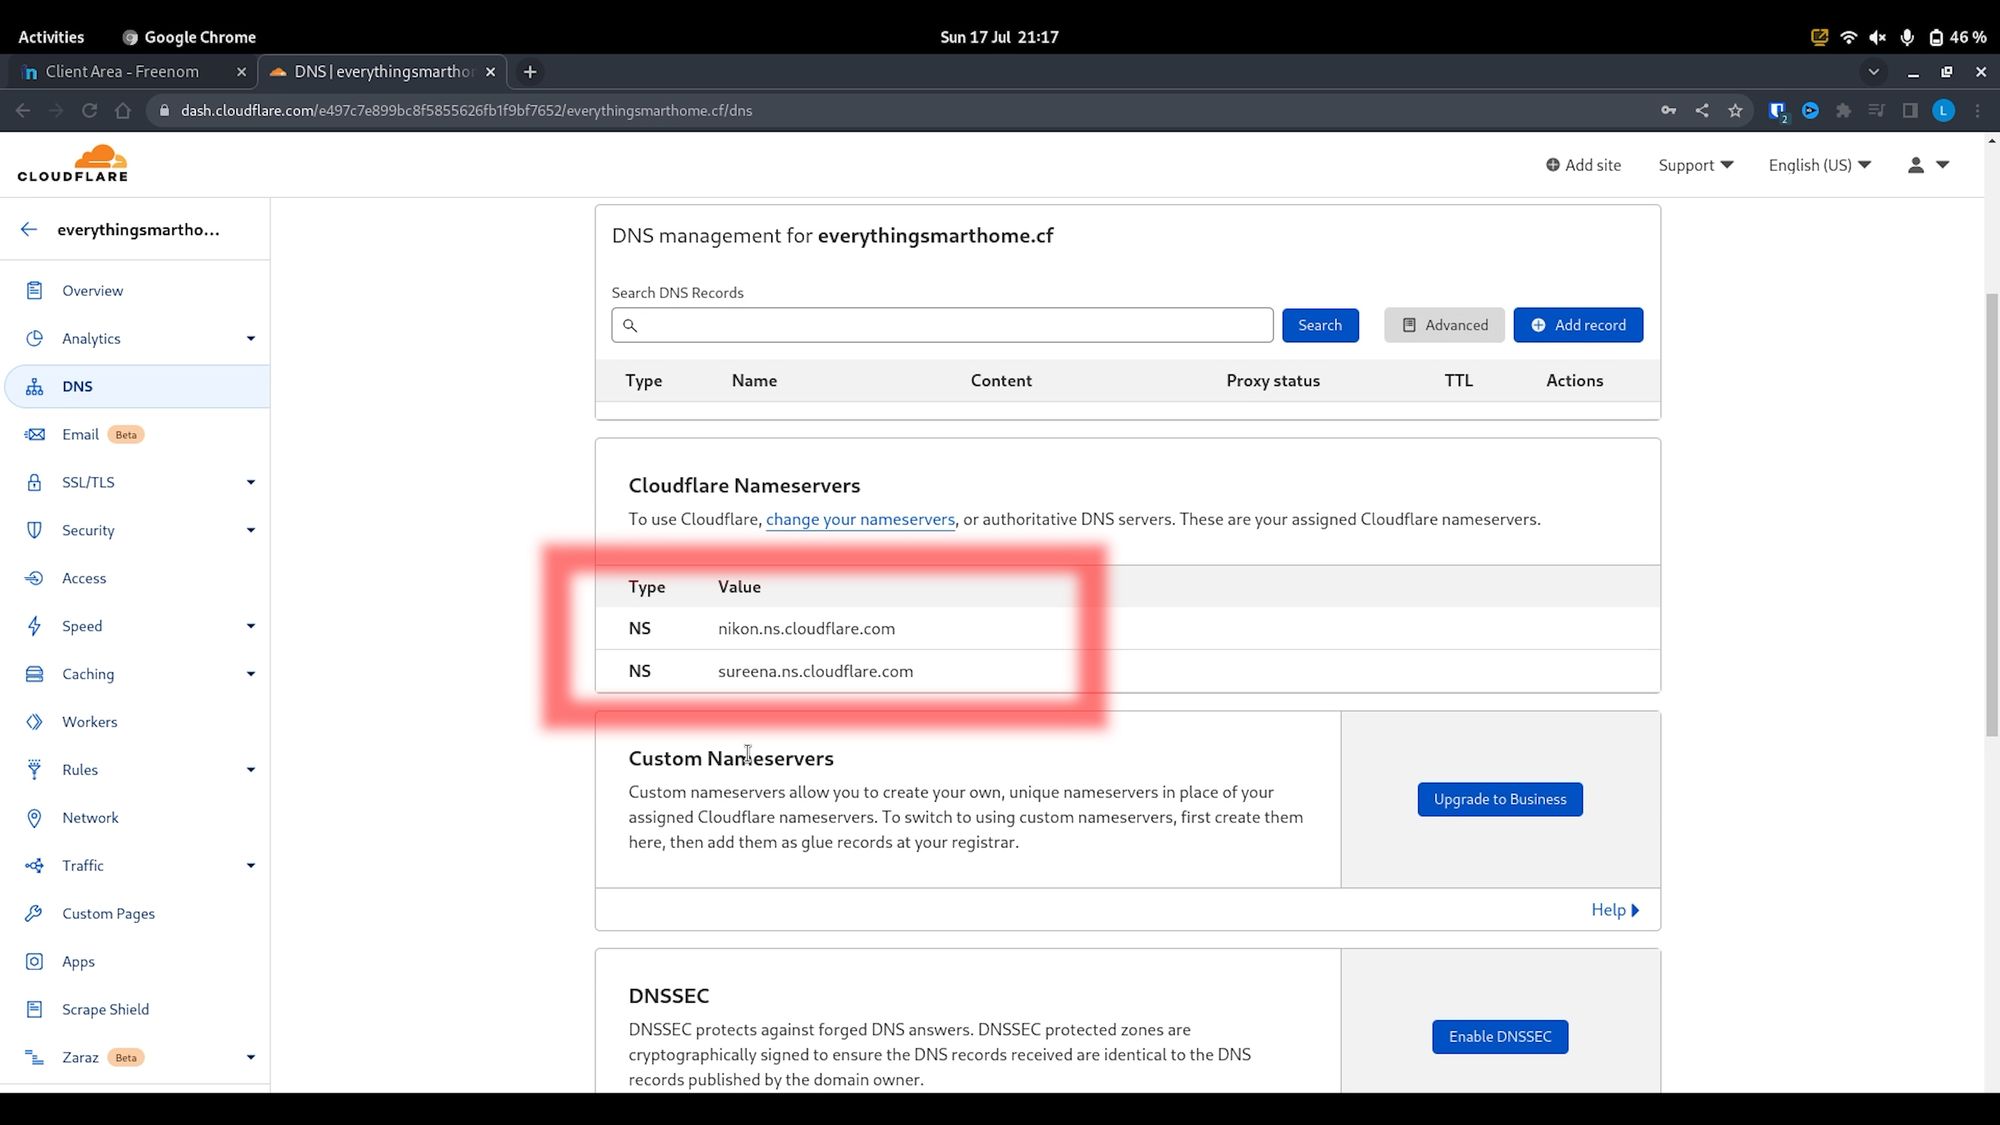
After the website has been added, select the free plan to proceed. Then, click on the DNS item from the menu, and then scroll down until you see the nameservers section. Cloudflare will provide you with two name servers that we need to enter into Freenom, so that our domain knows what to use for its DNS servers, take a note of both of these.
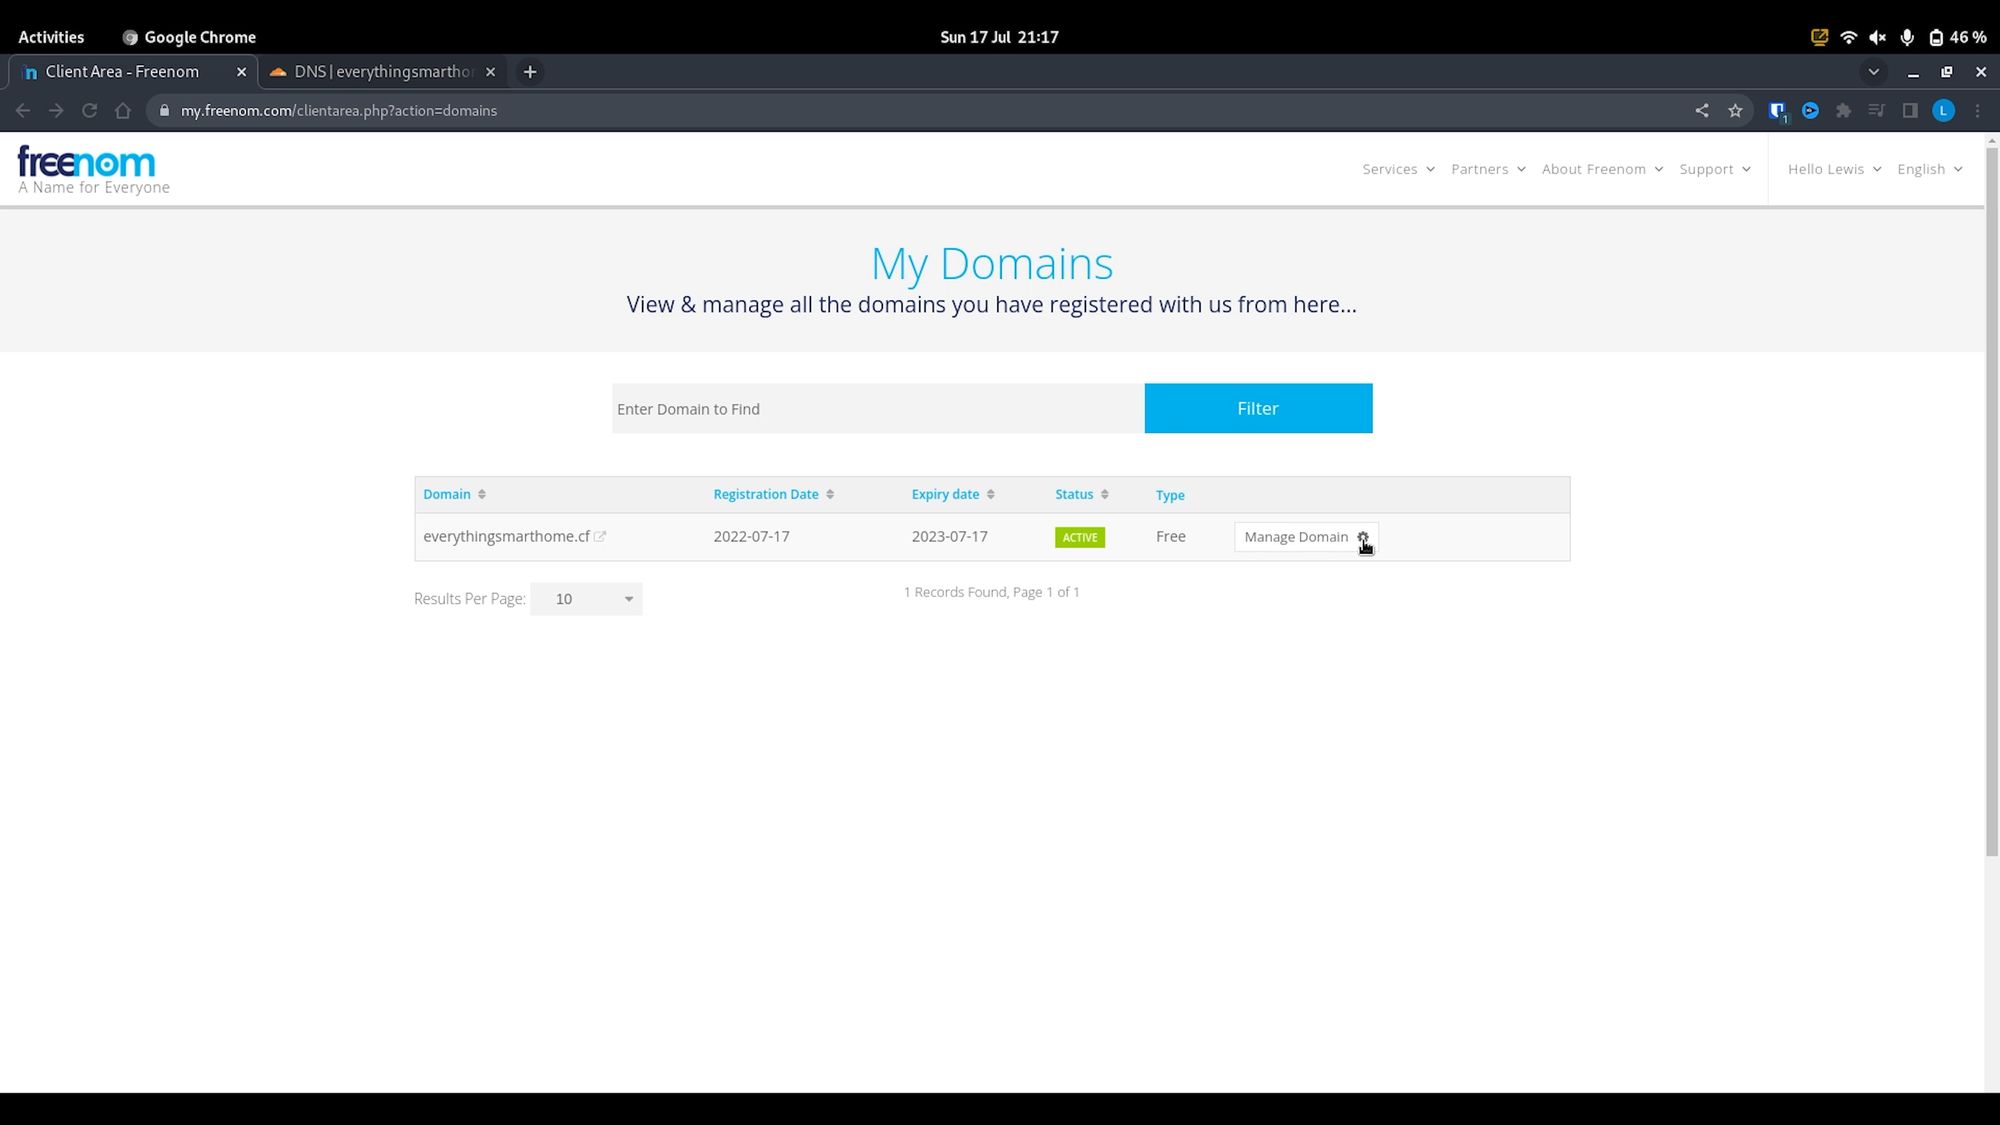
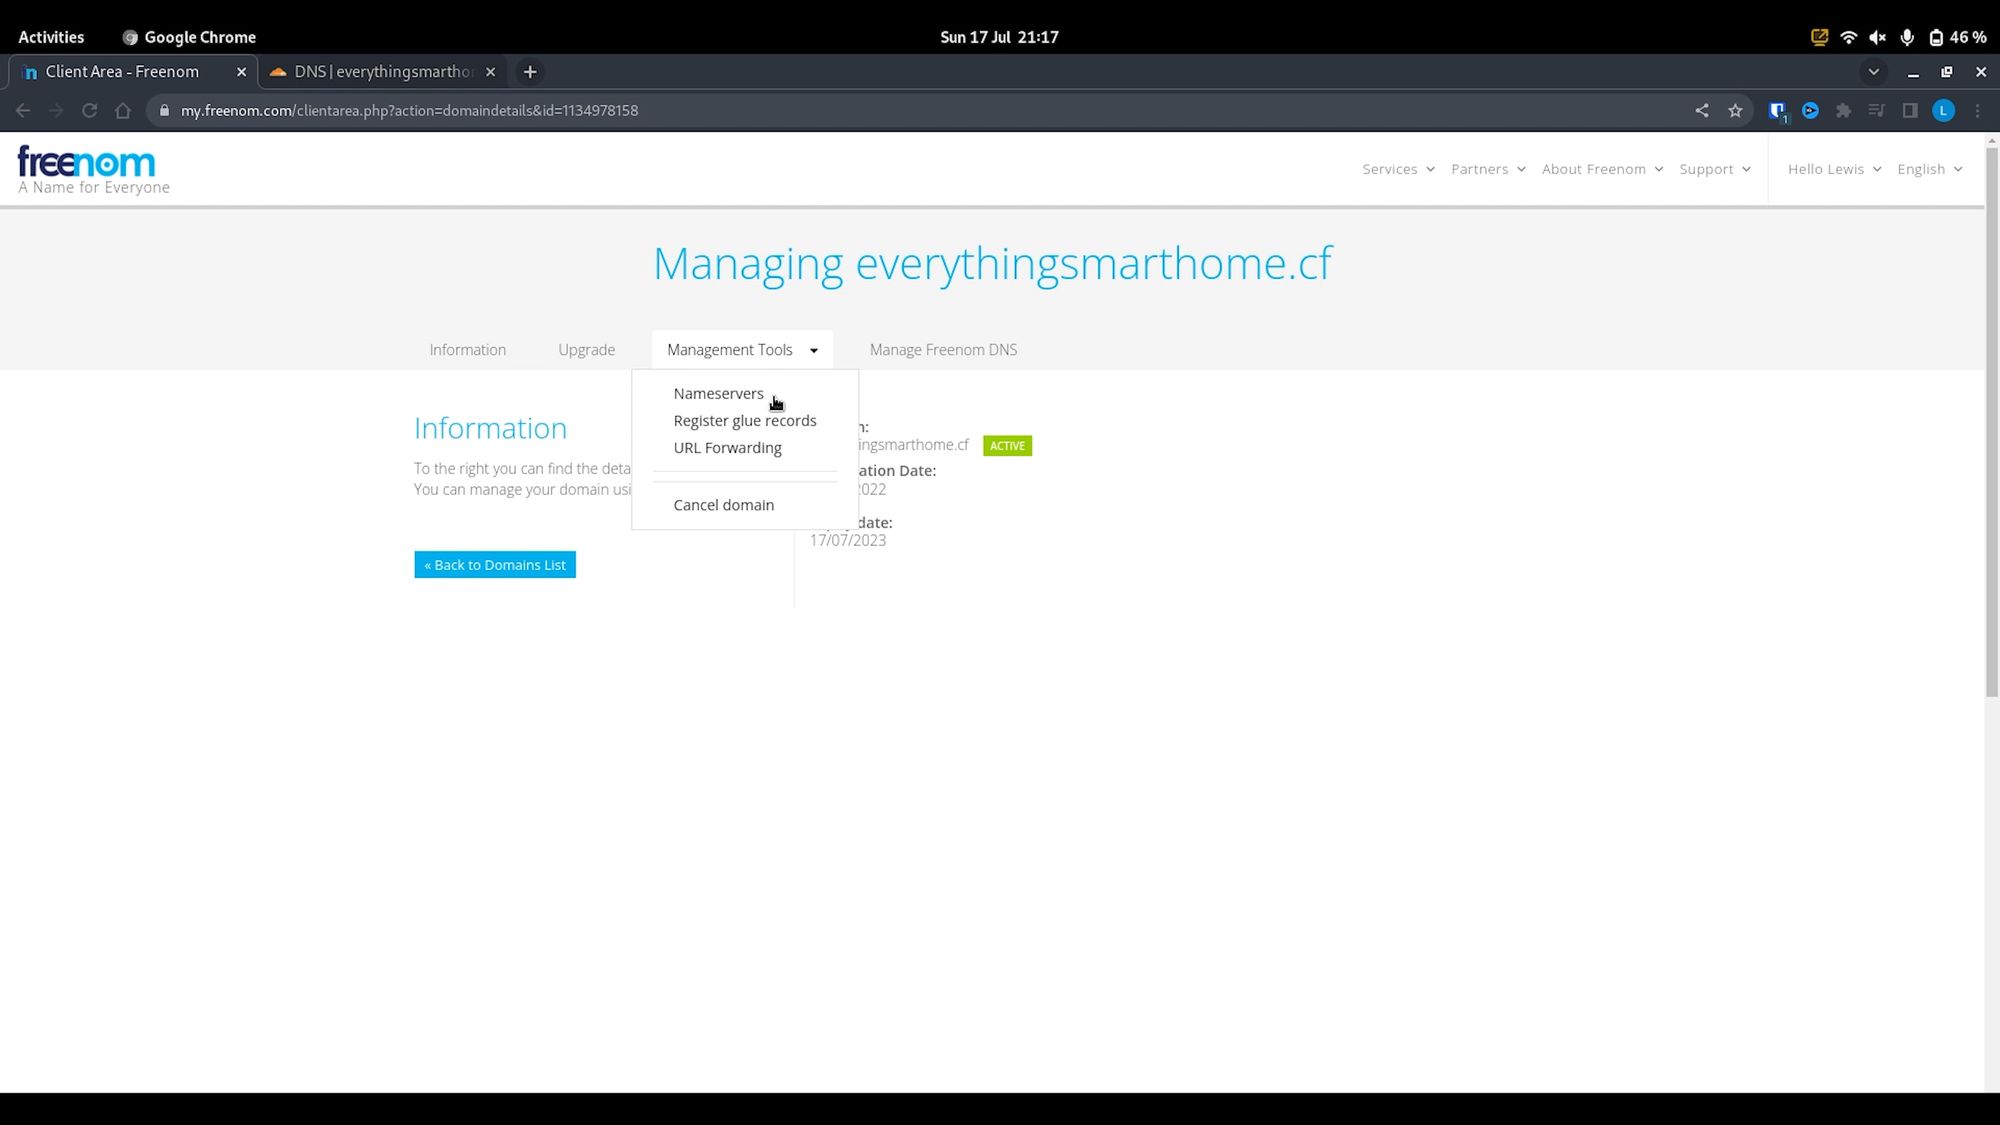
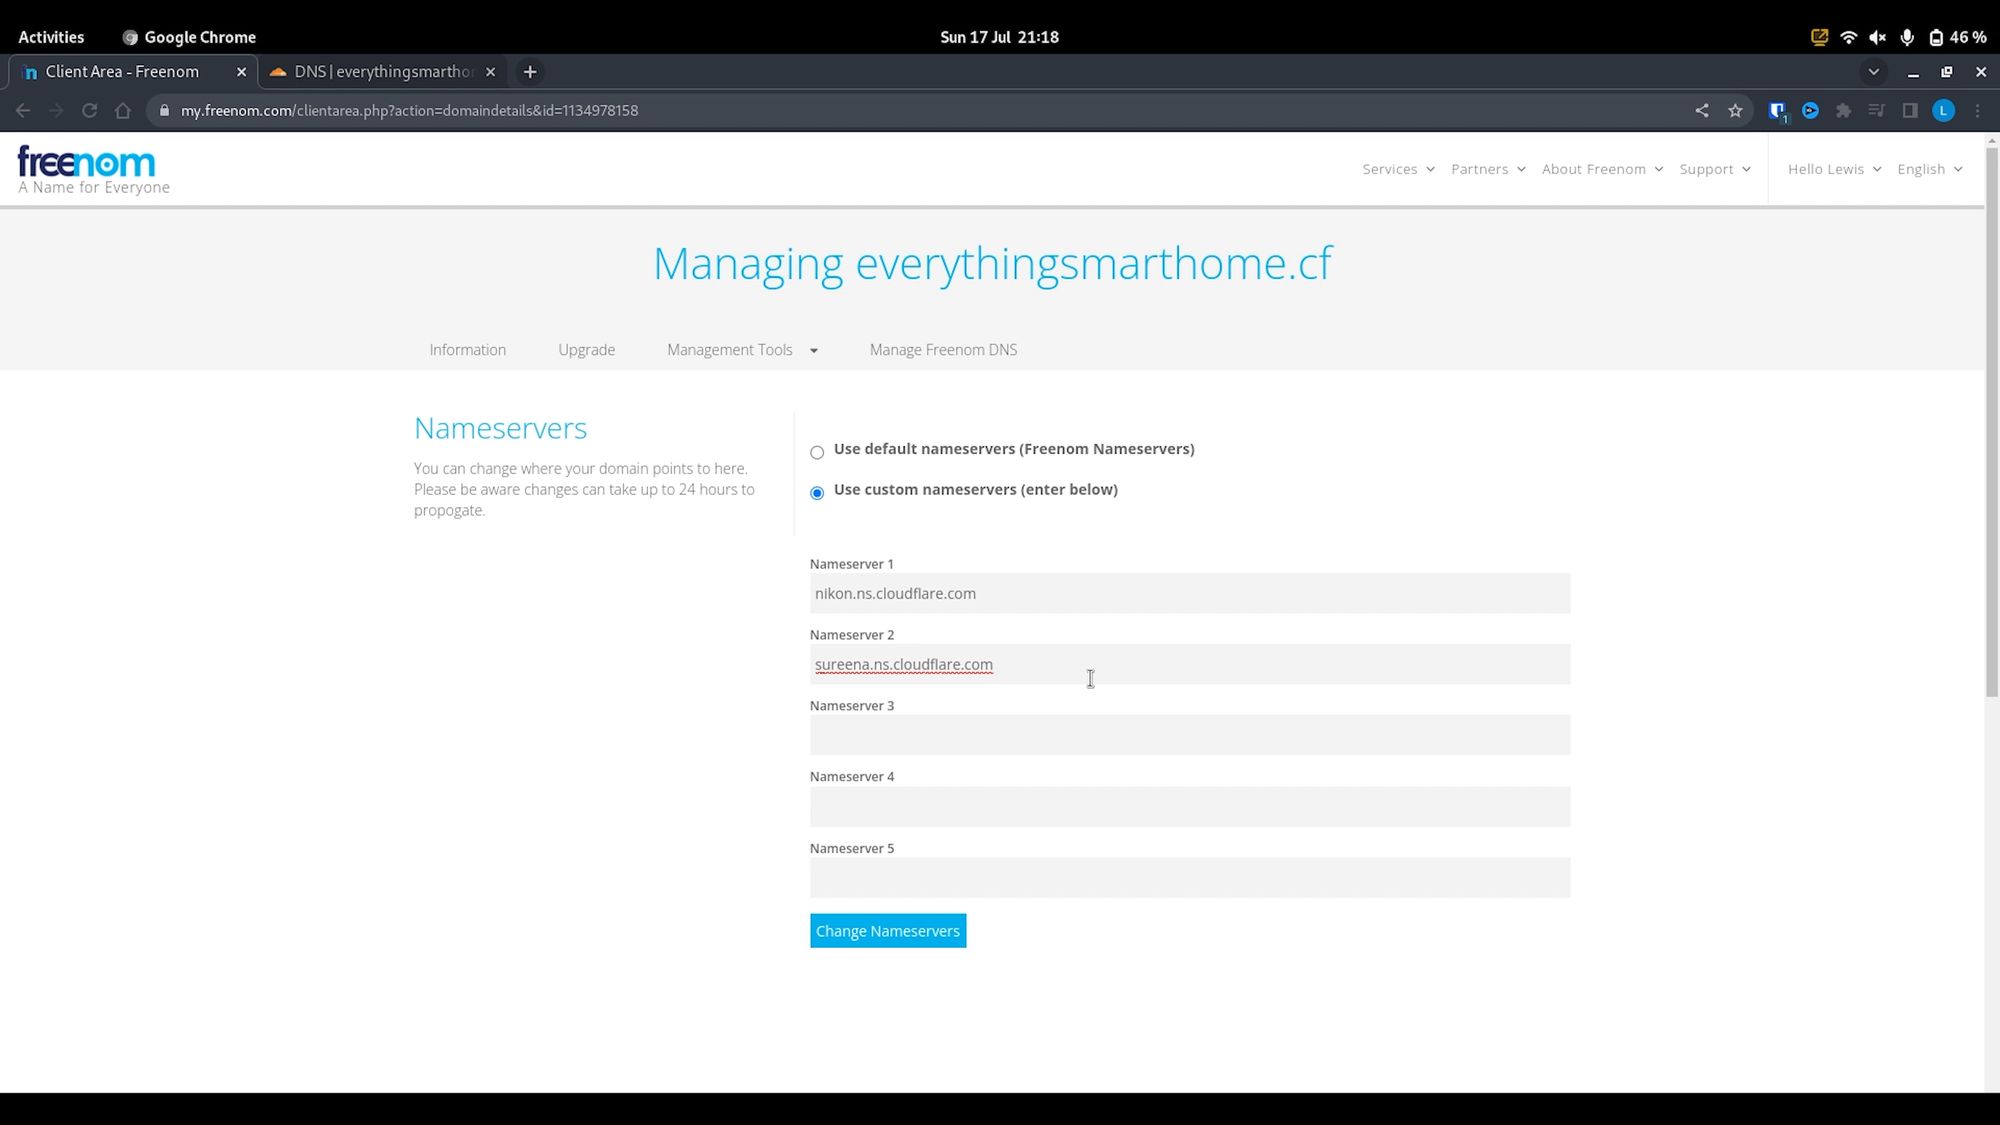
Then head back to the Freenom site, select Services and then My Domains from the top menu and then click on Manage Domain. Then click on management tools and then nameservers. On this page, select use custom name servers, and then paste the nameservers from Cloudflare into the top two boxes, making sure to have one per box, then hit the change nameservers box to save.
Configuring The Cloudflare Add-on With Home Assistant
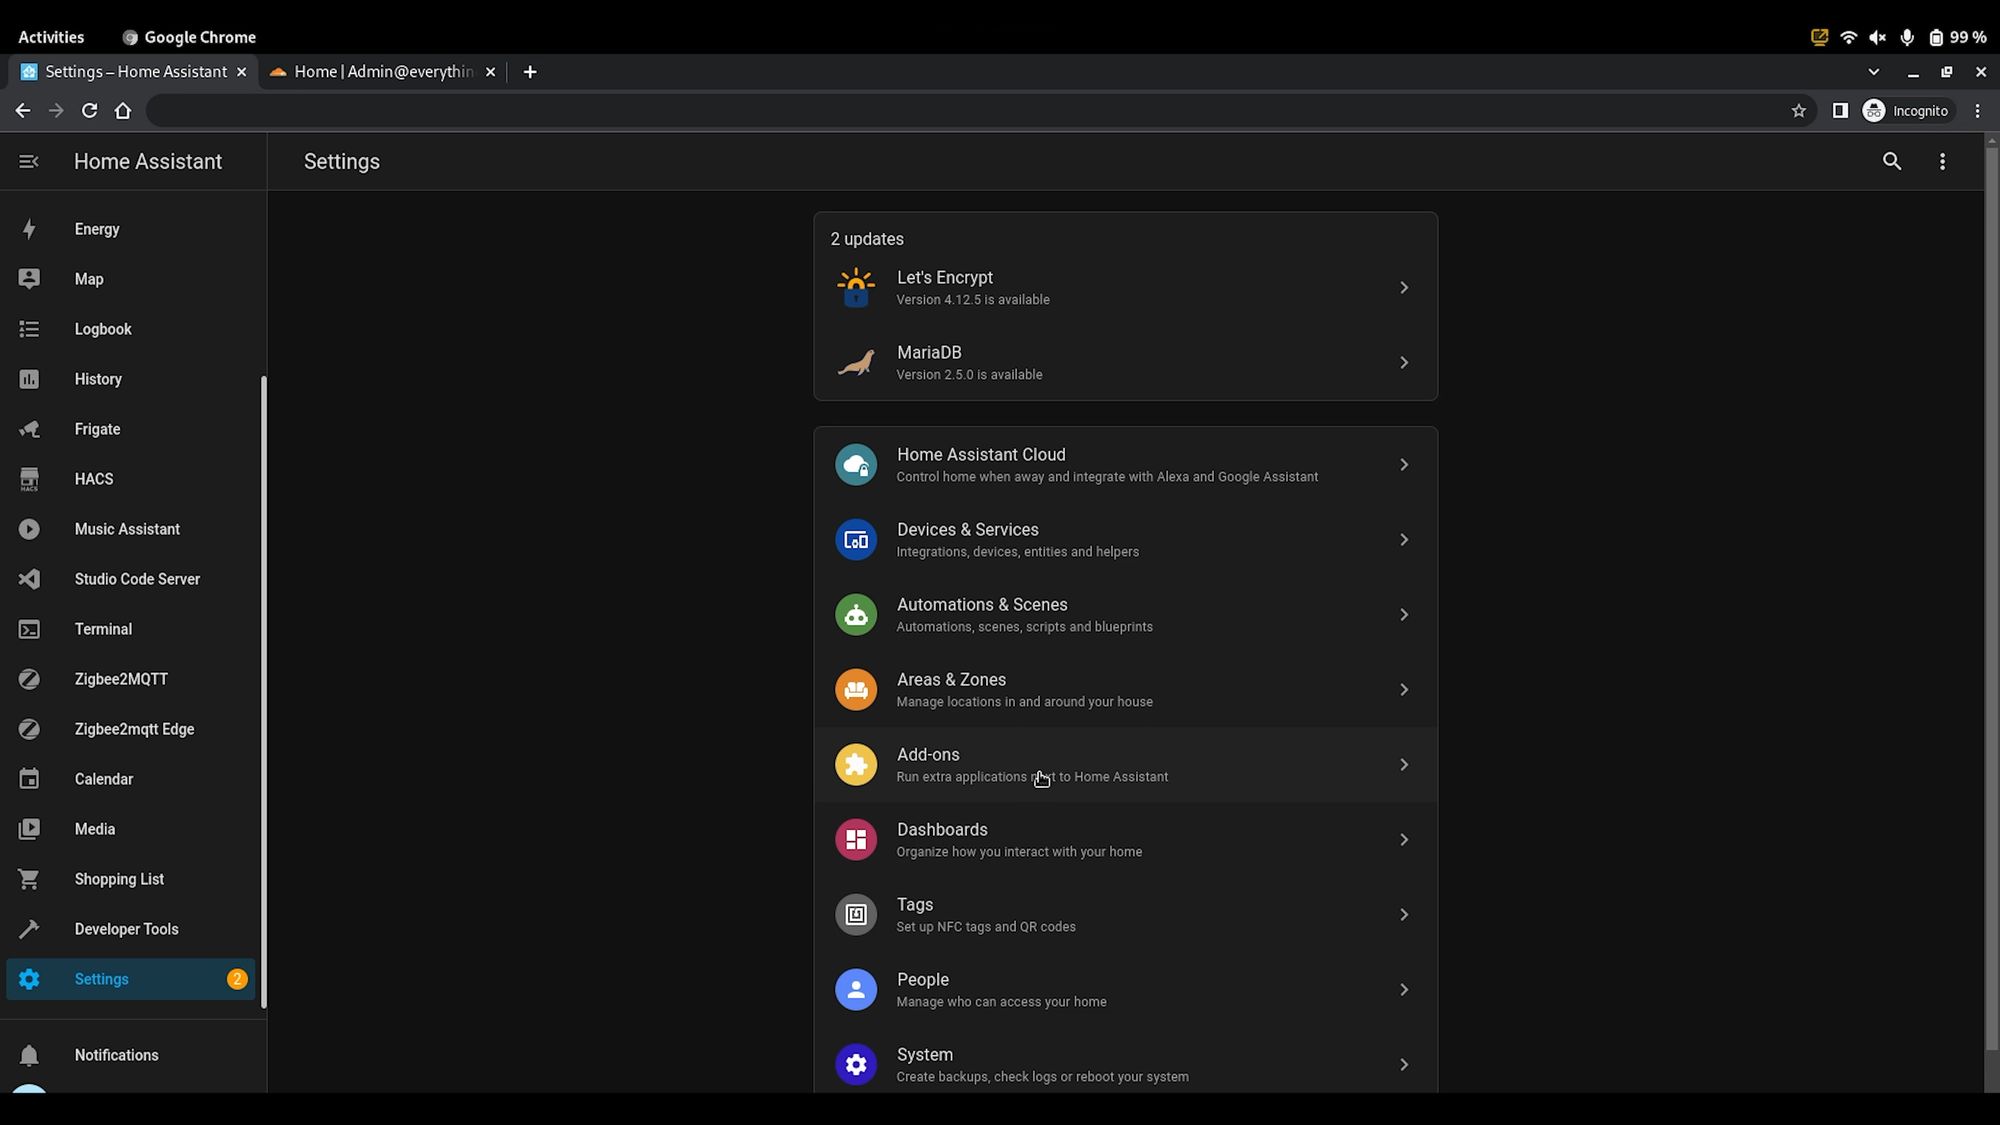
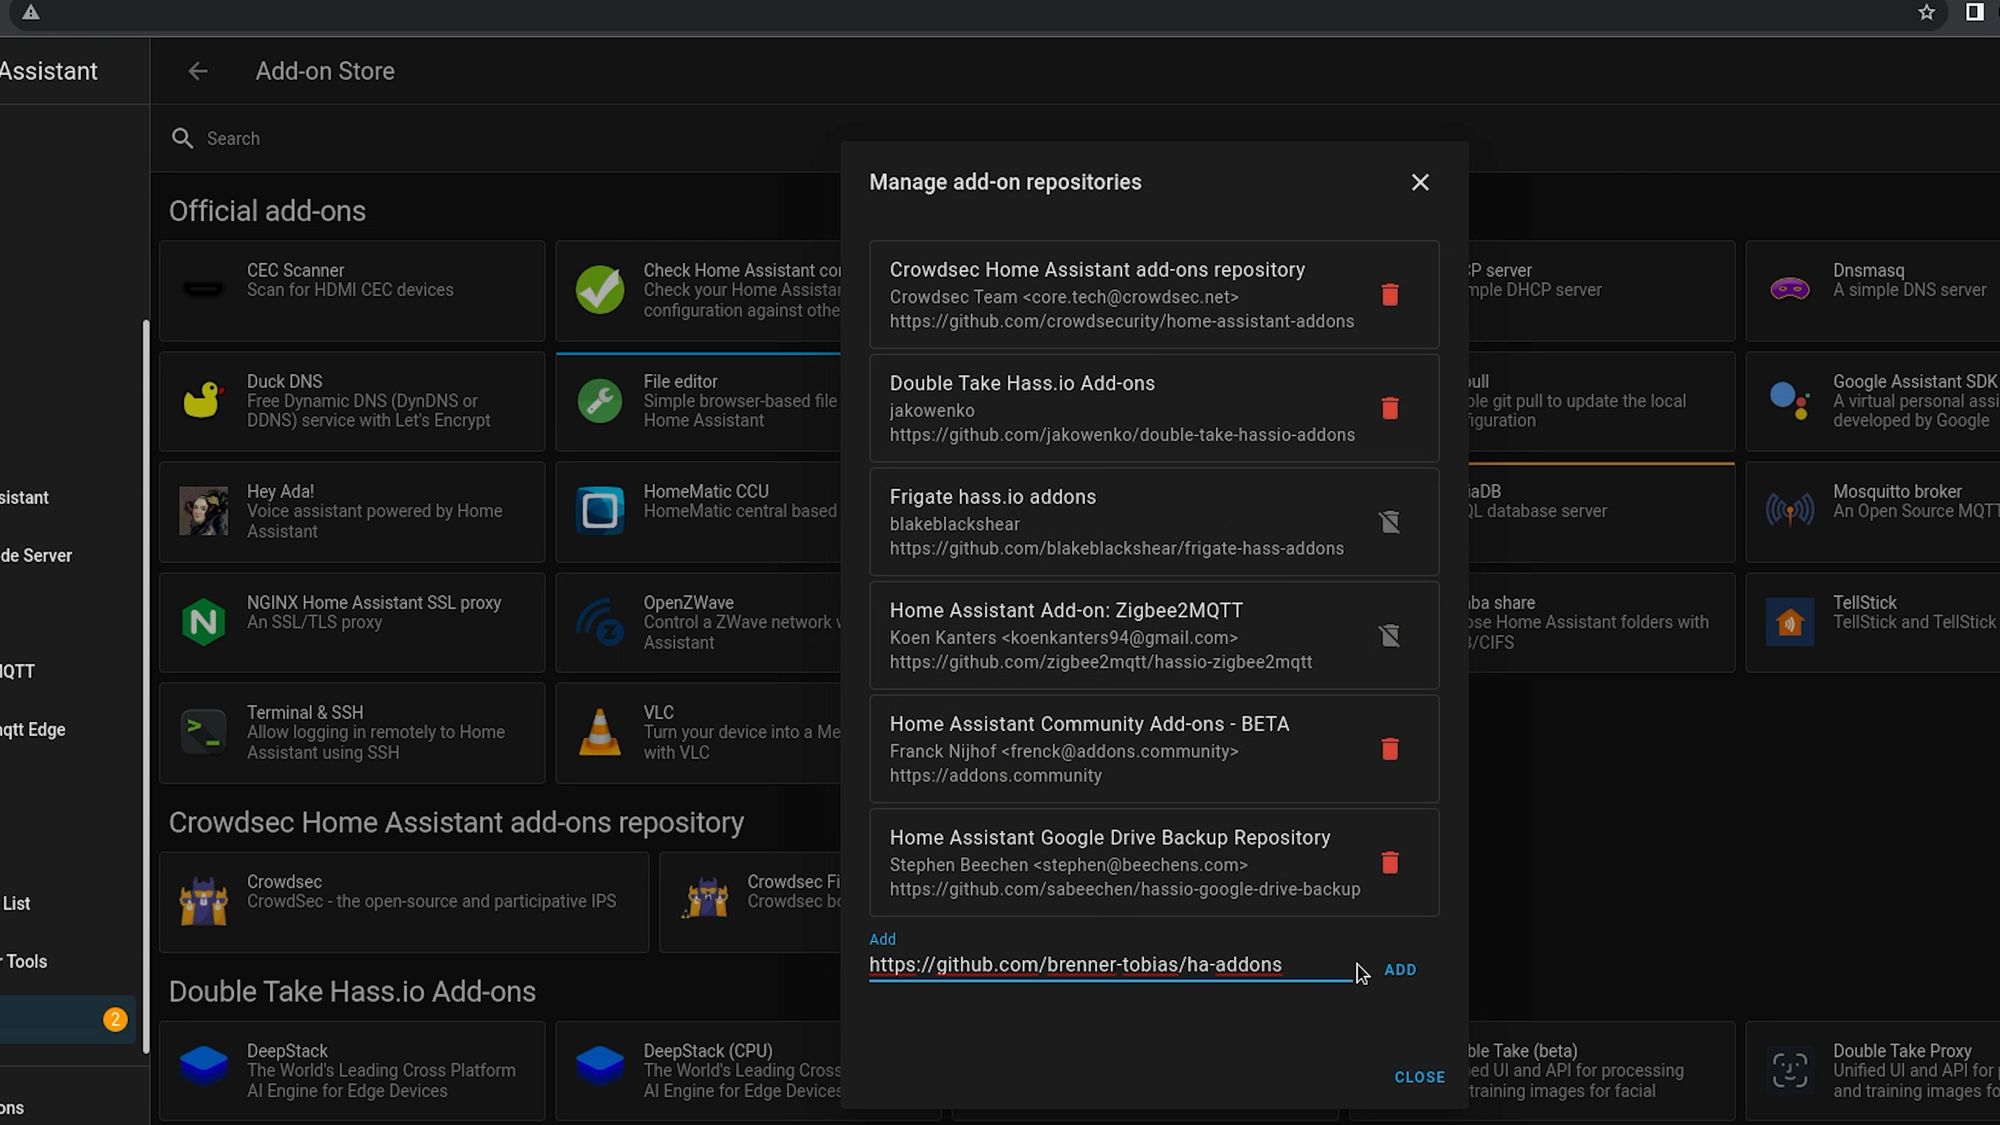
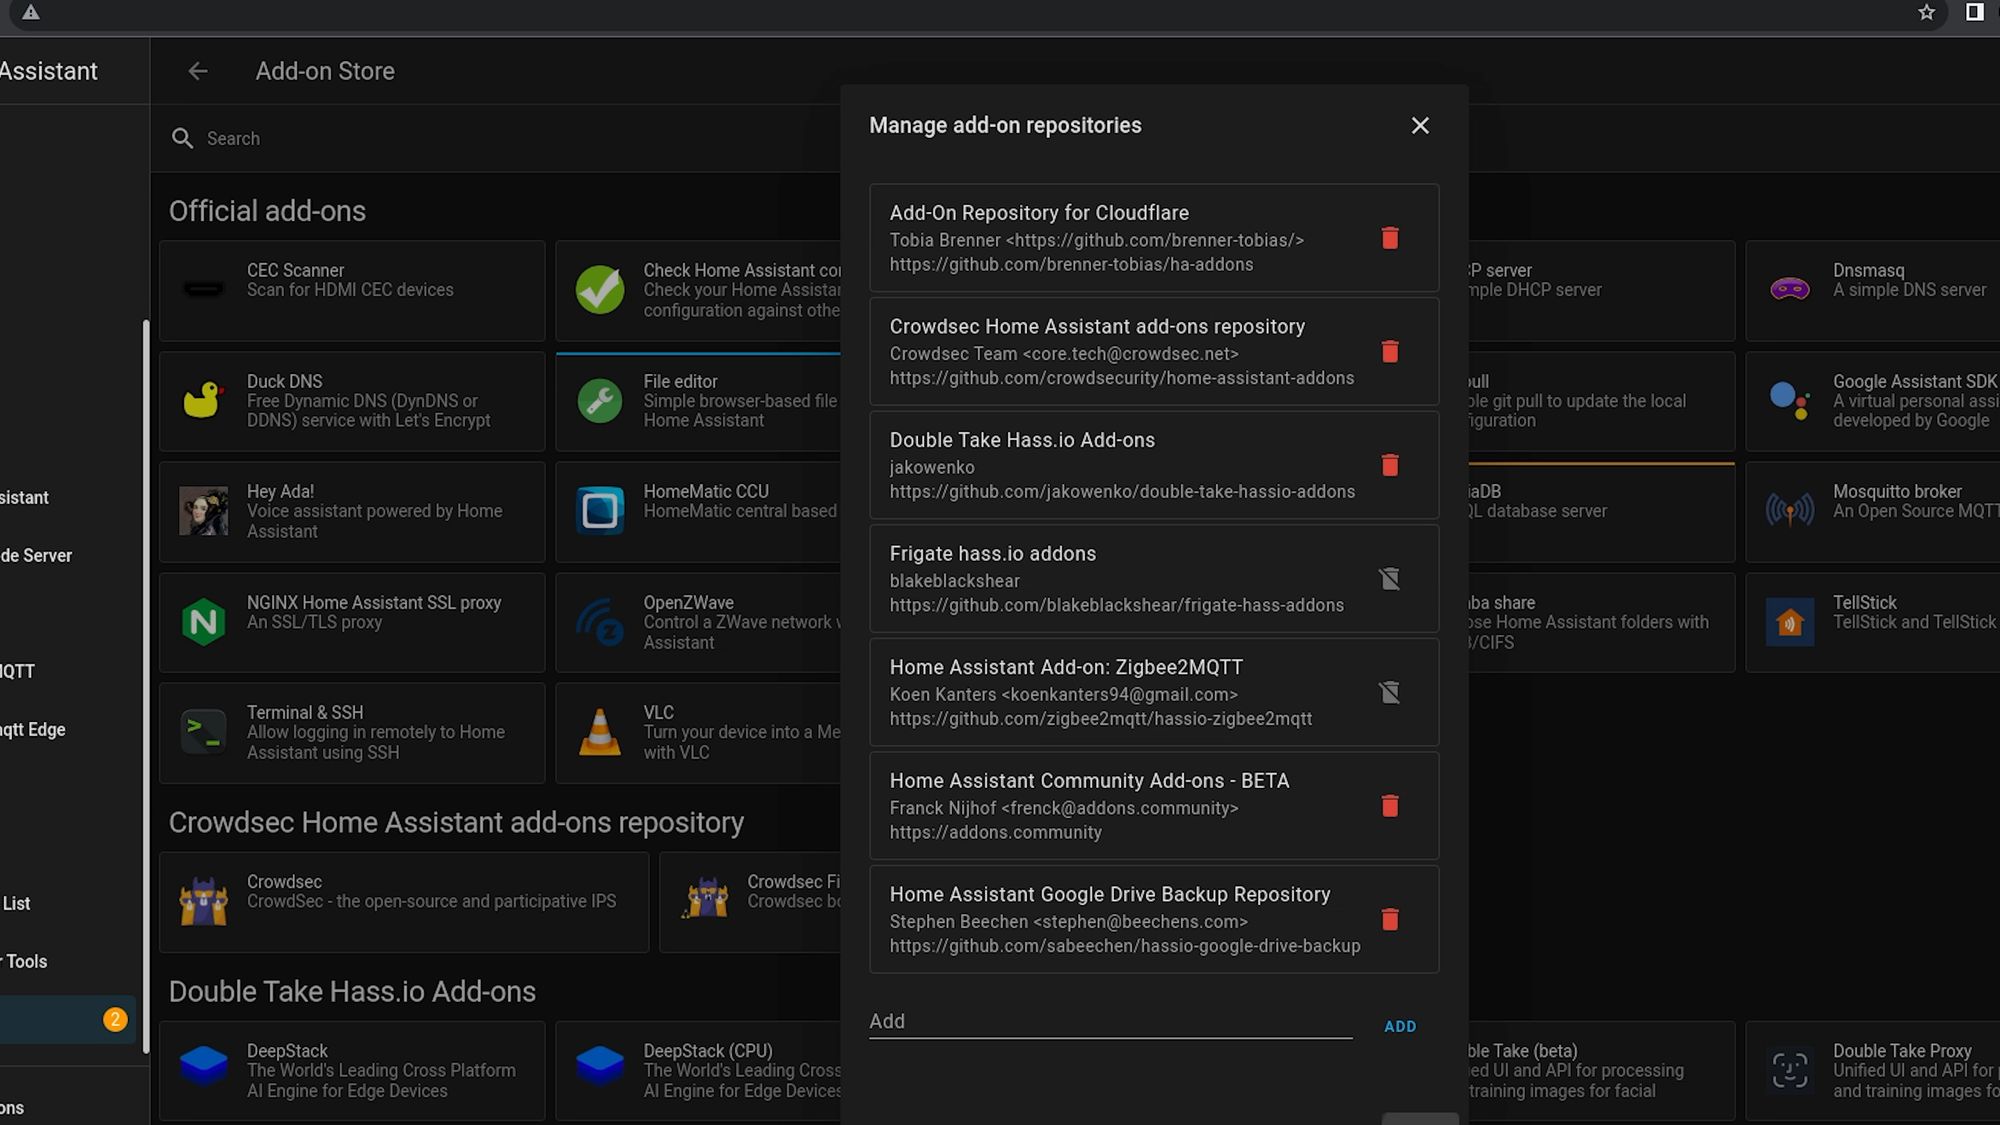
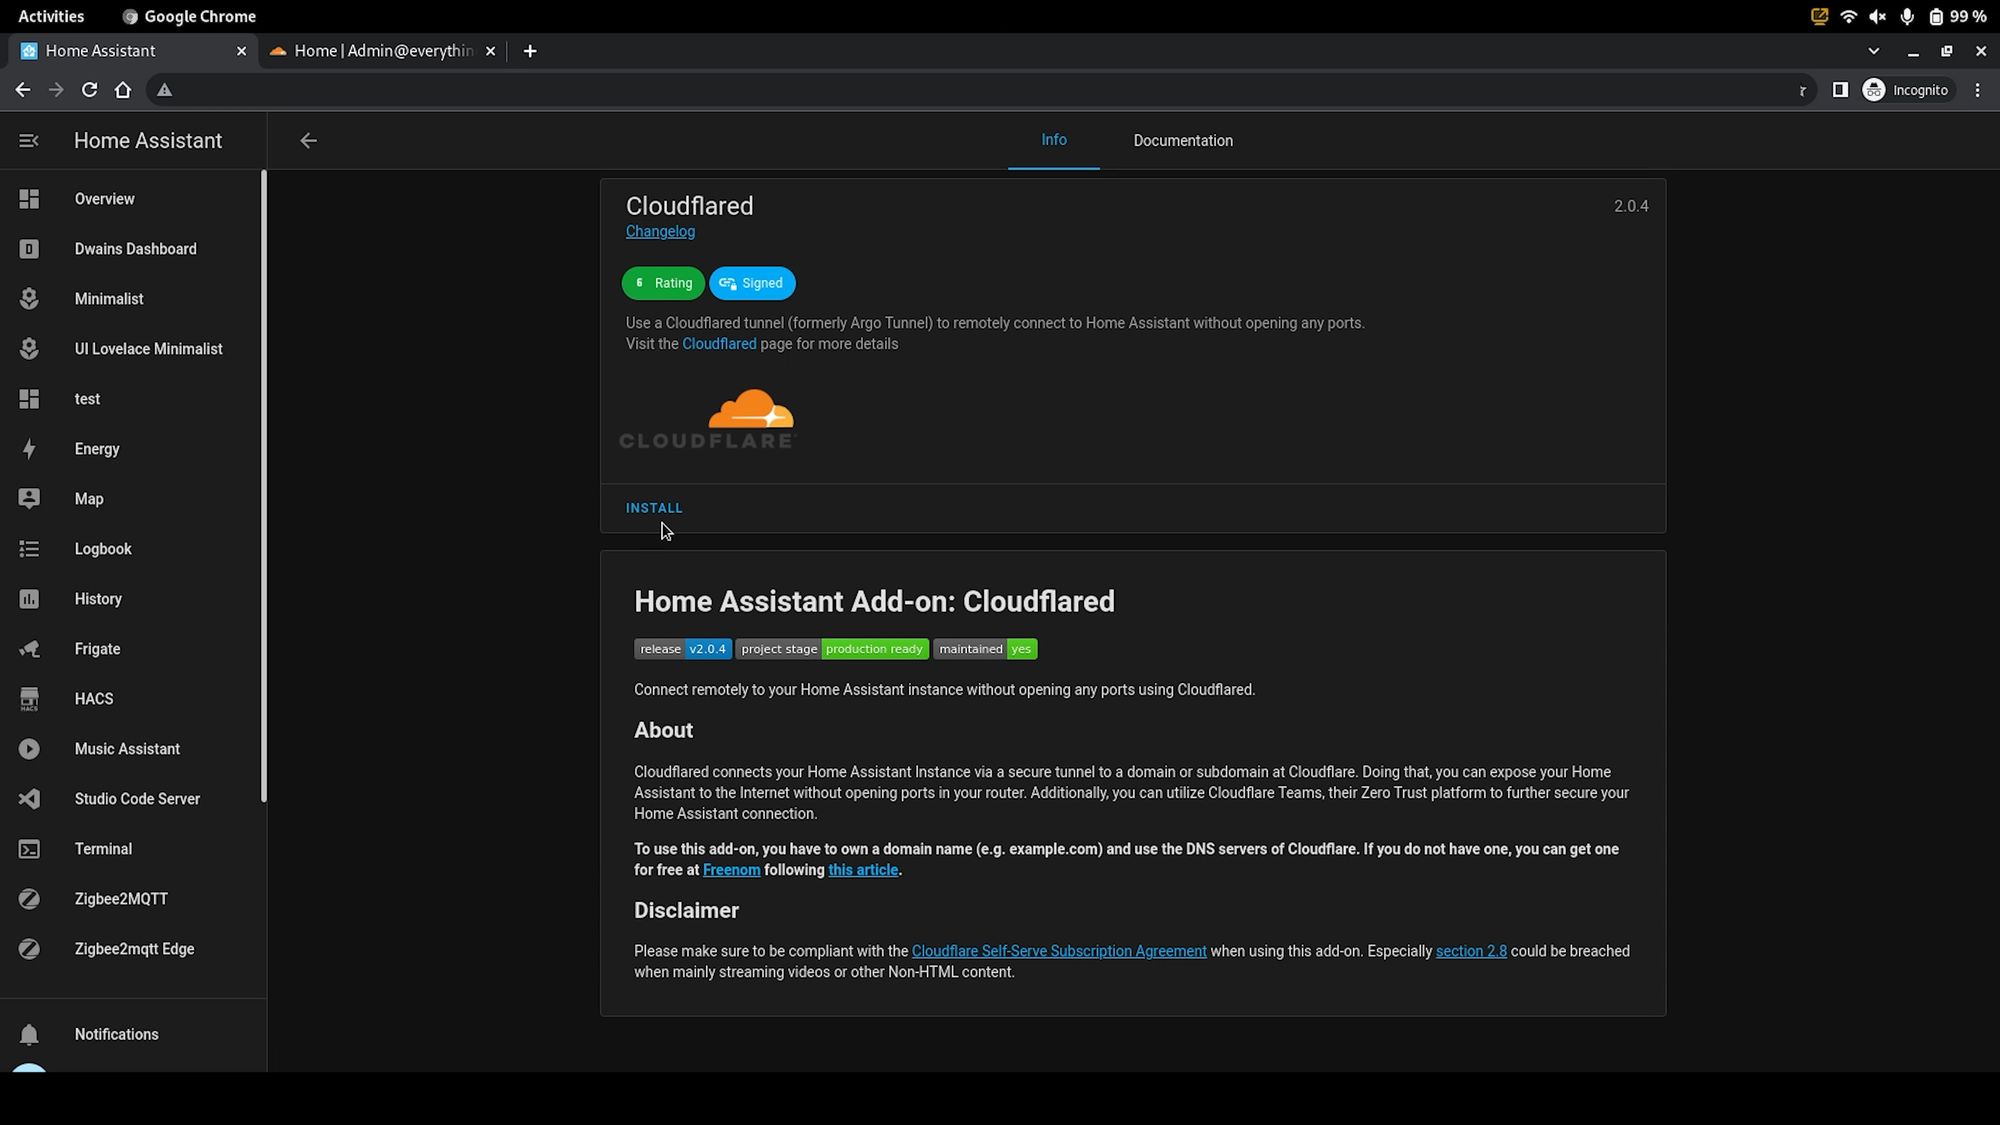
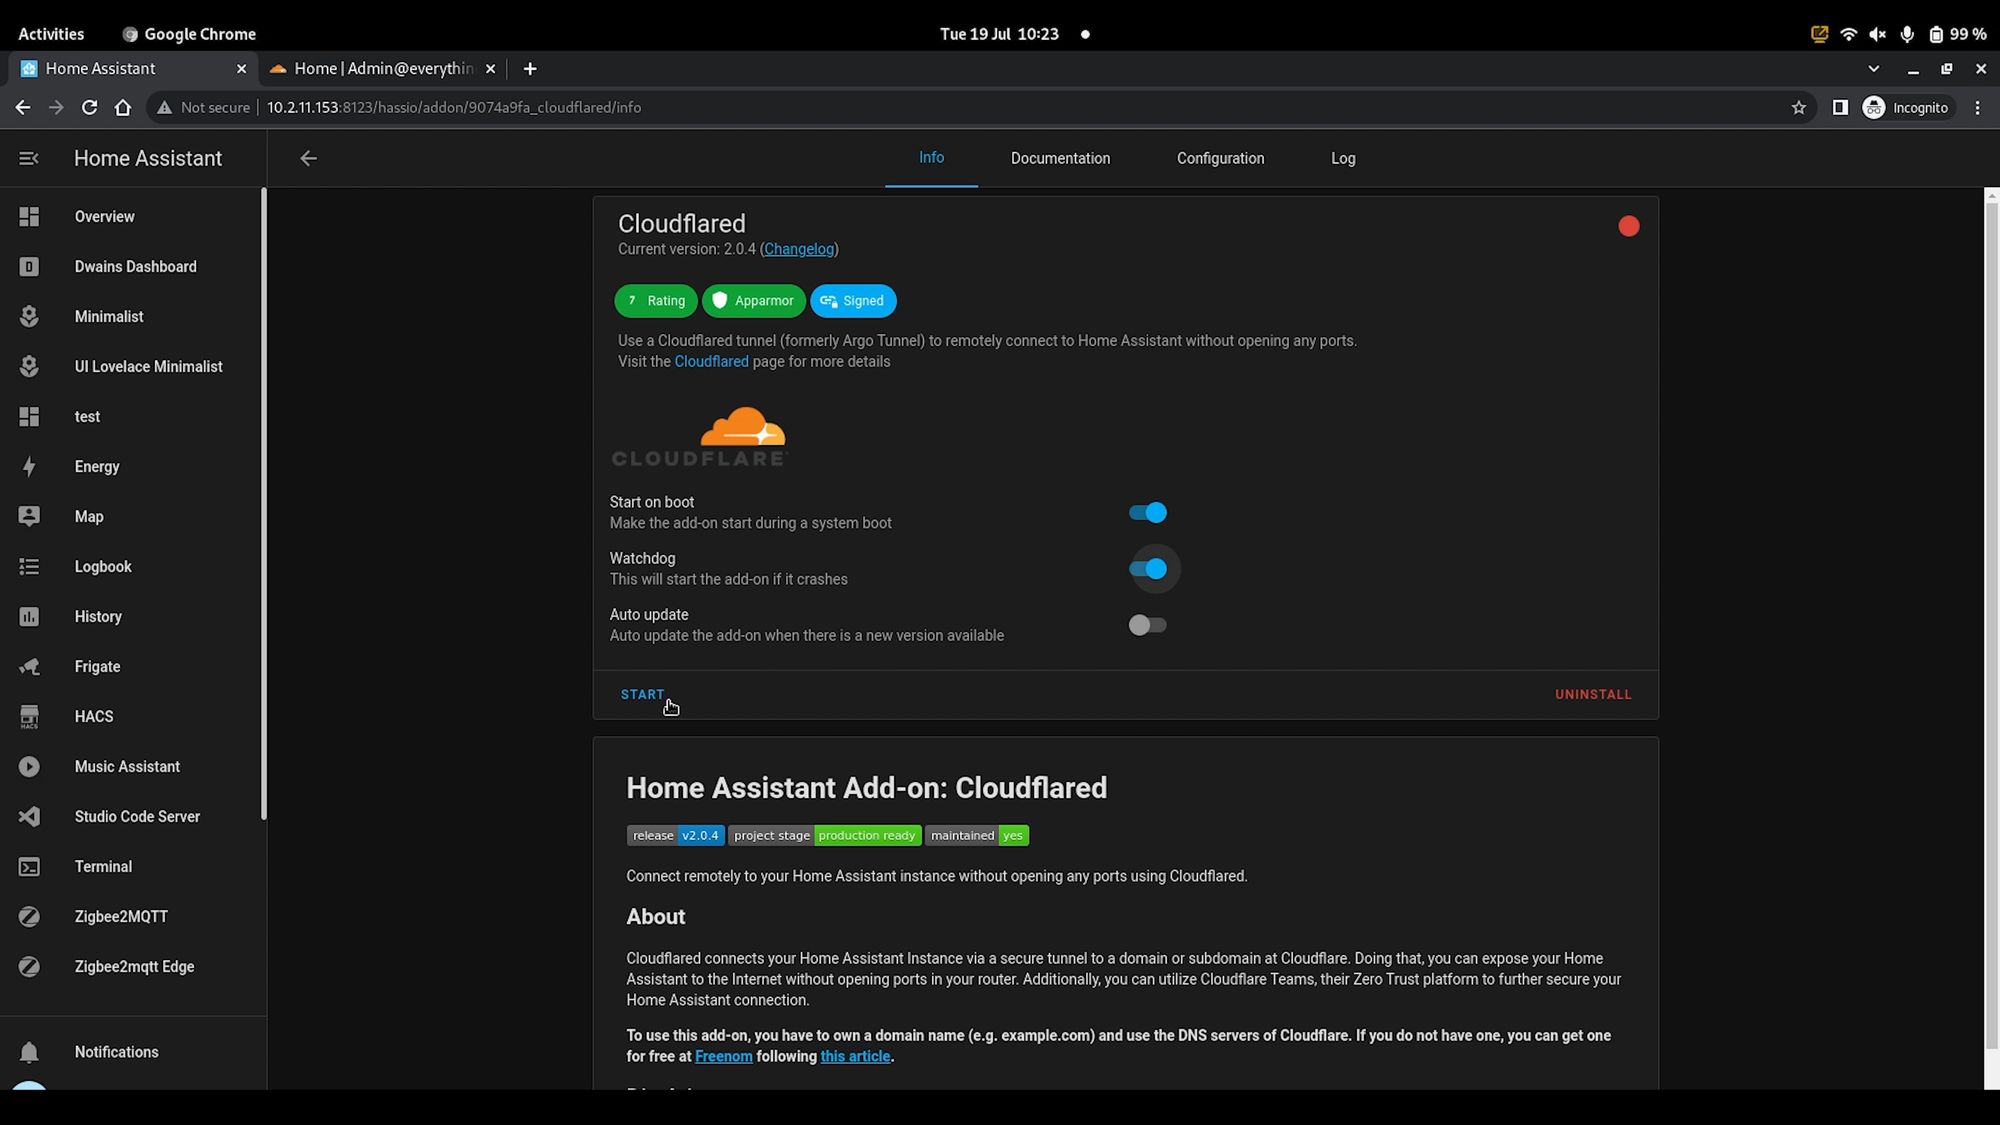
We can now head over to Home Assistant, go to Settings, add-ons and click the add new addon button. In the top right hand corner, select repositories and then paste in the Cloudflare add-on repository. Hit save, and then find the Cloudflare add-on which should now be showing and hit the install button.

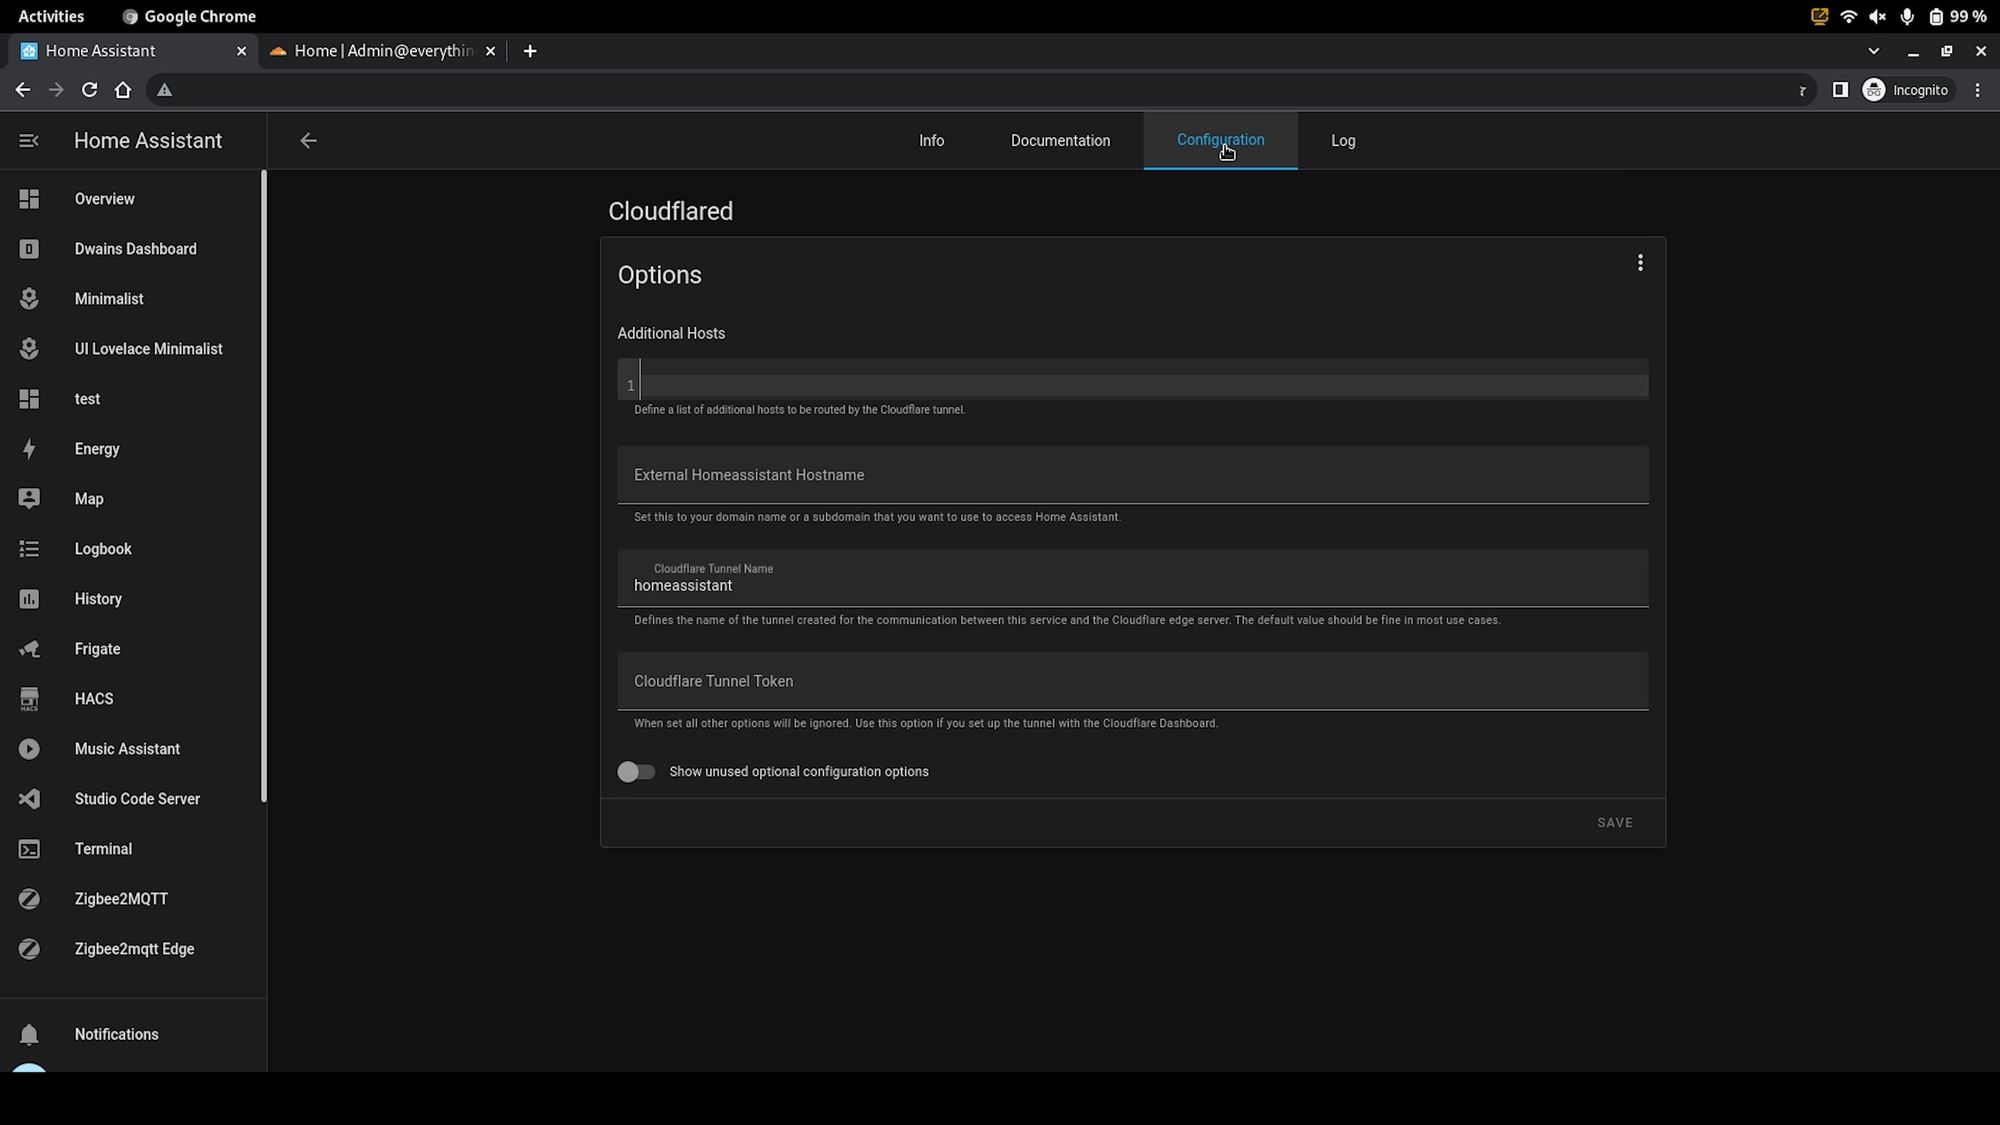
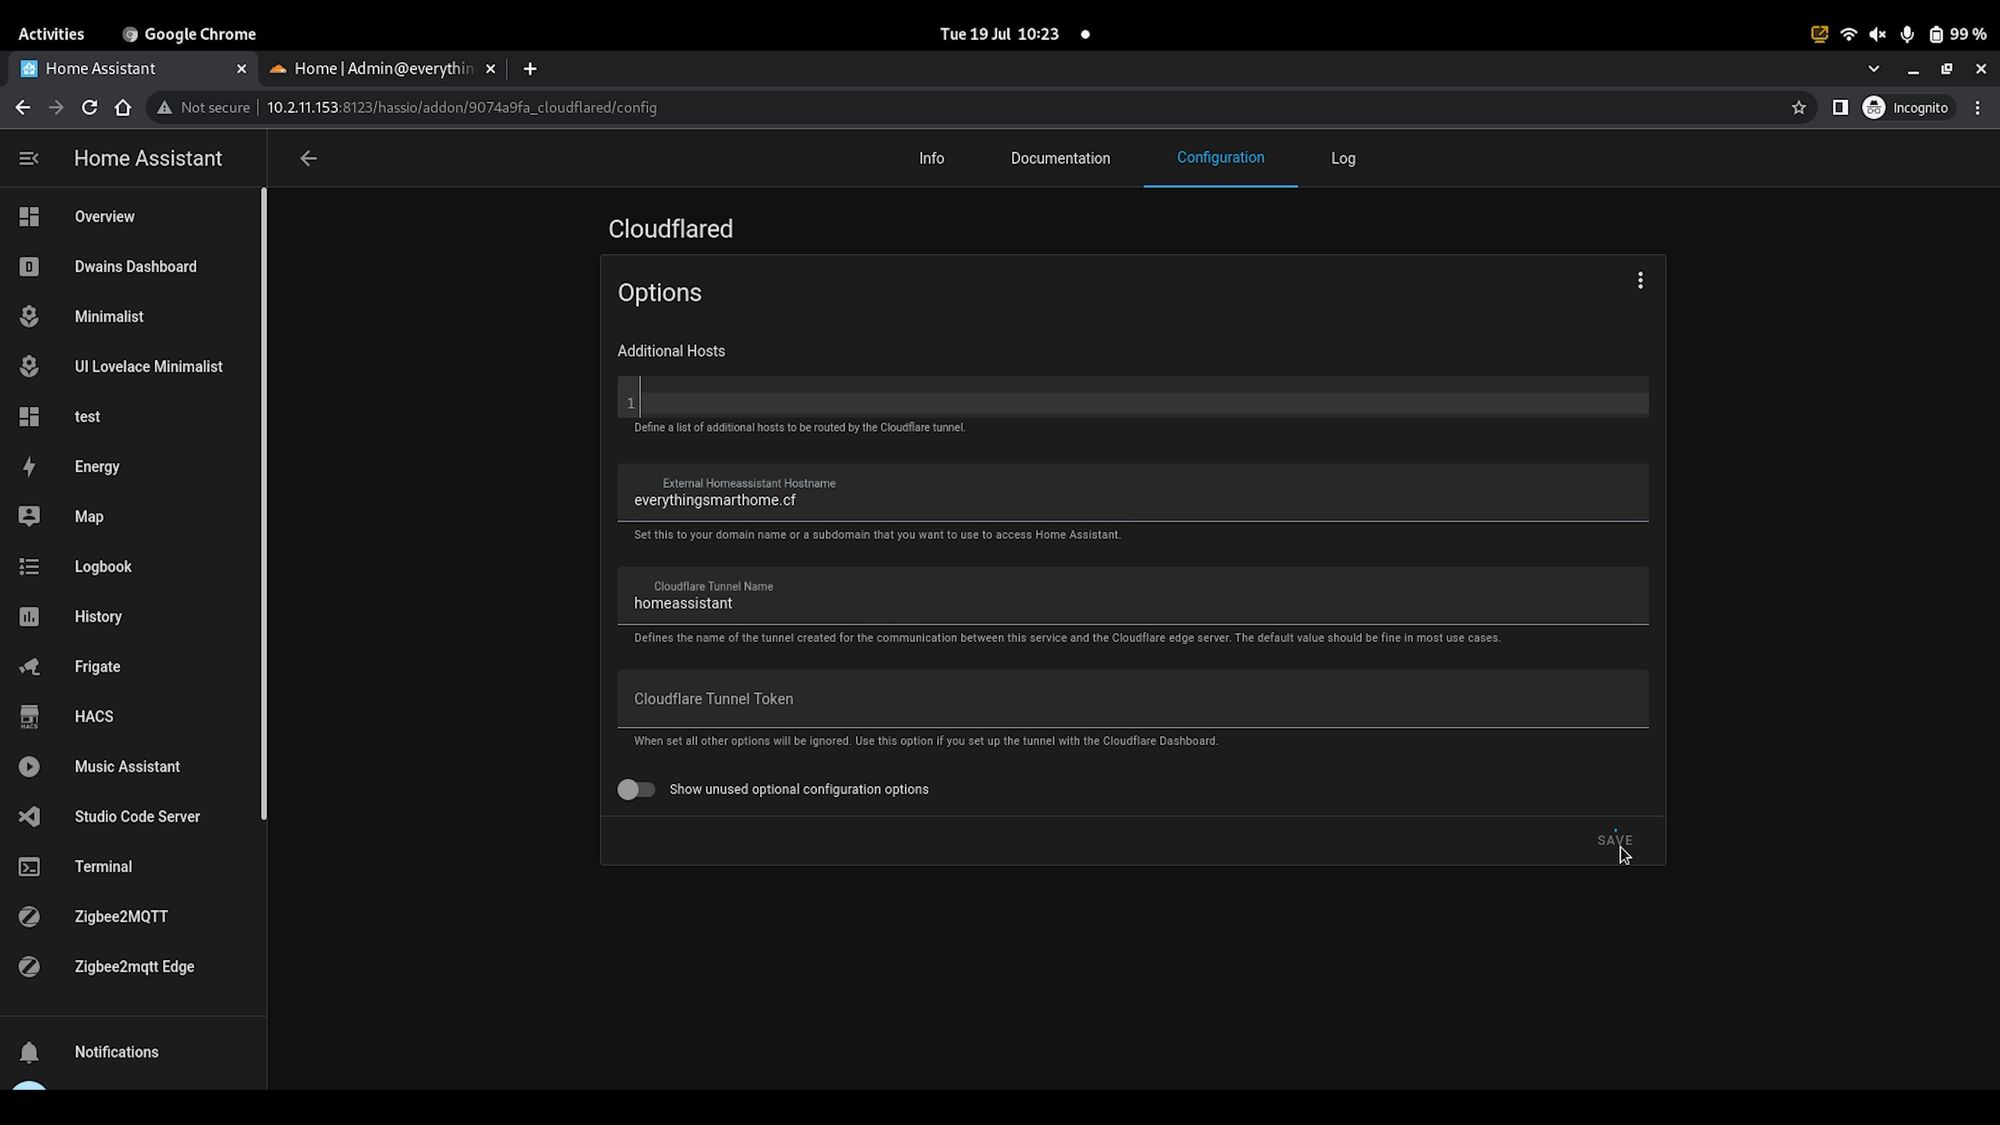
Once installed, go to the configuration tab up at the top and then there is one thing we need to change here but only just for now: the external hostname box. In this box, enter your domain name exactly as you got it from Freenom (or another provider). Hit the save button, and then start the add-on - you’ll probably also want to make sure that "start on boot" and "watchdog" is enabled so that the tunnel is always up and working even if Home Assistant restarts.
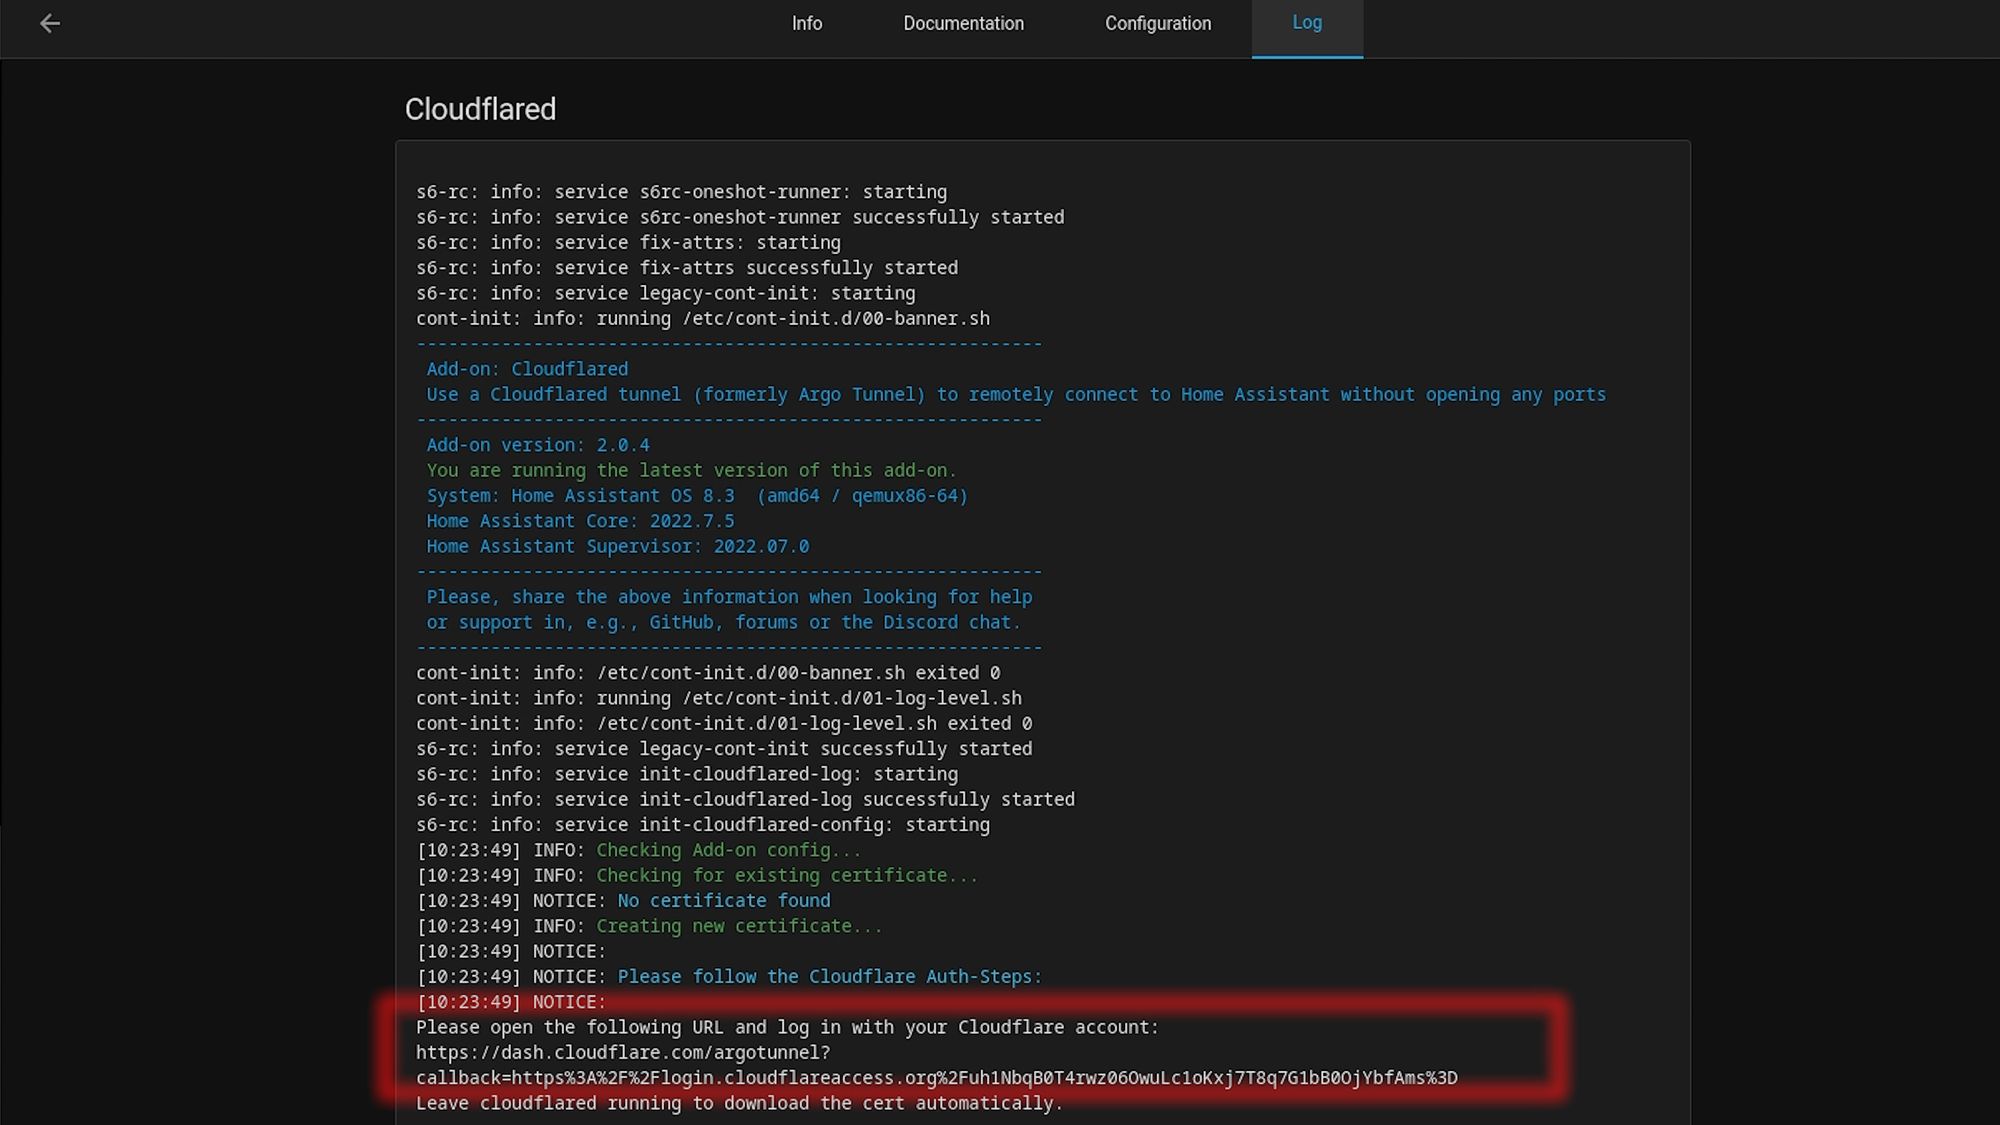
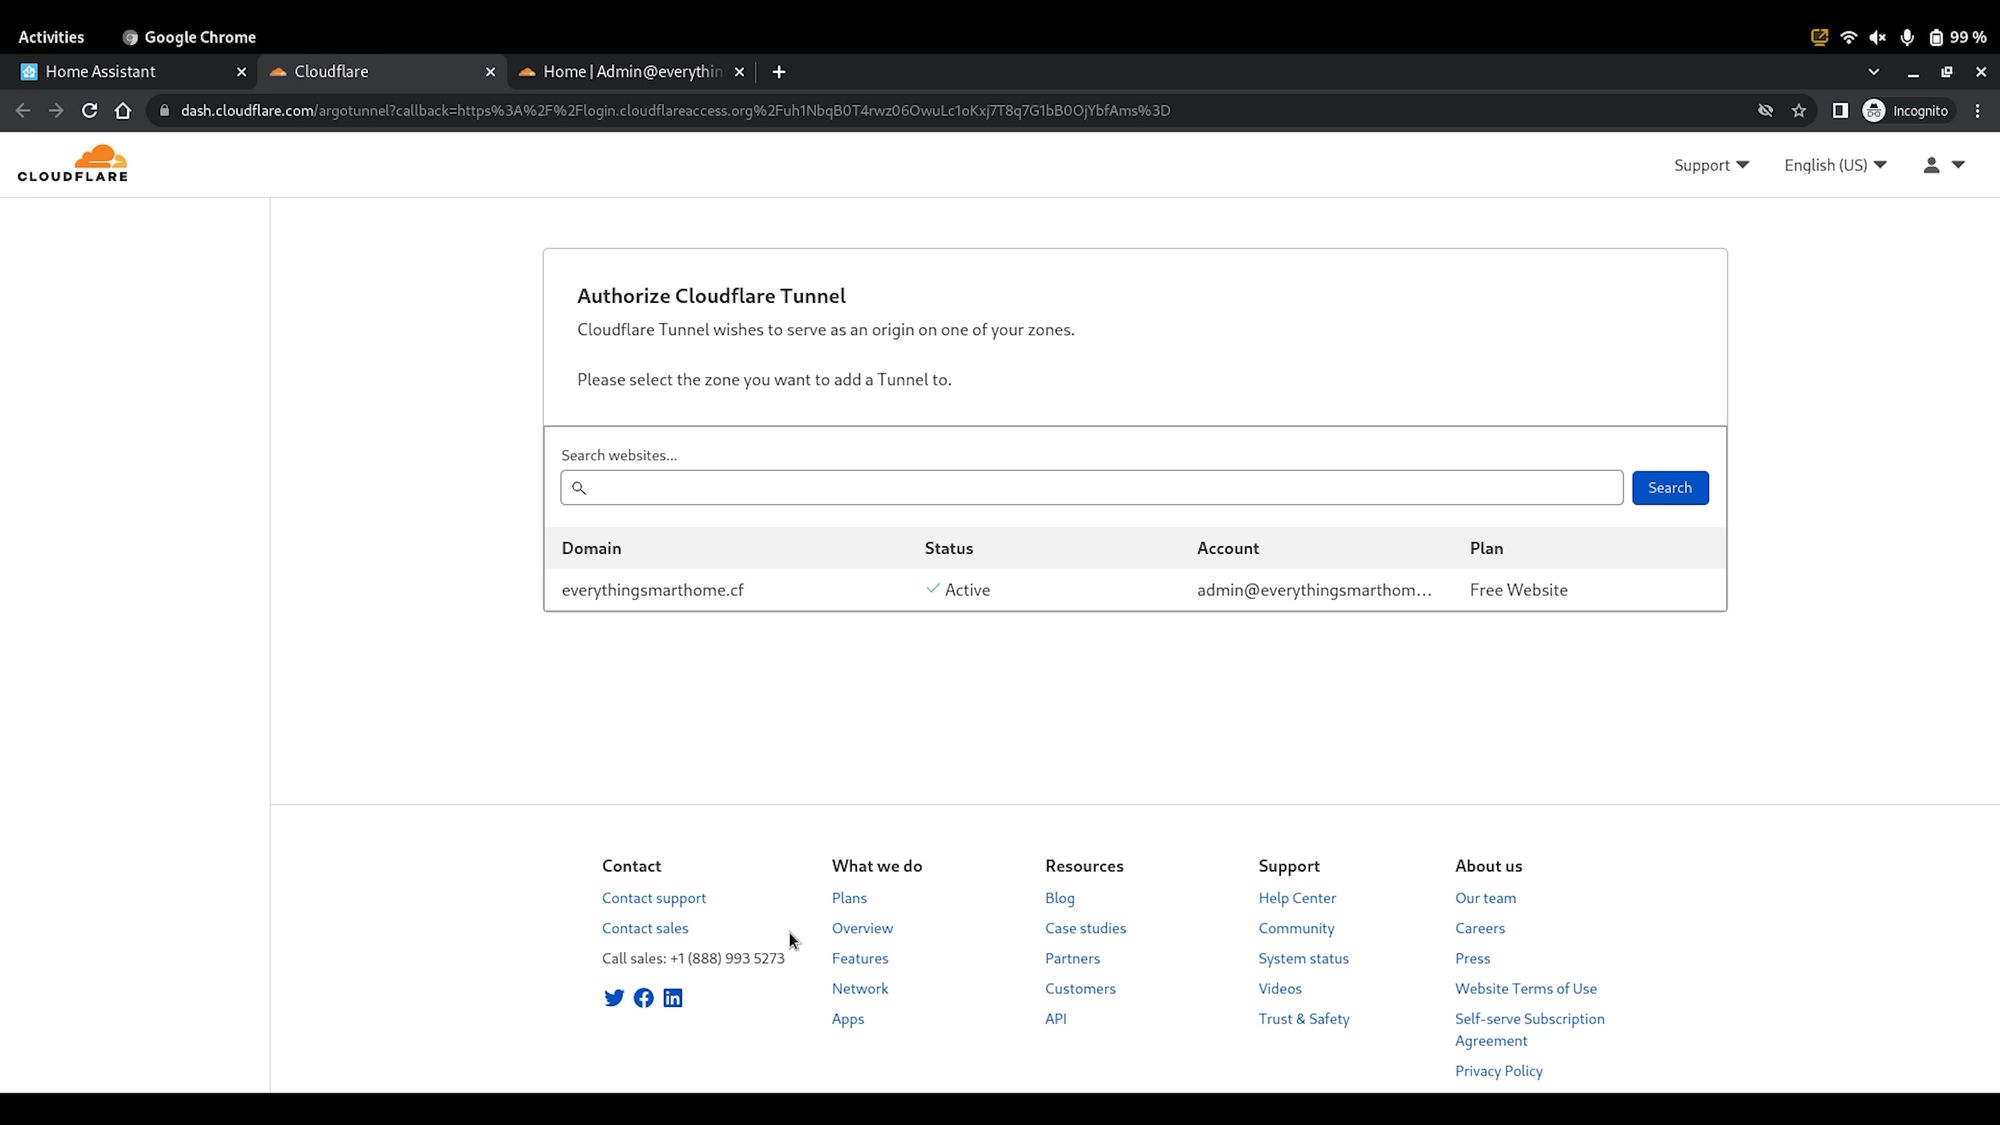
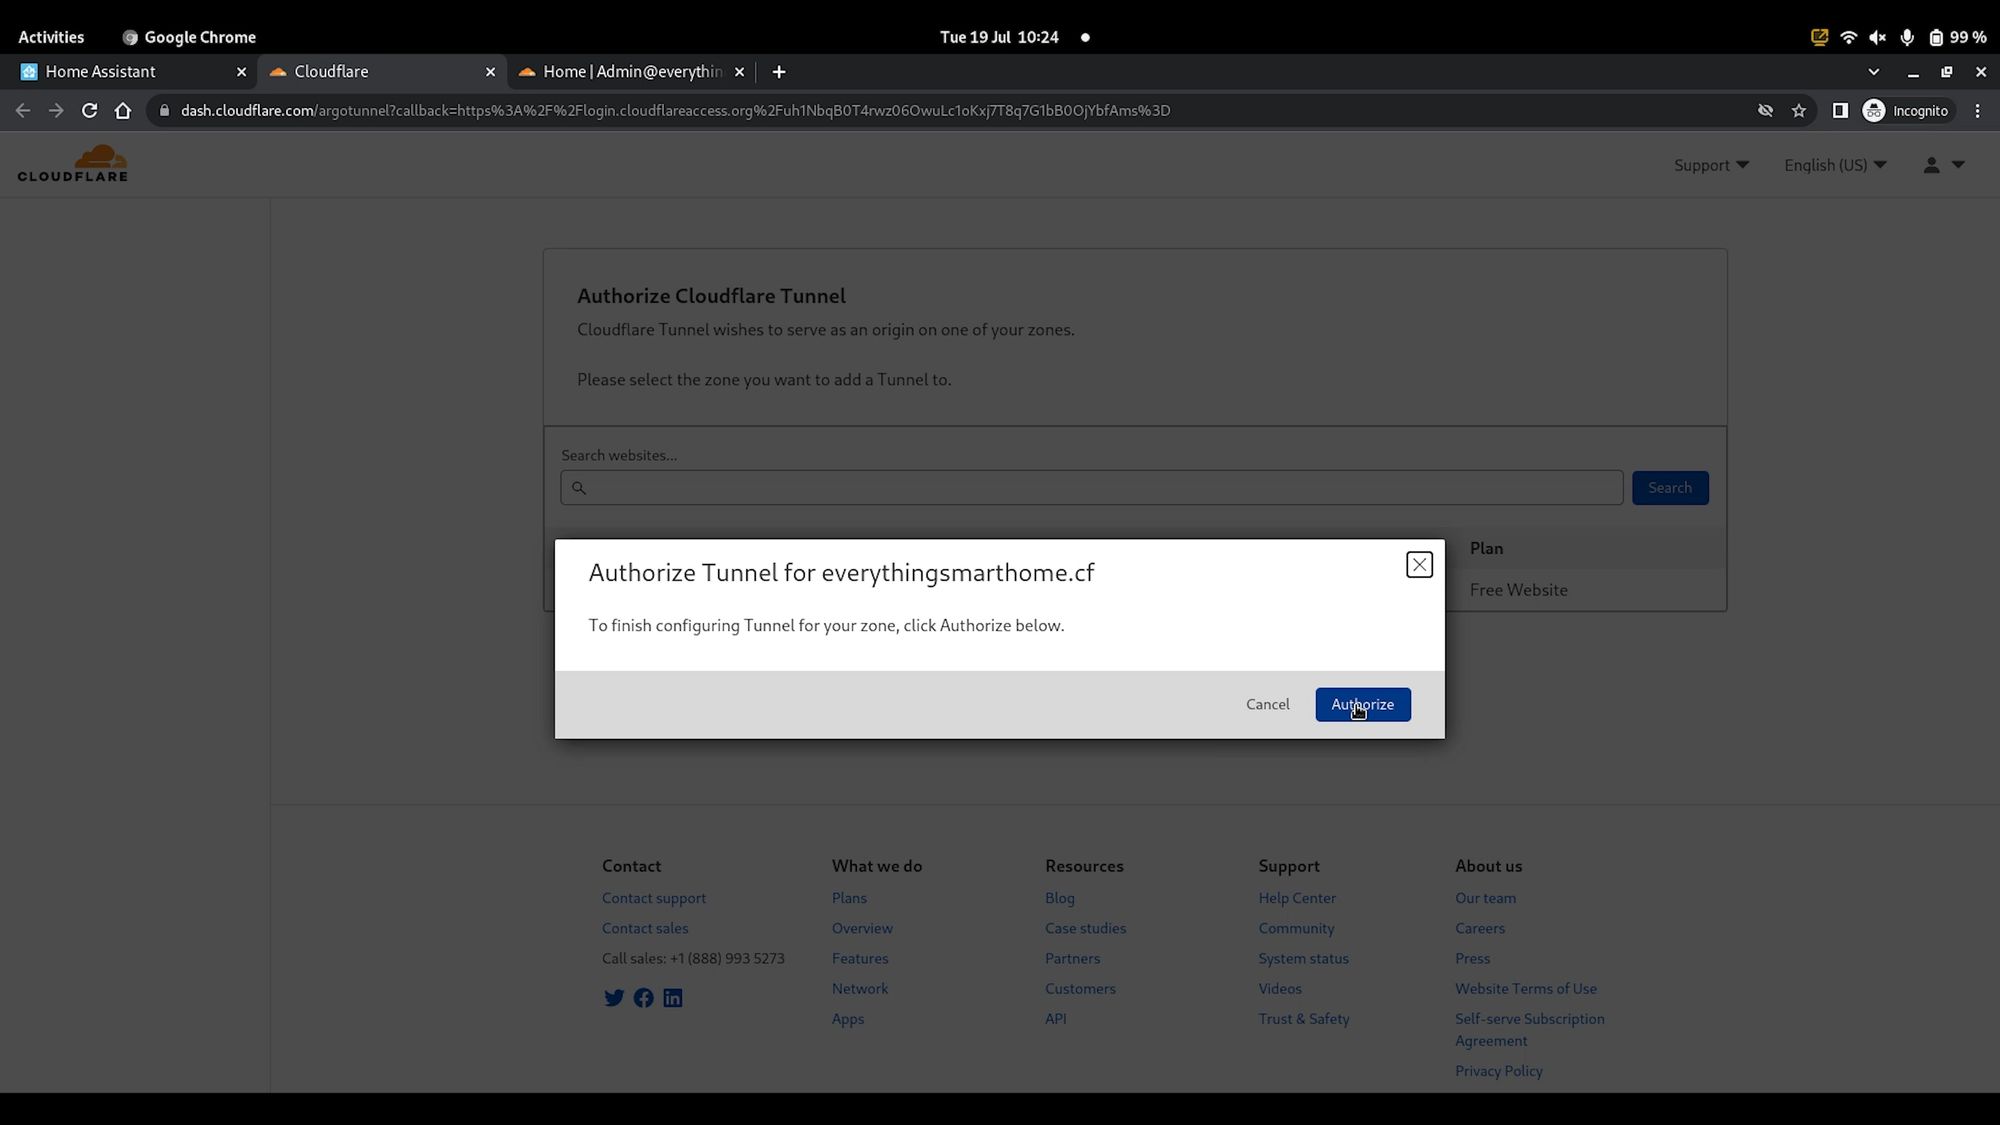
Once you start the add-on, head over to logs and then near the bottom you should see a line that tells you to visit the URL to authorize the tunnel so go ahead and follow that link which should open up the Cloudflare dashboard and will let you select the tunnel and authorize it.

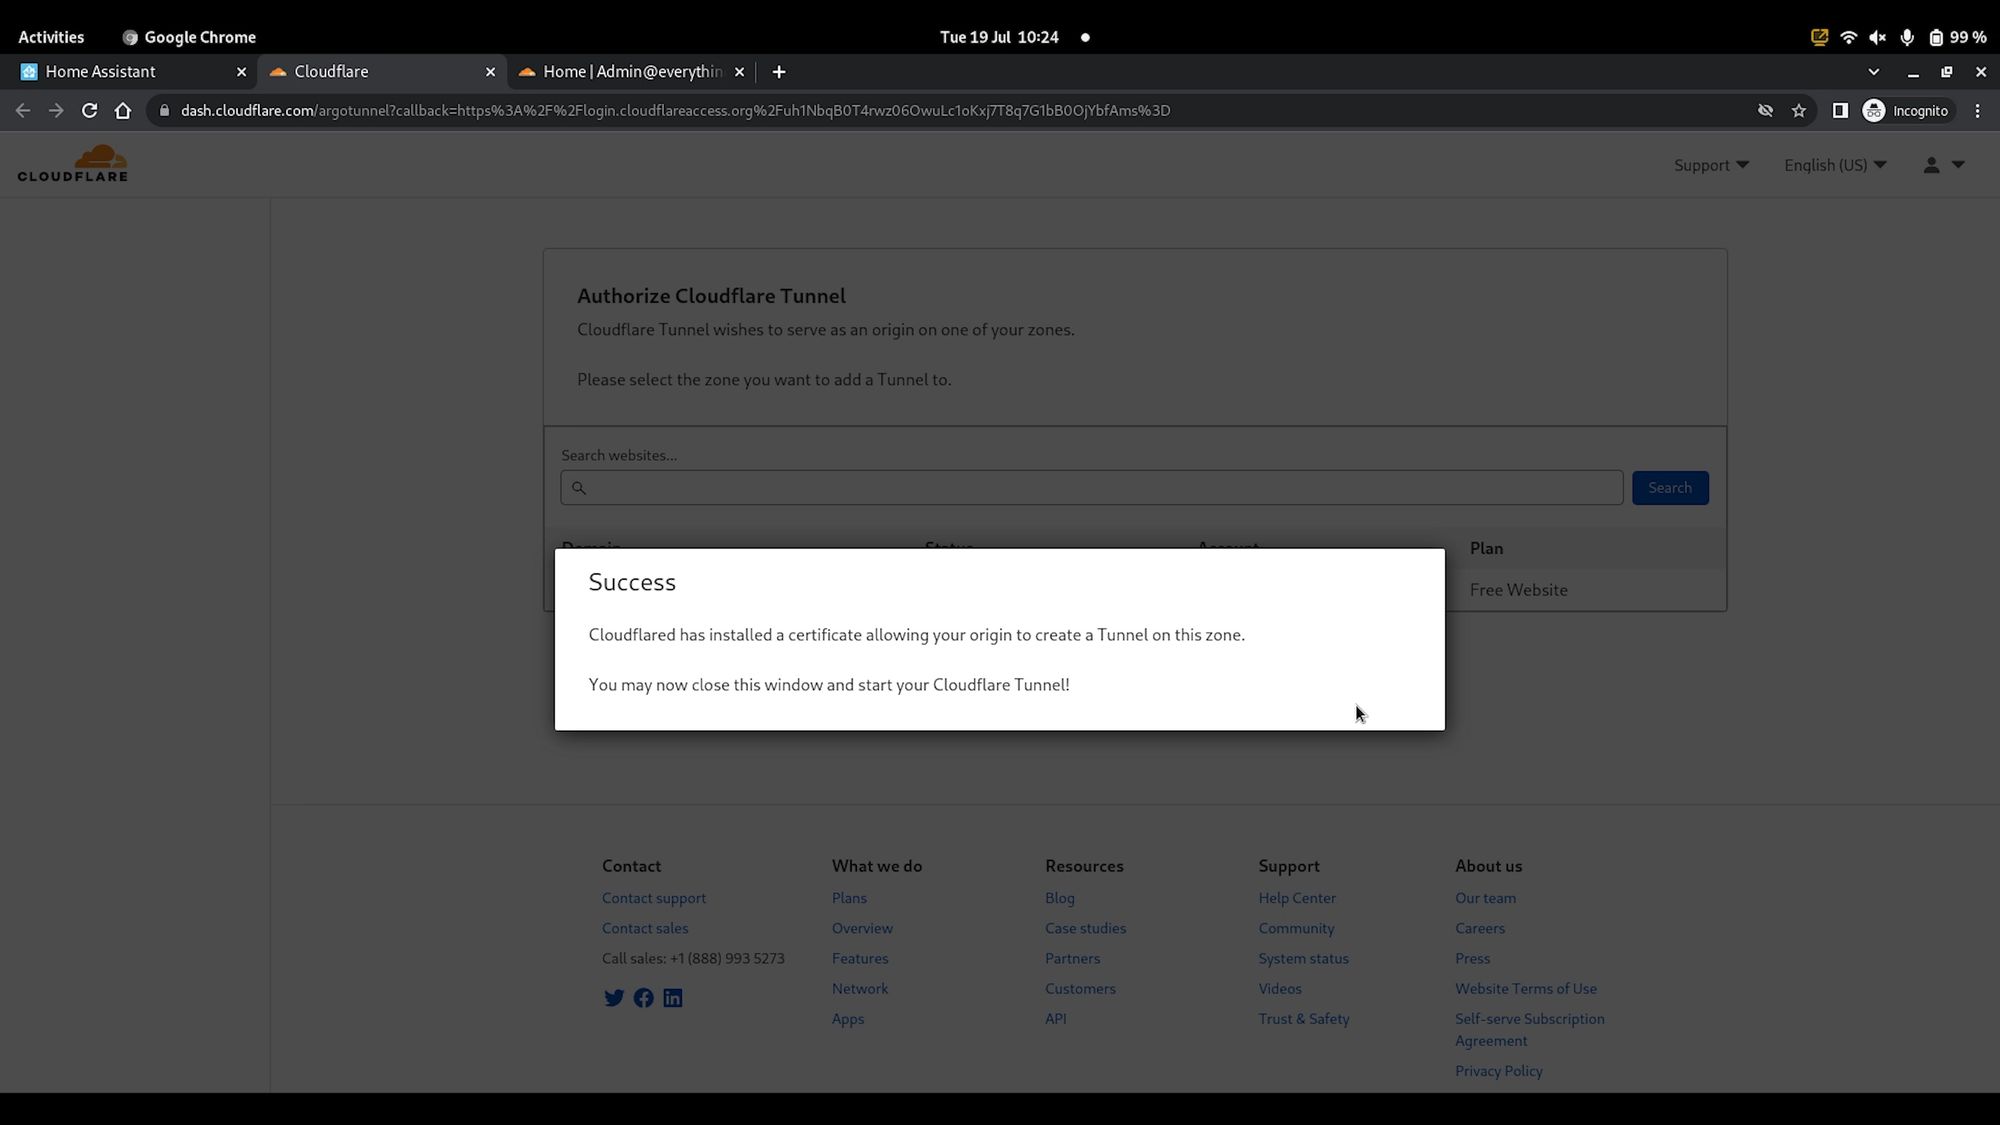
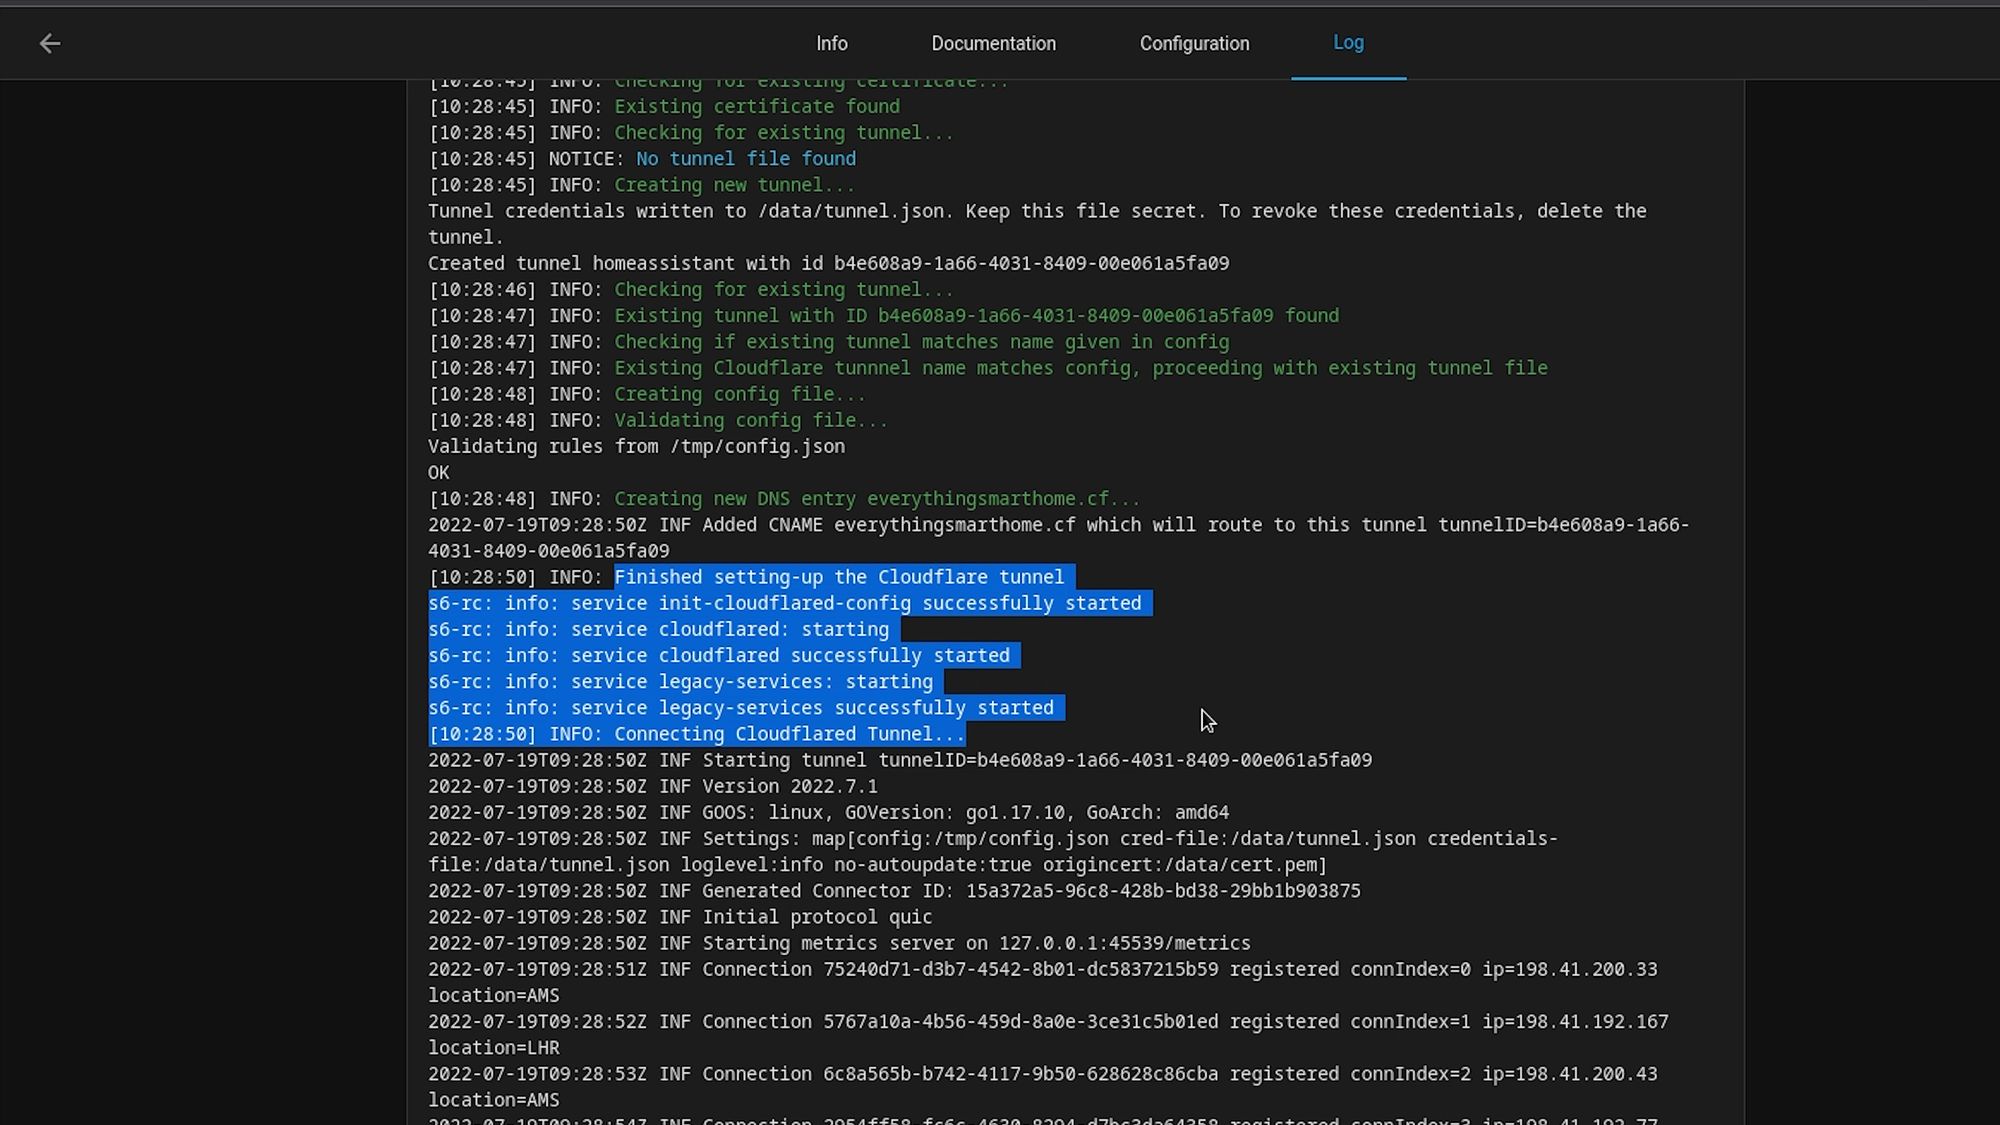
Once you’ve done that, you can go back to the Home Assistant page and hit refresh on the logs and you should see some lines mentioning that the tunnel has successfully logged in.
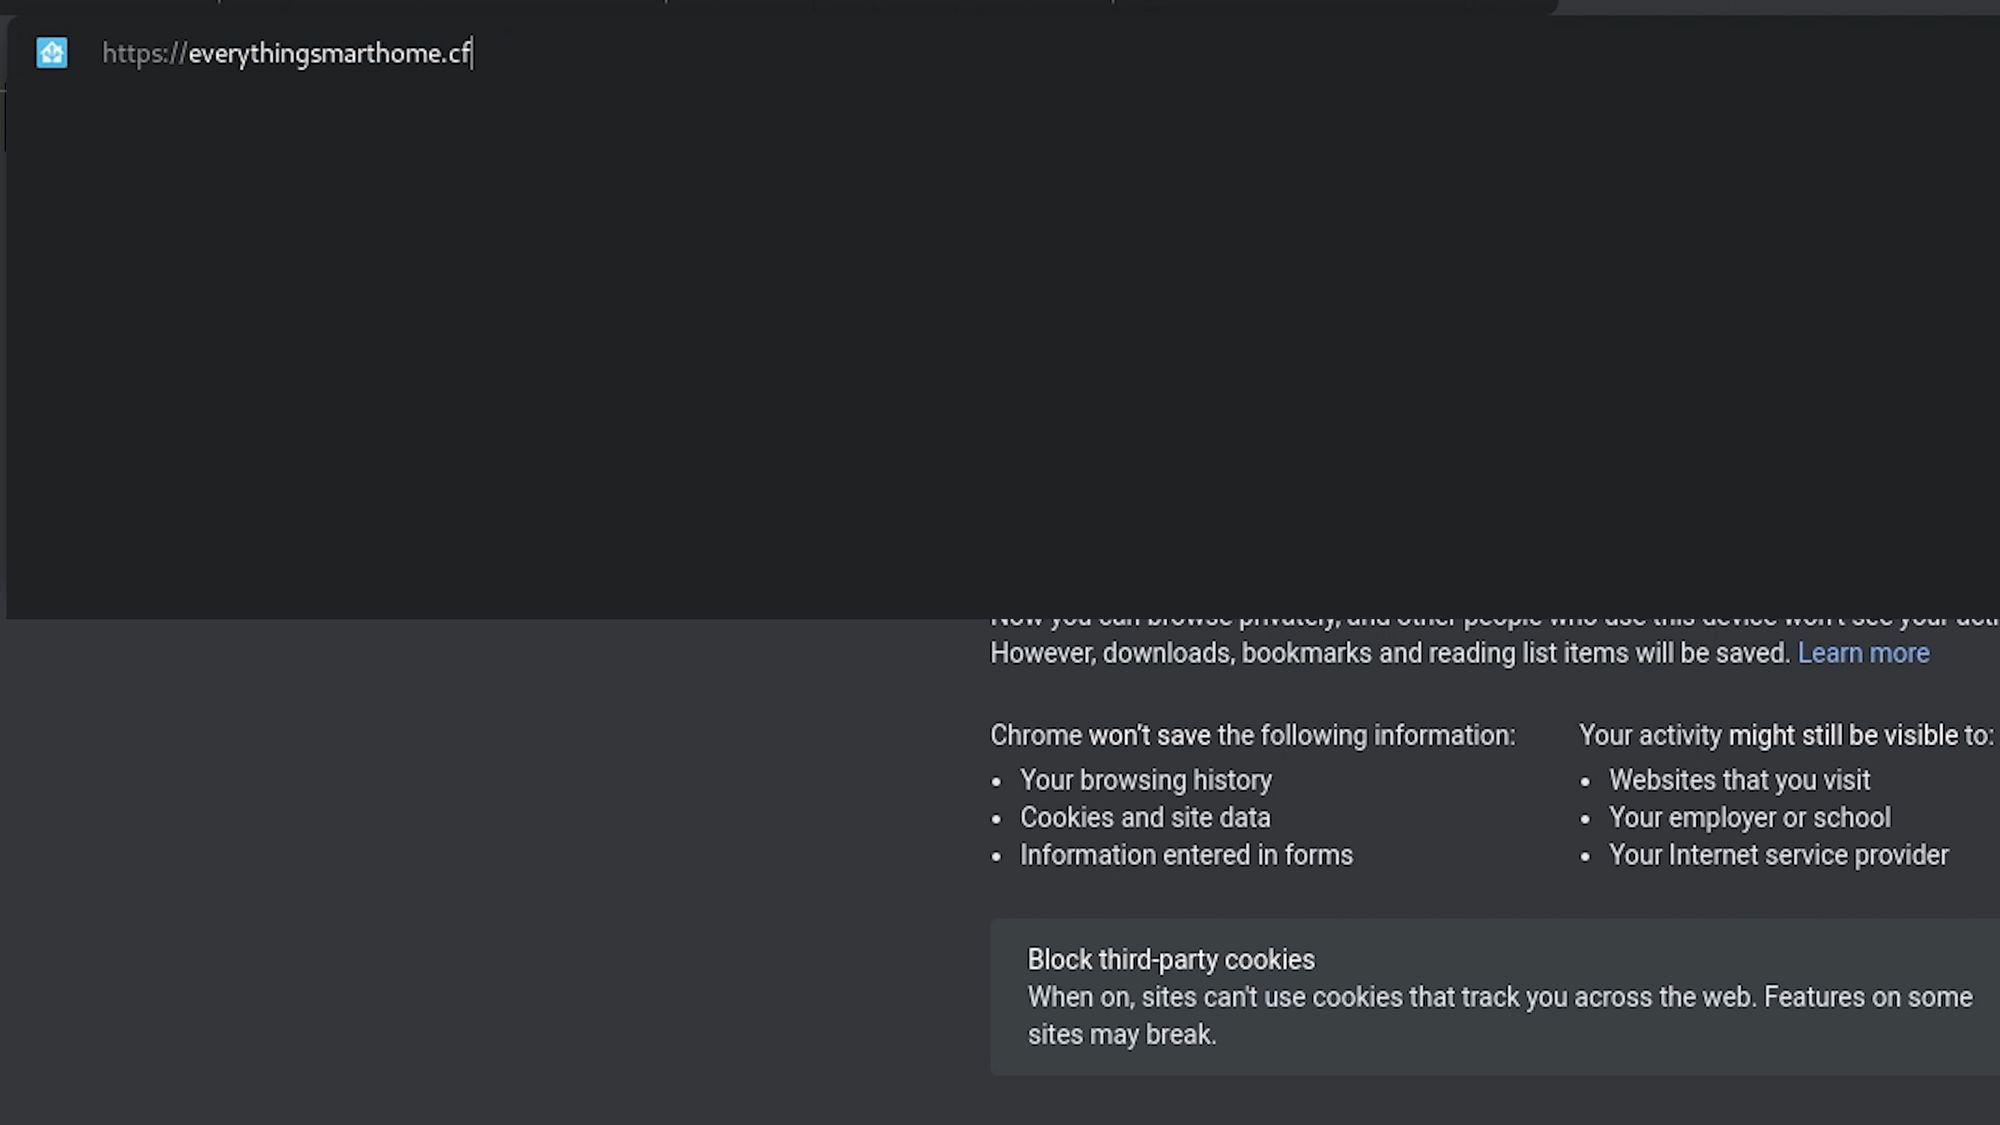
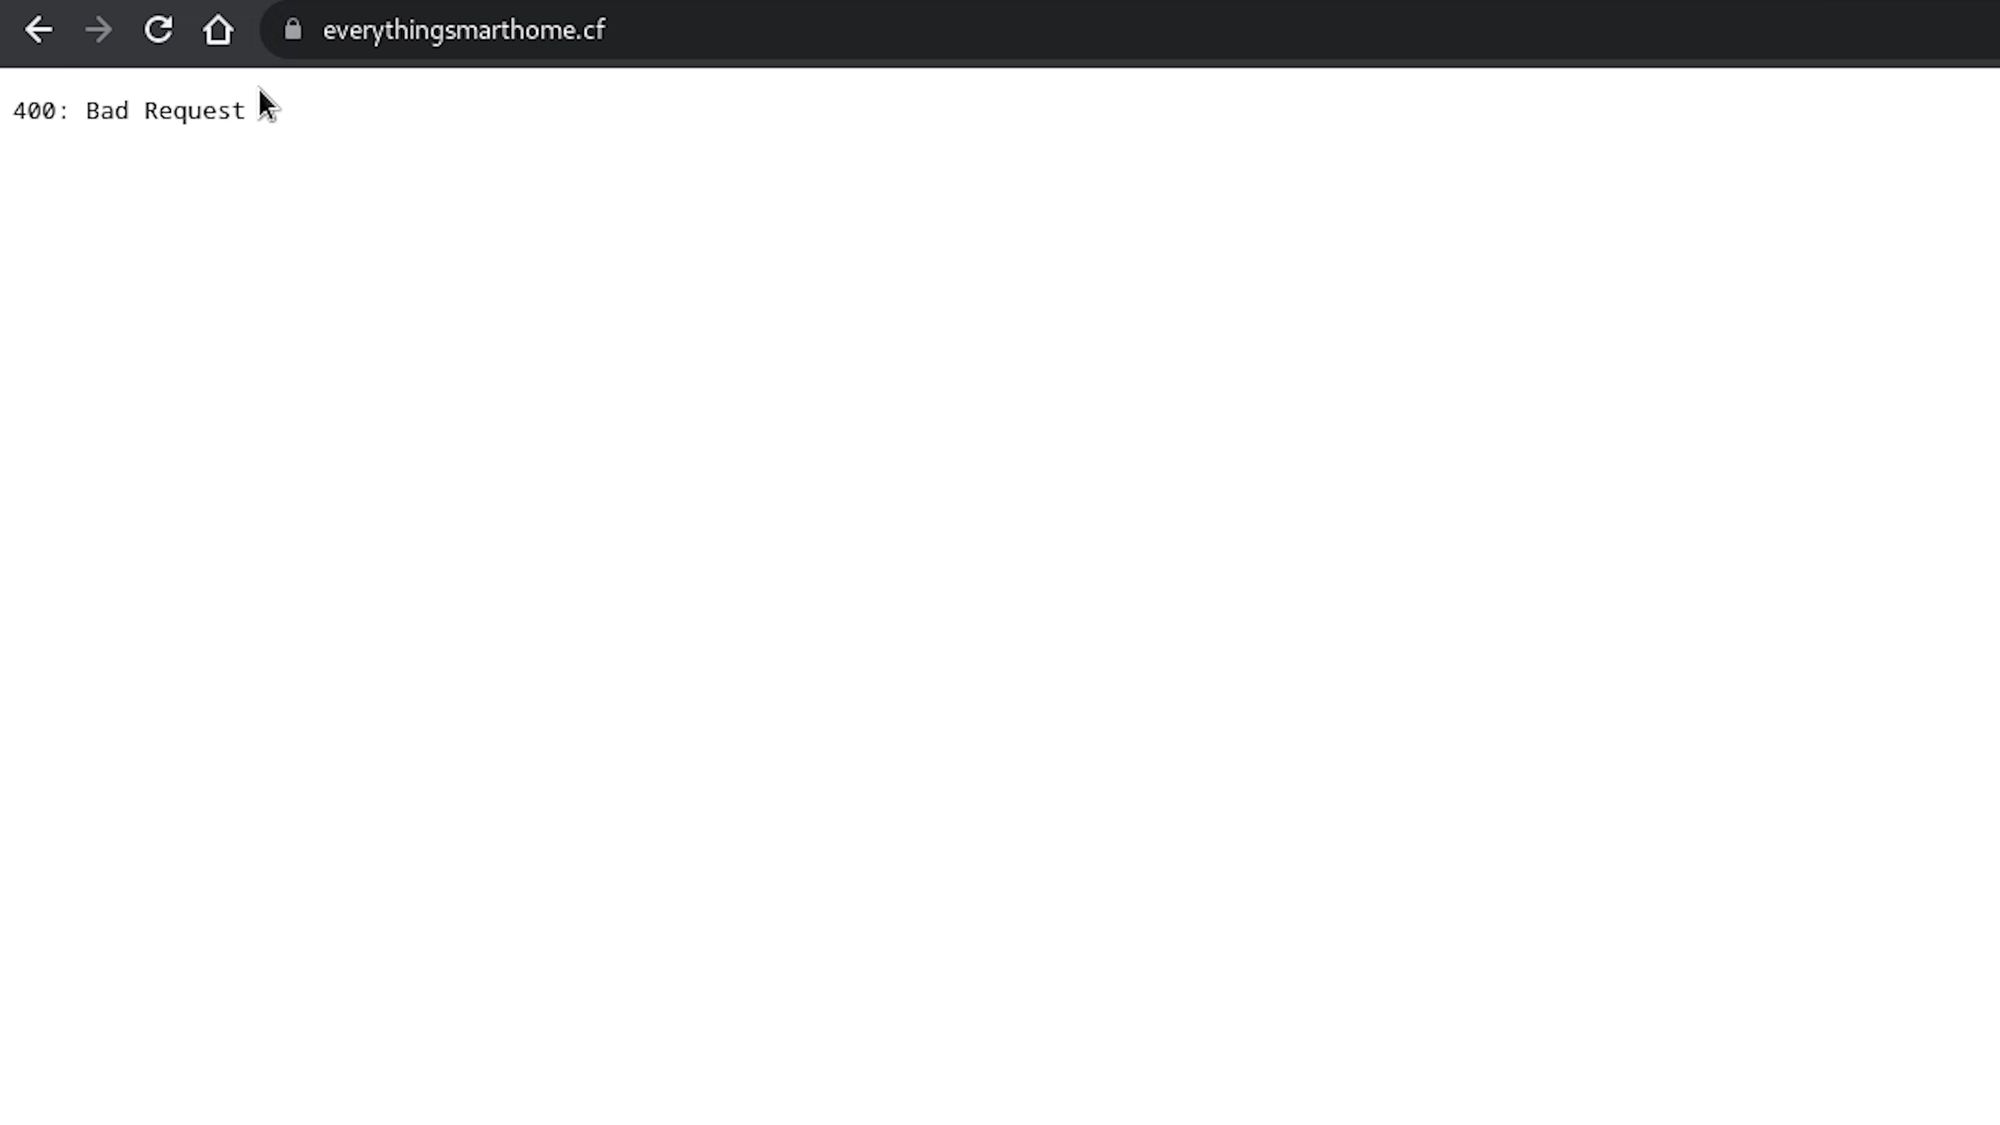
If you see this, you can now try and visit your domain name by entering https:// followed by your domain name - you do not need any port number for this. Once you hit enter, you’ll see that we are presented with a bad request message - this is actually a good thing because we are getting a 400 response, albeit it’s a bad response, but it does tell us that we are actually getting a response meaning our server is responding and the tunnel is up. This bad request error is expected and solved by adding a trusted proxy to Home Assistants configuration.
Back on the add-on page, go to the documentation page and scroll all the way down to the bottom and find the Home Assistant configuration example.
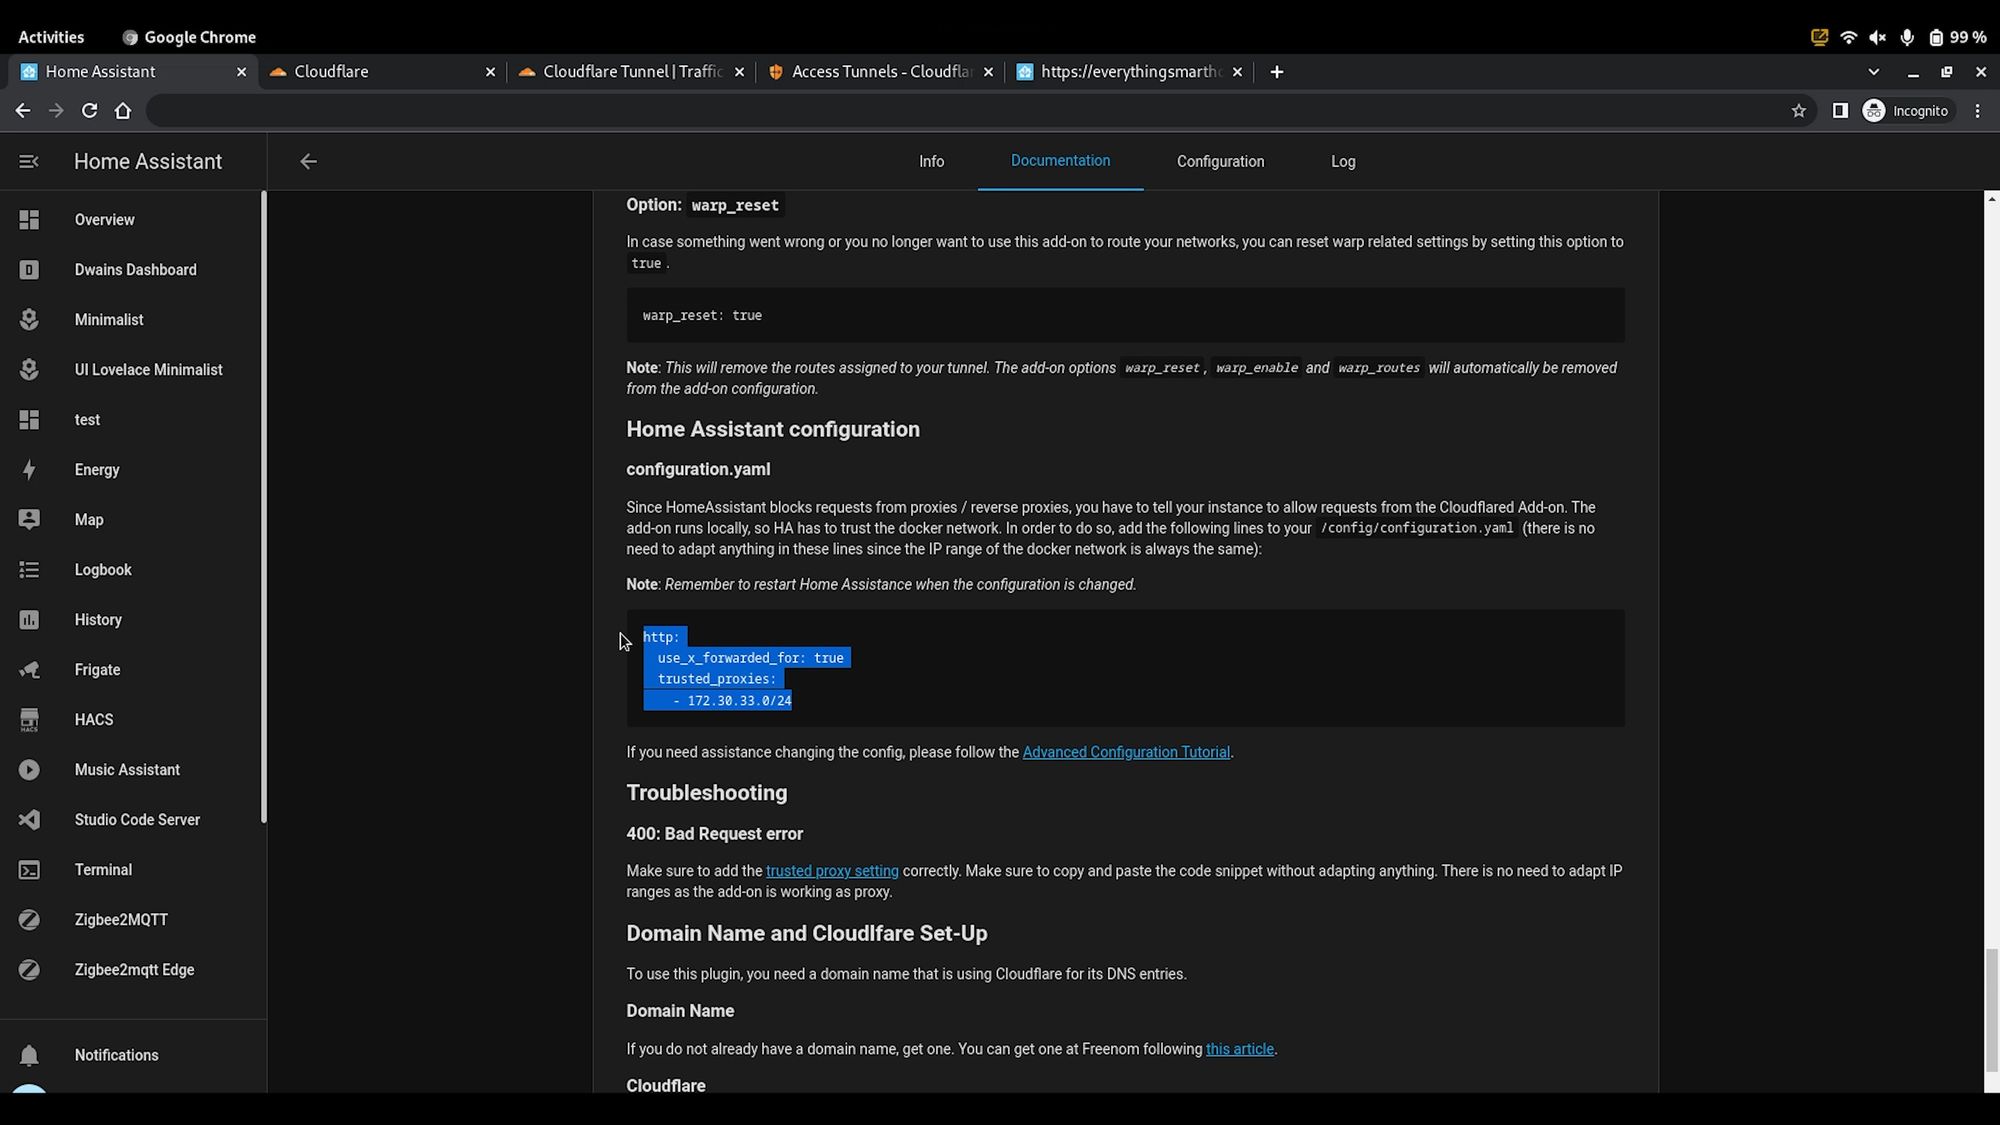
Copy the contents of this box and head over to edit your Home Assistant configuration, through VScode or your favourite editor. Paste this line in so it looks exactly like this:
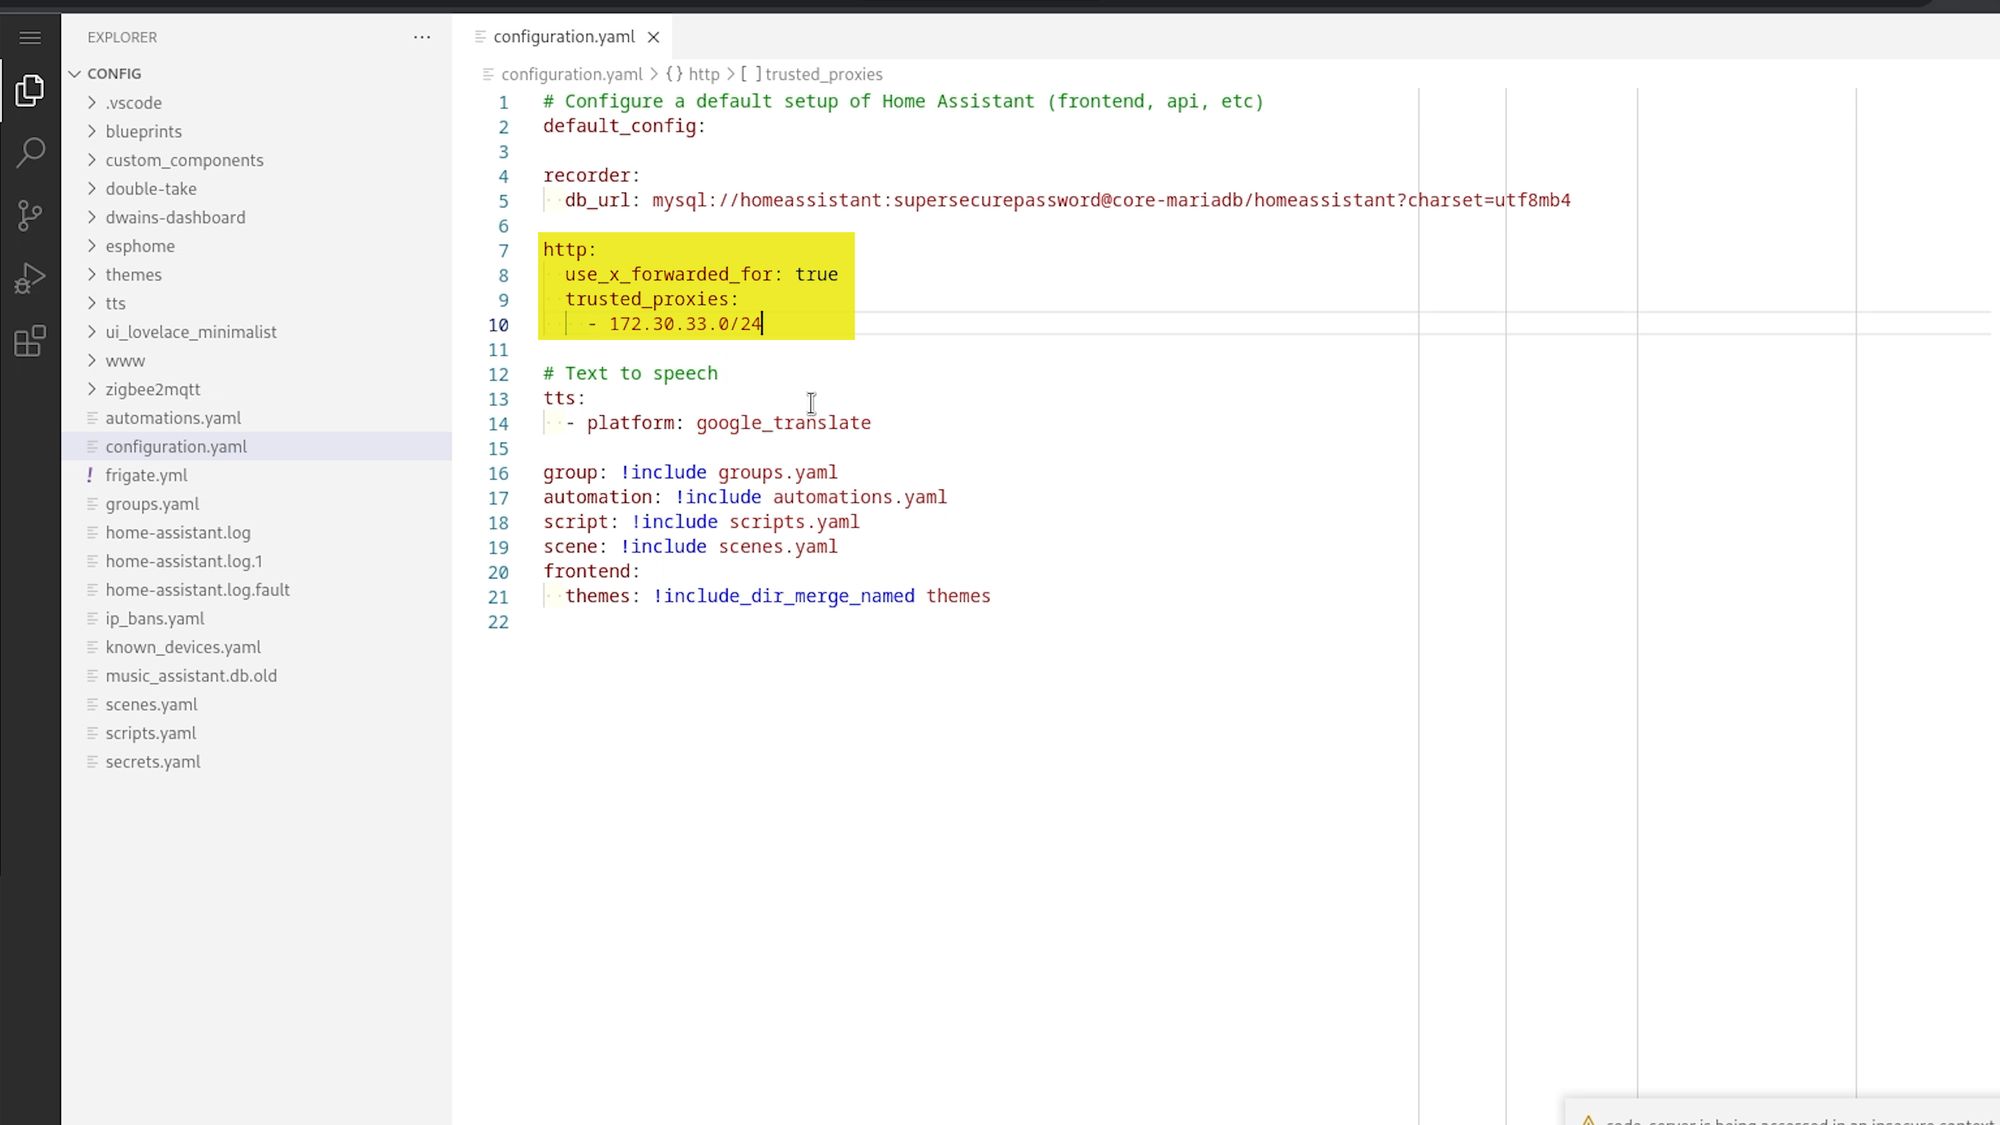
It’s OK if you have extra variables from some other settings such as IP ban, and then head to settings, system and hit the restart button for that to take effect.
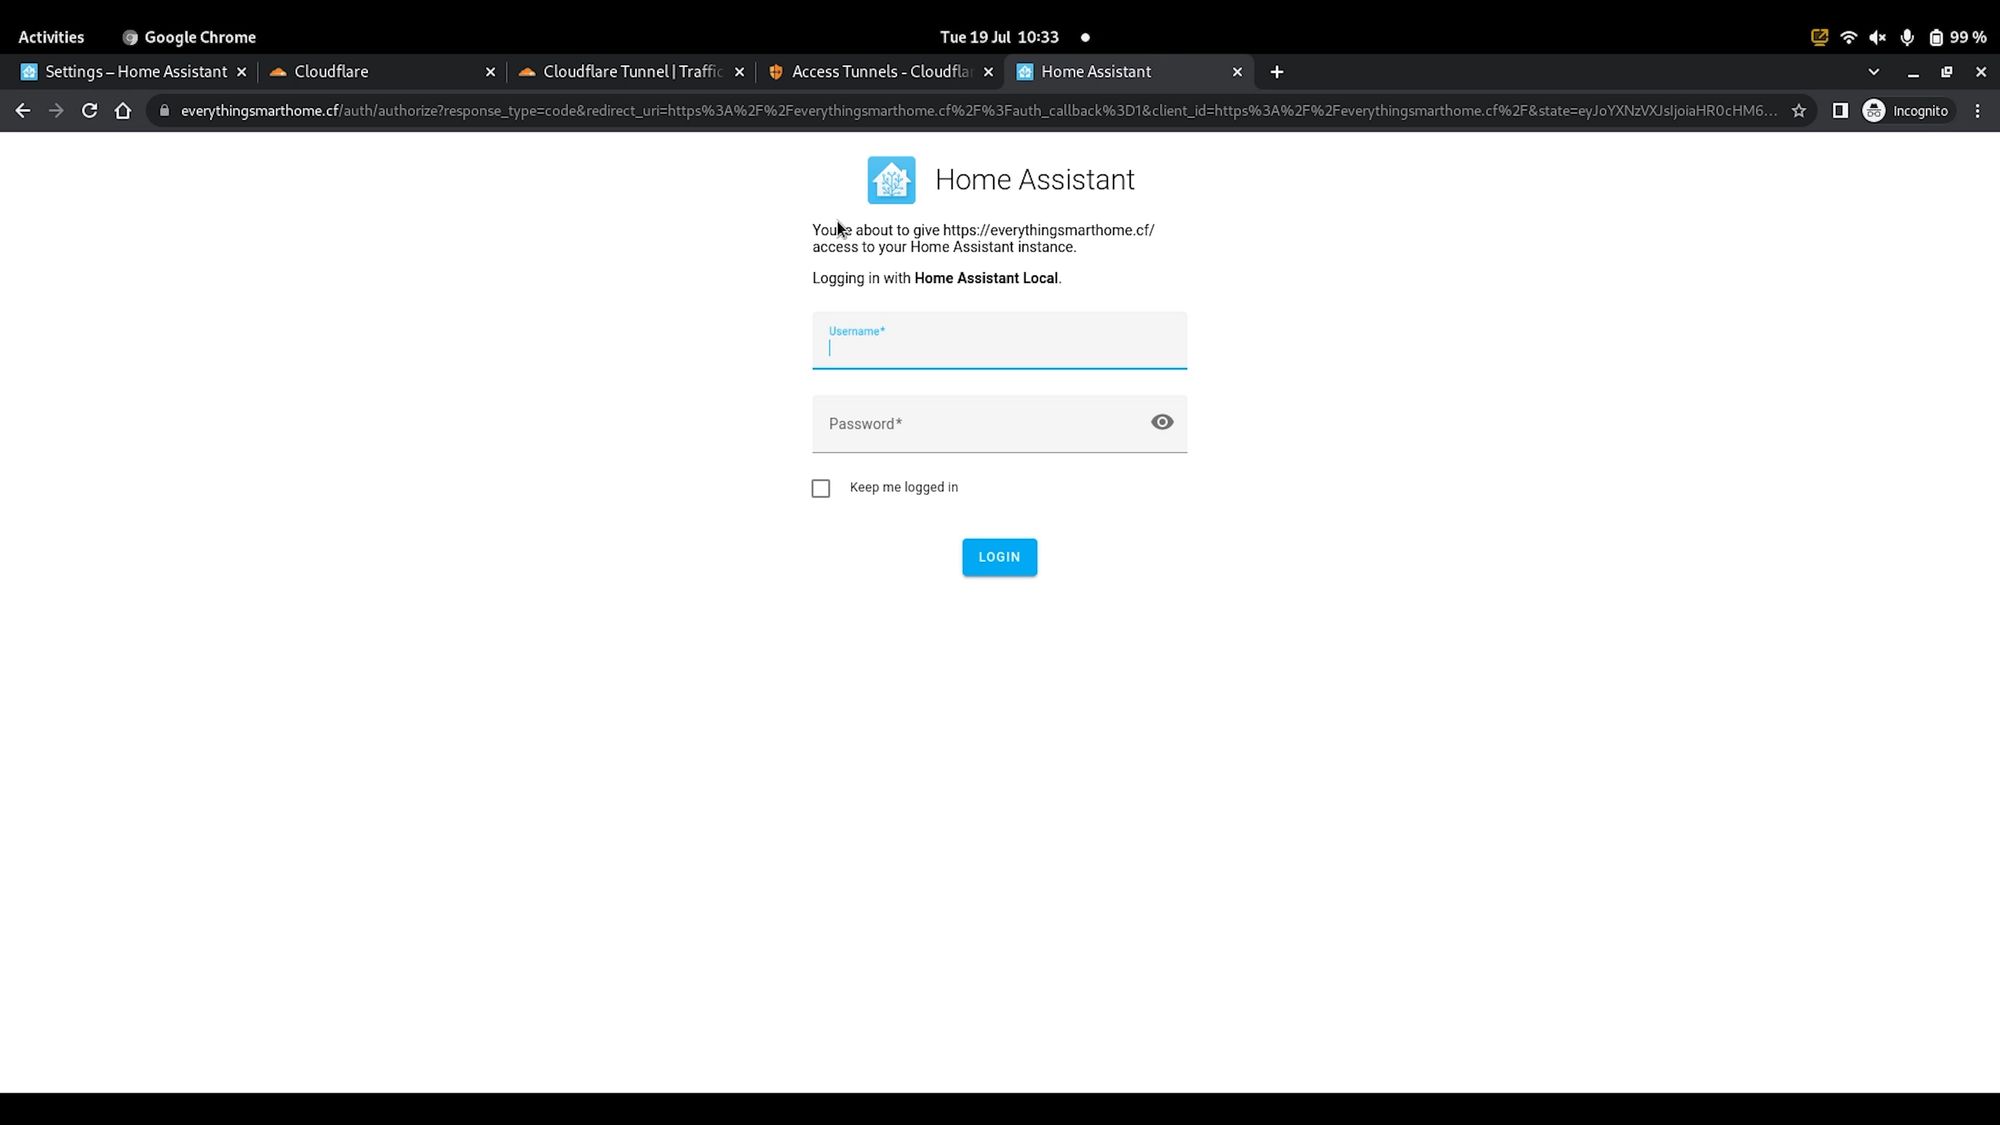
When Home Assistants restarted, we can now visit our domain name, this time we should be greeted with the Home Assistant login page, and that means that our tunnel is now up and working correctly, nice!
Adding Another Service
At this point you are pretty much done if all you want to do is connect to Home Assistant outside of your network, but if you want to add another service in here too then let me show you that.
Disclaimer: Do not add Plex to Cloudflare. Using Plex as an internal example was bad on my part as it is against Cloudflare ToS - I apologise.
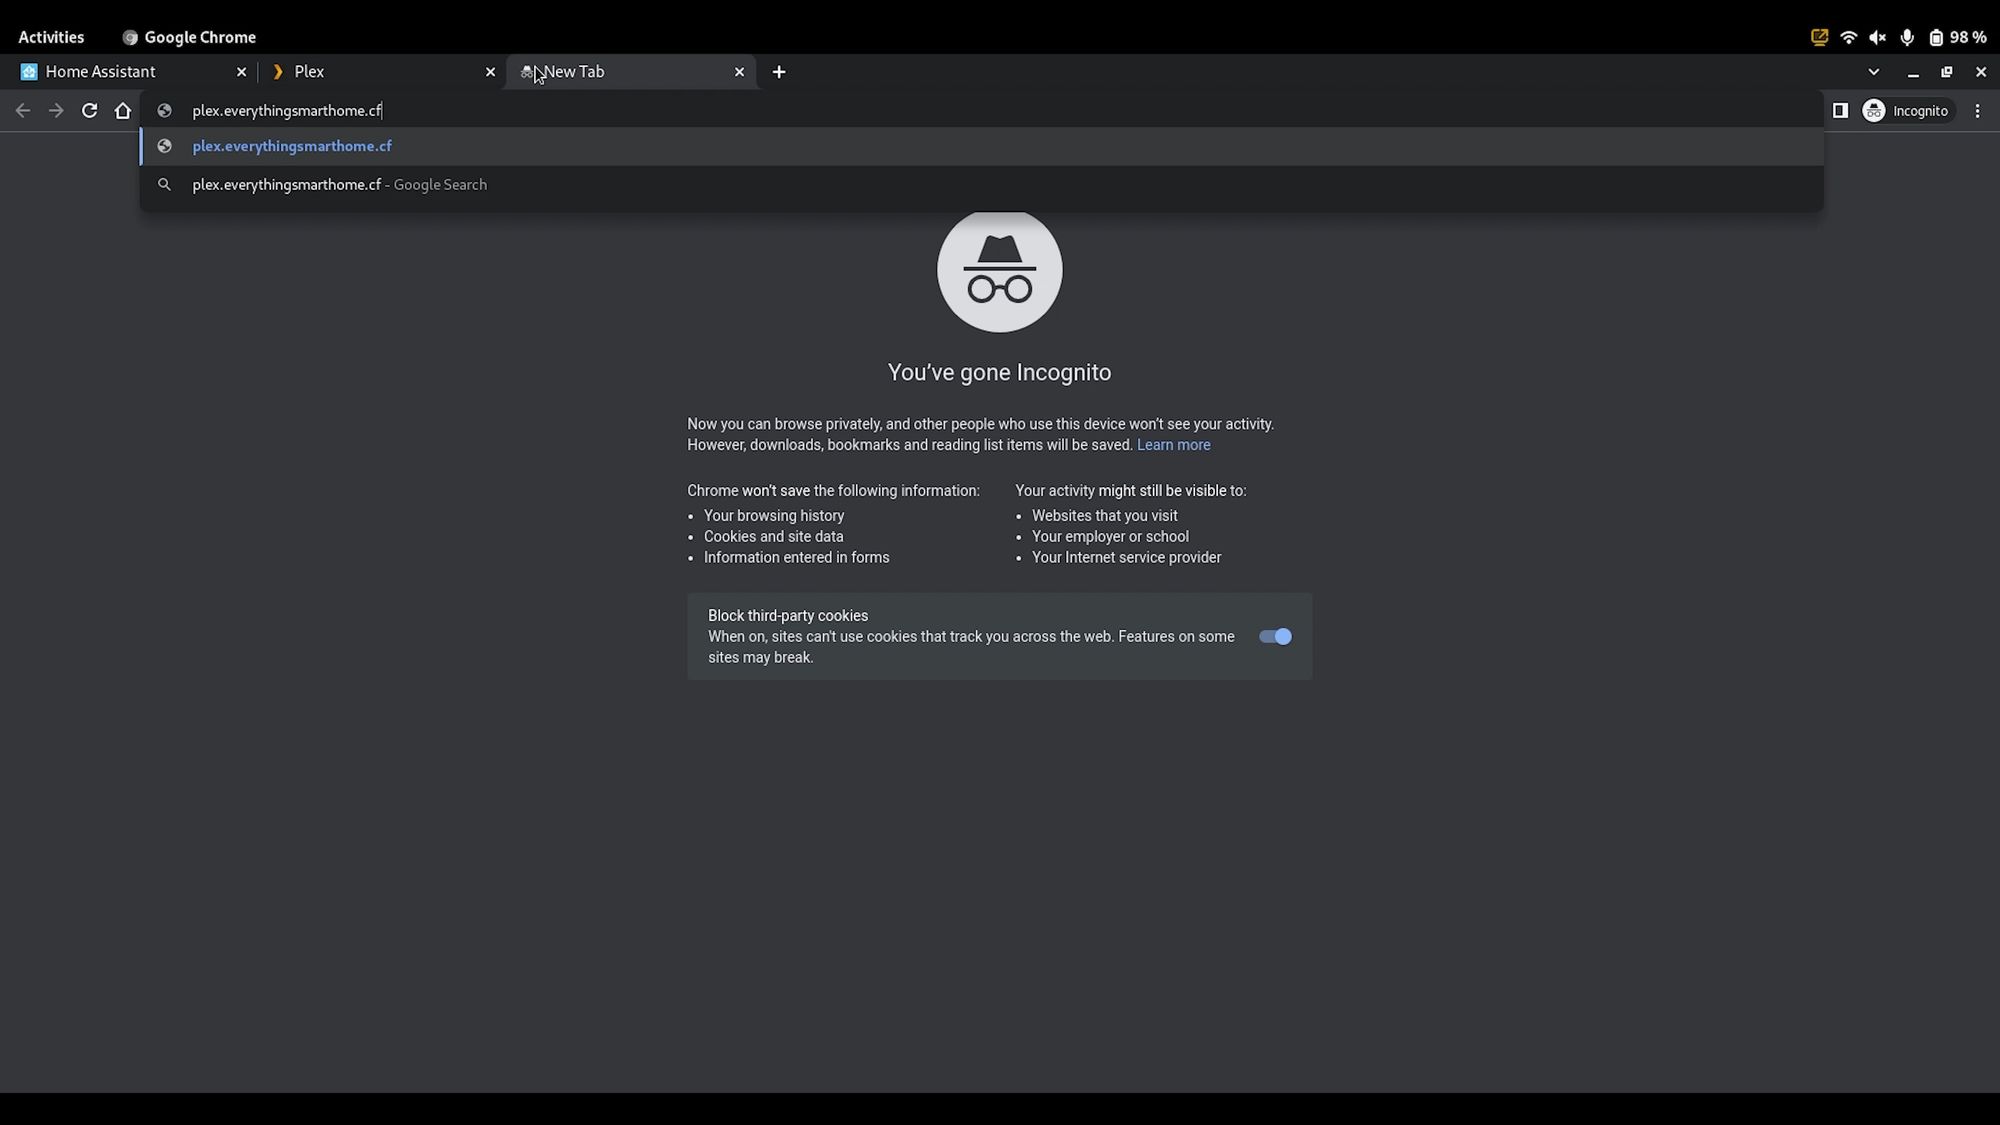
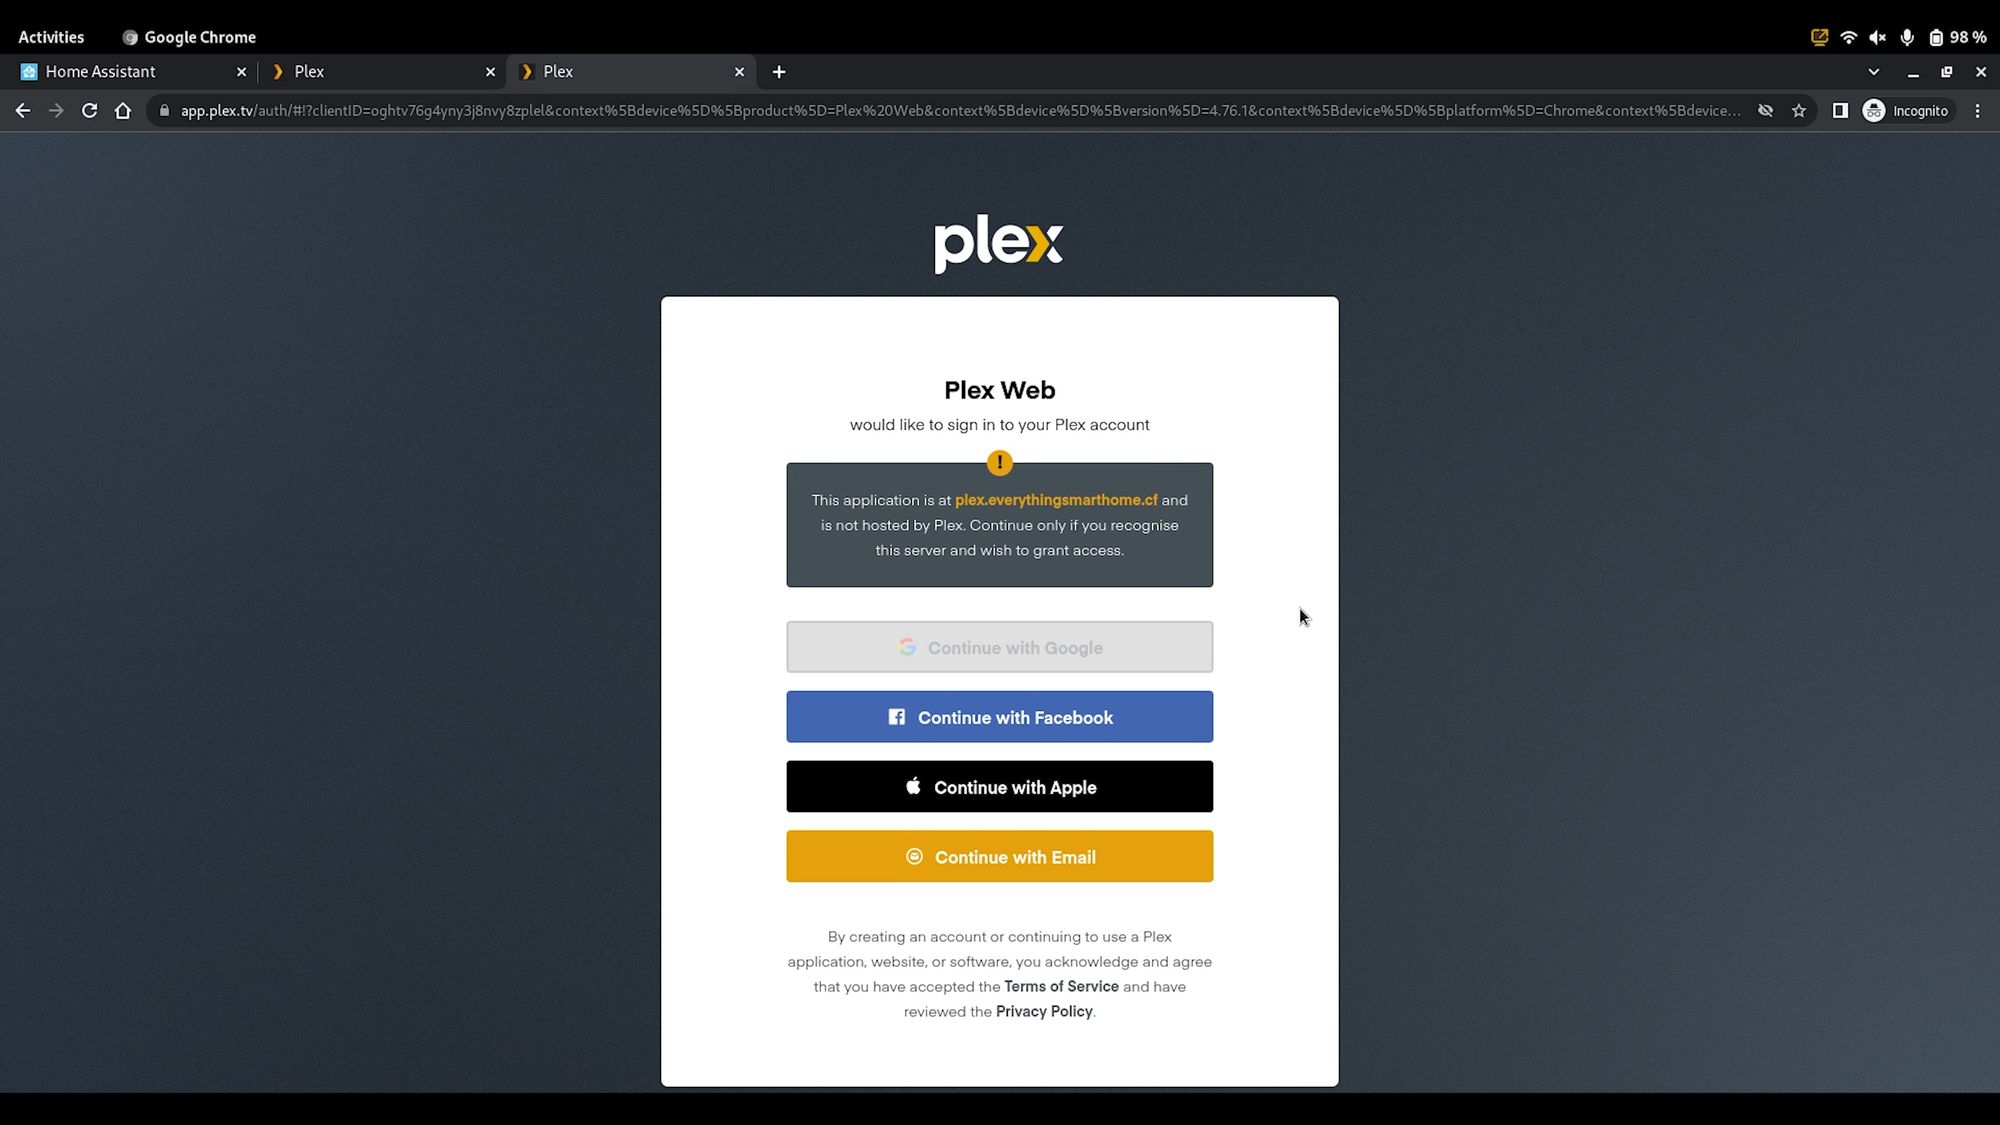
Let’s say for example we have a Plex server that we can access inside our network, but not externally - using the Cloudflare add-on we can also make that page remotely accessible through Home Assistant and the Cloudflare tunnel.
To do that, head back to the configuration page, and then this time in the additional hosts box, enter a hyphen, followed by hostname and then whatever you want for the URL, so in this example I am adding Plex, so for the hostname I enter plex.everythingsmarthome.cf - you’ll want to make sure and pick something that goes along with your free domain name. Under that, enter service, followed by the internal URL that you use for service, this can be a local IP address - make sure to enter a port number if the thing you are adding requires one.
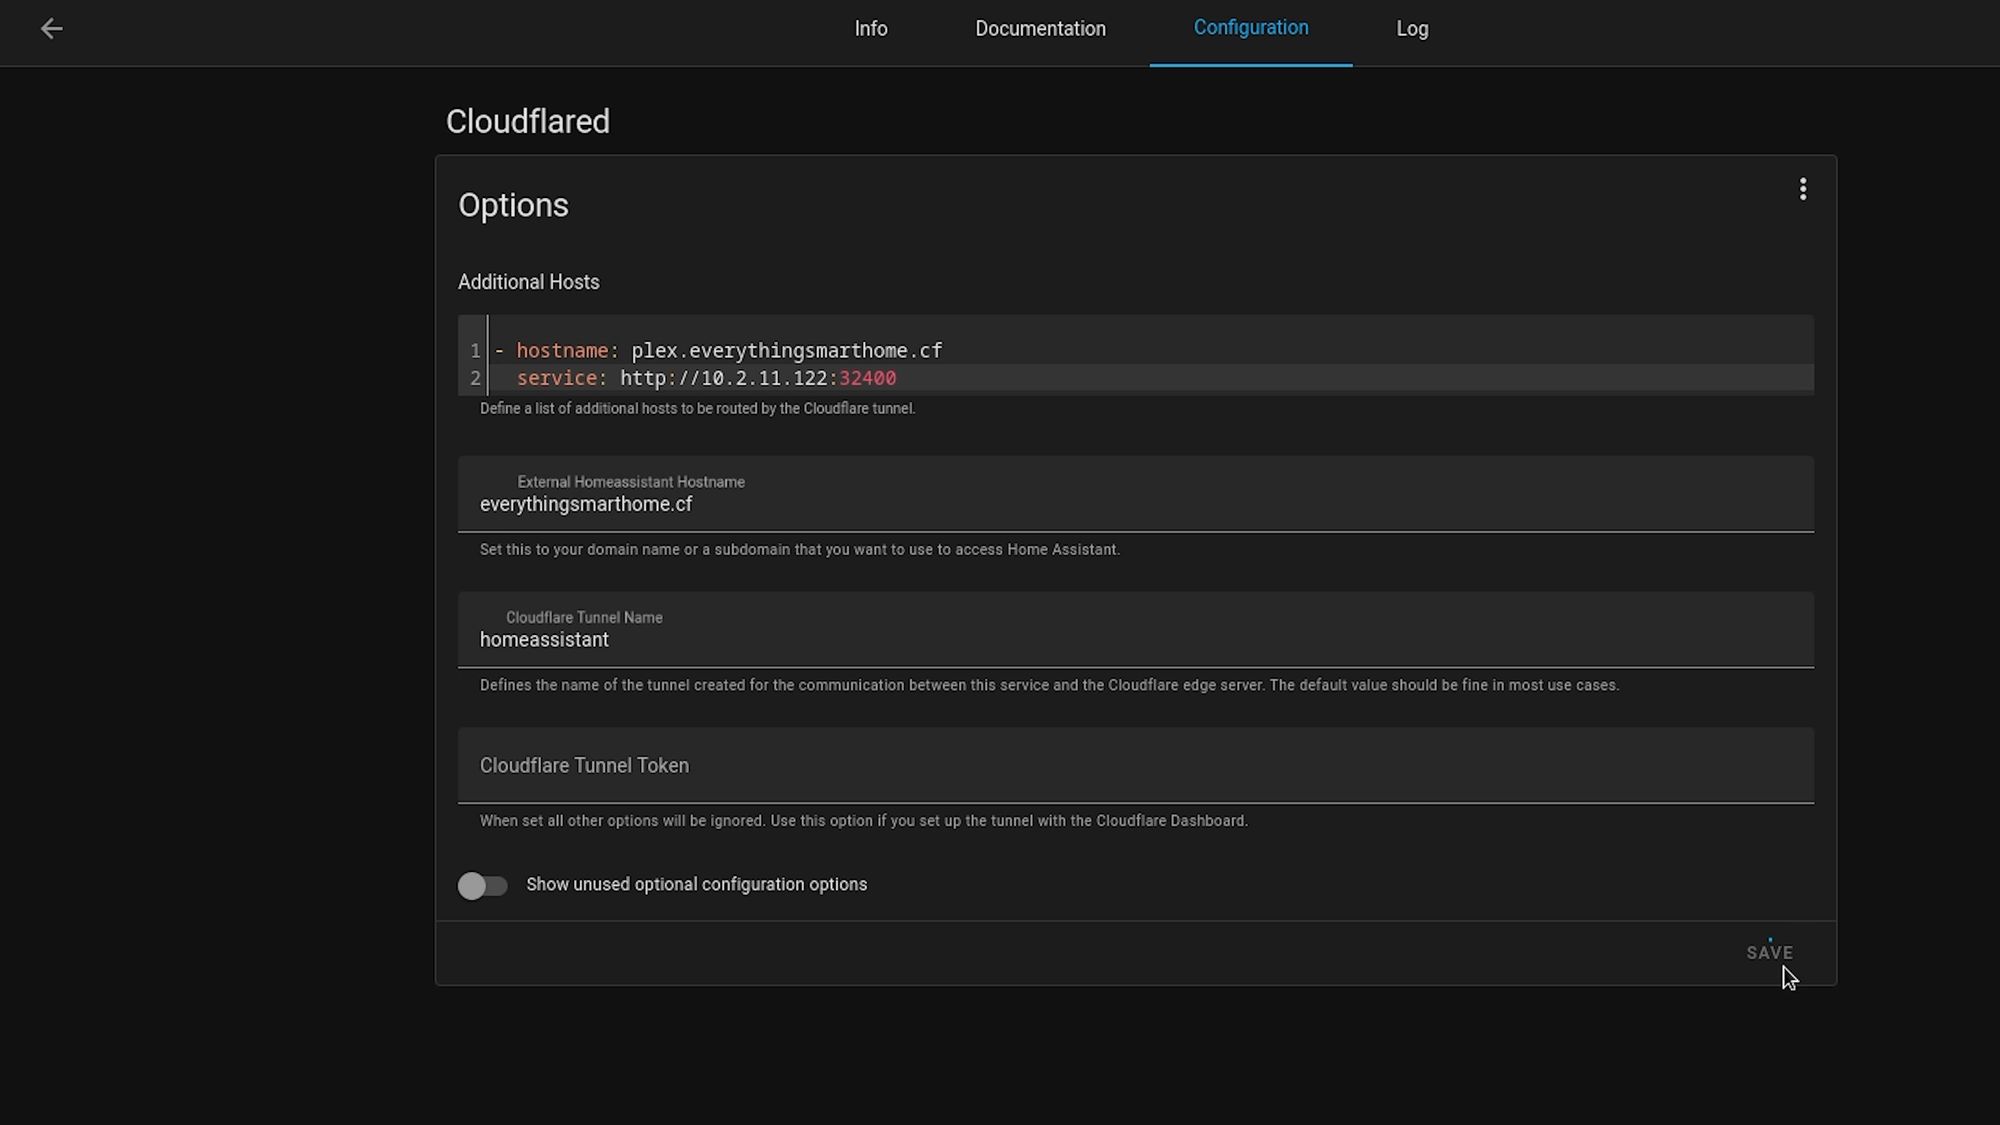
Hit save and restart add-on, and just like that, we have added an additional service to our Cloudflare tunnel!
Again, please do not use Plex - any internal service can be done the exact same way.
That's It!
There we go, that is how to setup a secure Cloudflare tunnel to allow you to access Home Assistant and other services from outside your network - all without any port forwarding! Once you have setup your Cloudflare tunnel, I would highly suggest implementing some further security steps just to make sure everything is as good as it can be, I’ve done a video on my top tips for security on Home Assistant already so would highly suggest checking that out and following the advice from that video if you haven’t already done so.