Flashing Sonoff SwitchMan M5 with ESPHome


Sonoff has recently released some brand new affordable smart wall switches called the Sonoff SwitchMan M5, featuring an ESP32 inside – and you know what that means right!? ESPHome time!
Let’s go through and show you step by step how to flash a custom firmware on the Sonoff SwitchMan, such as ESPHome, to give you native and local control with Home Assistant, all done without any soldering!
Video
Sonoff SwitchMan M5 Overview

- Sonoff SwitchMan M5
- ESP32
- Gunmetal grey
- Available in 1,2 or 3 Gang configurations
- 10A Max (1 gang), 10A Max (5A/Gang – 2 Gang), 6A Max (2A/Gang – 3 Gang)
- $17.99-$22.49
Let’s take a quick look at the switches themselves before we crack them open, these new switches are called the Sonoff SwitchMan M5 – a wifi smart switch with an ESP32 inside and physical clicky buttons.
They are available in 1, 2 and 3 gang configurations, and you’ll notice that they are colour matched with the Sonoff NSPanel so that you can have these side by side if you wanted to, with an optional frame for a neat and tidy configuration.

Flashing with ESPHome
Overview and pre-requisites
As mentioned, because the Sonoff SwitchMan has an ESP32 that is inside, that does of course mean that like a lot of Sonoff products, we can put our own custom firmware on here, like ESPHome or Tasmota.
I’m going to be using ESPHome for this guide, but these steps still apply for if you want to do Tasmota at least from a wiring point of view. You will need to use ESP-Flasher instead of ESPHome to do the initial install however.
You’ll be glad to hear that there is no soldering required for these switches, but we do need a couple of things in order to make this work:
- USB to Serial FTDI Adapter – Needs to have switchable voltage
- DuPont Wires – get a large pack with all 3 types
- Home Assistant and ESPHome Installed
Disassembly
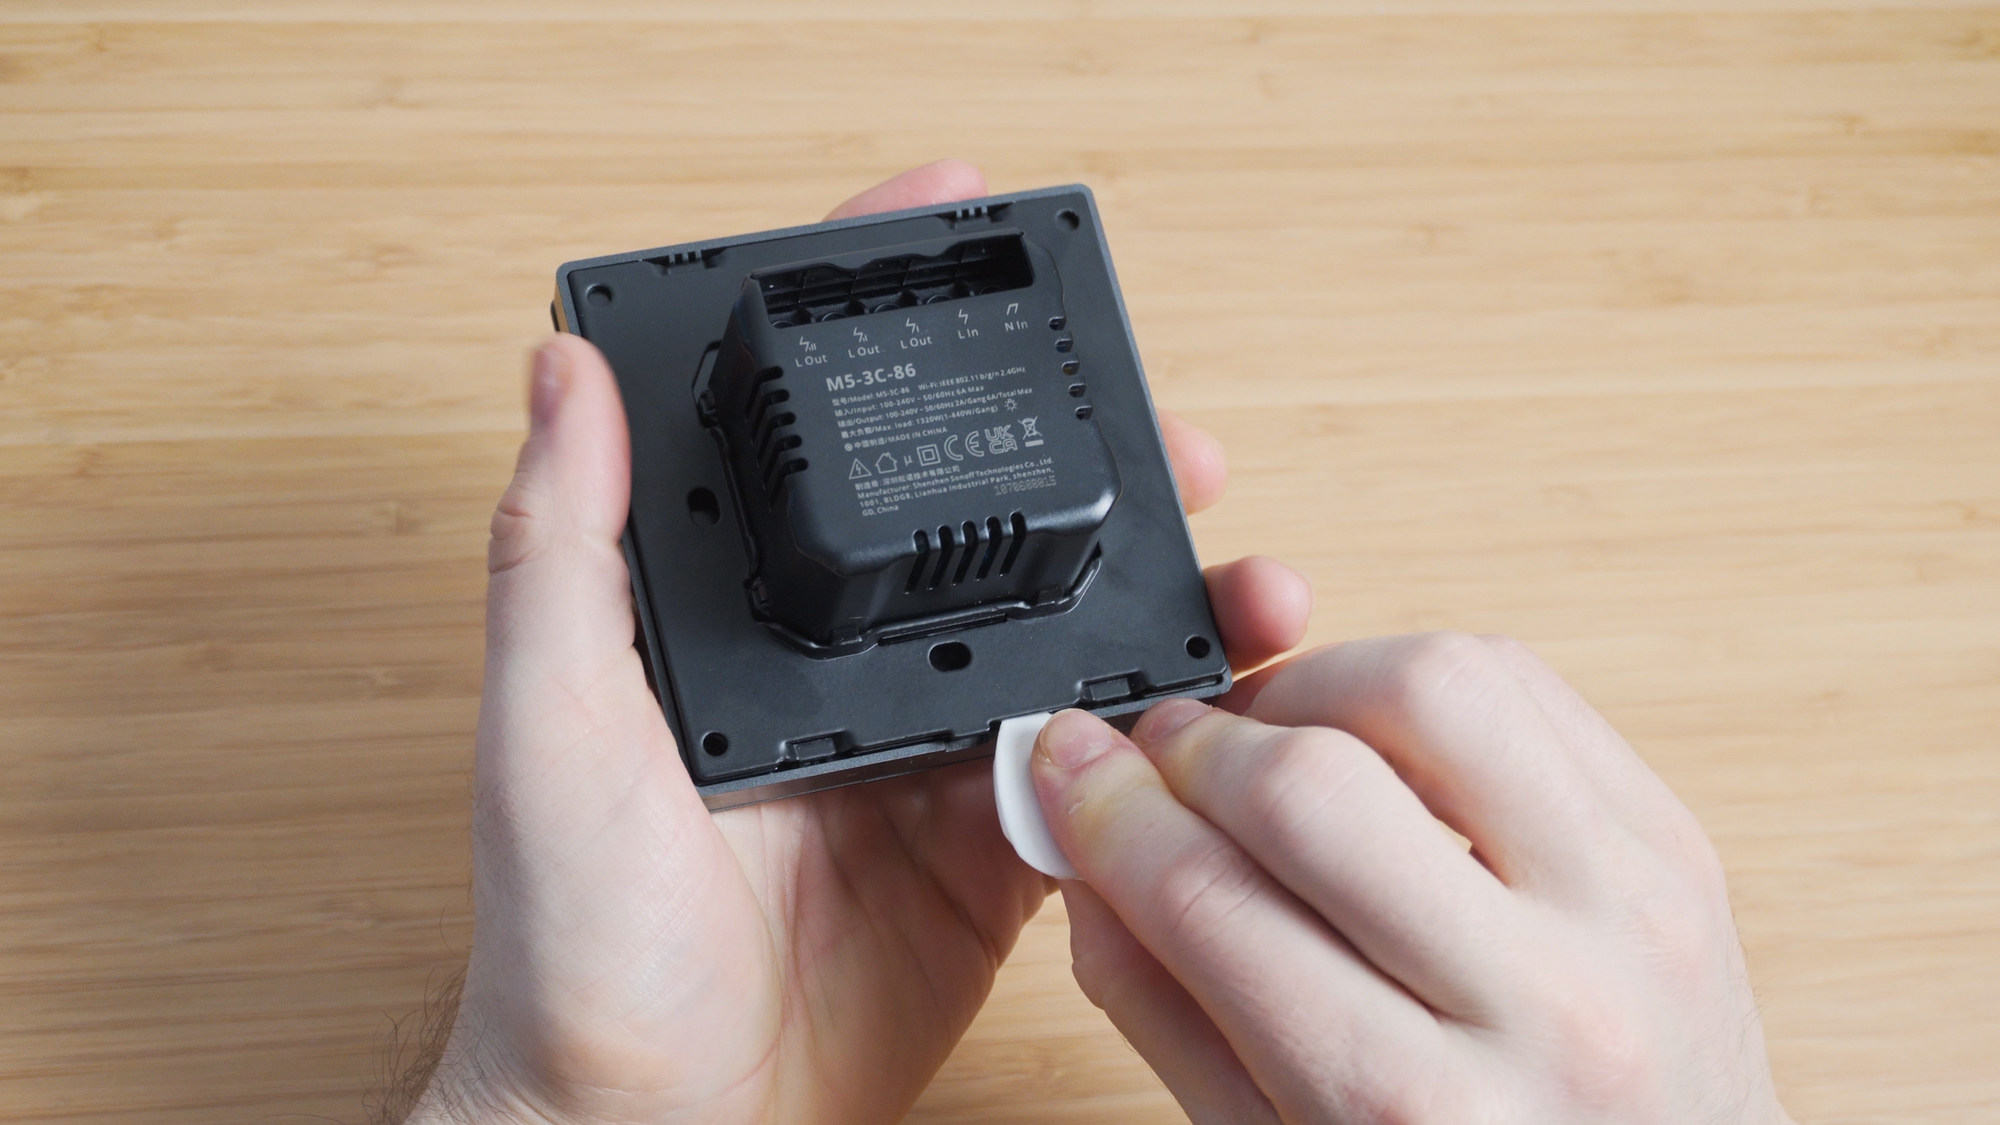
To get started, you’ll want to unclip the power module from the back of the switches, and then remove the 2 screws inside which will allow you to pull off the black cover.


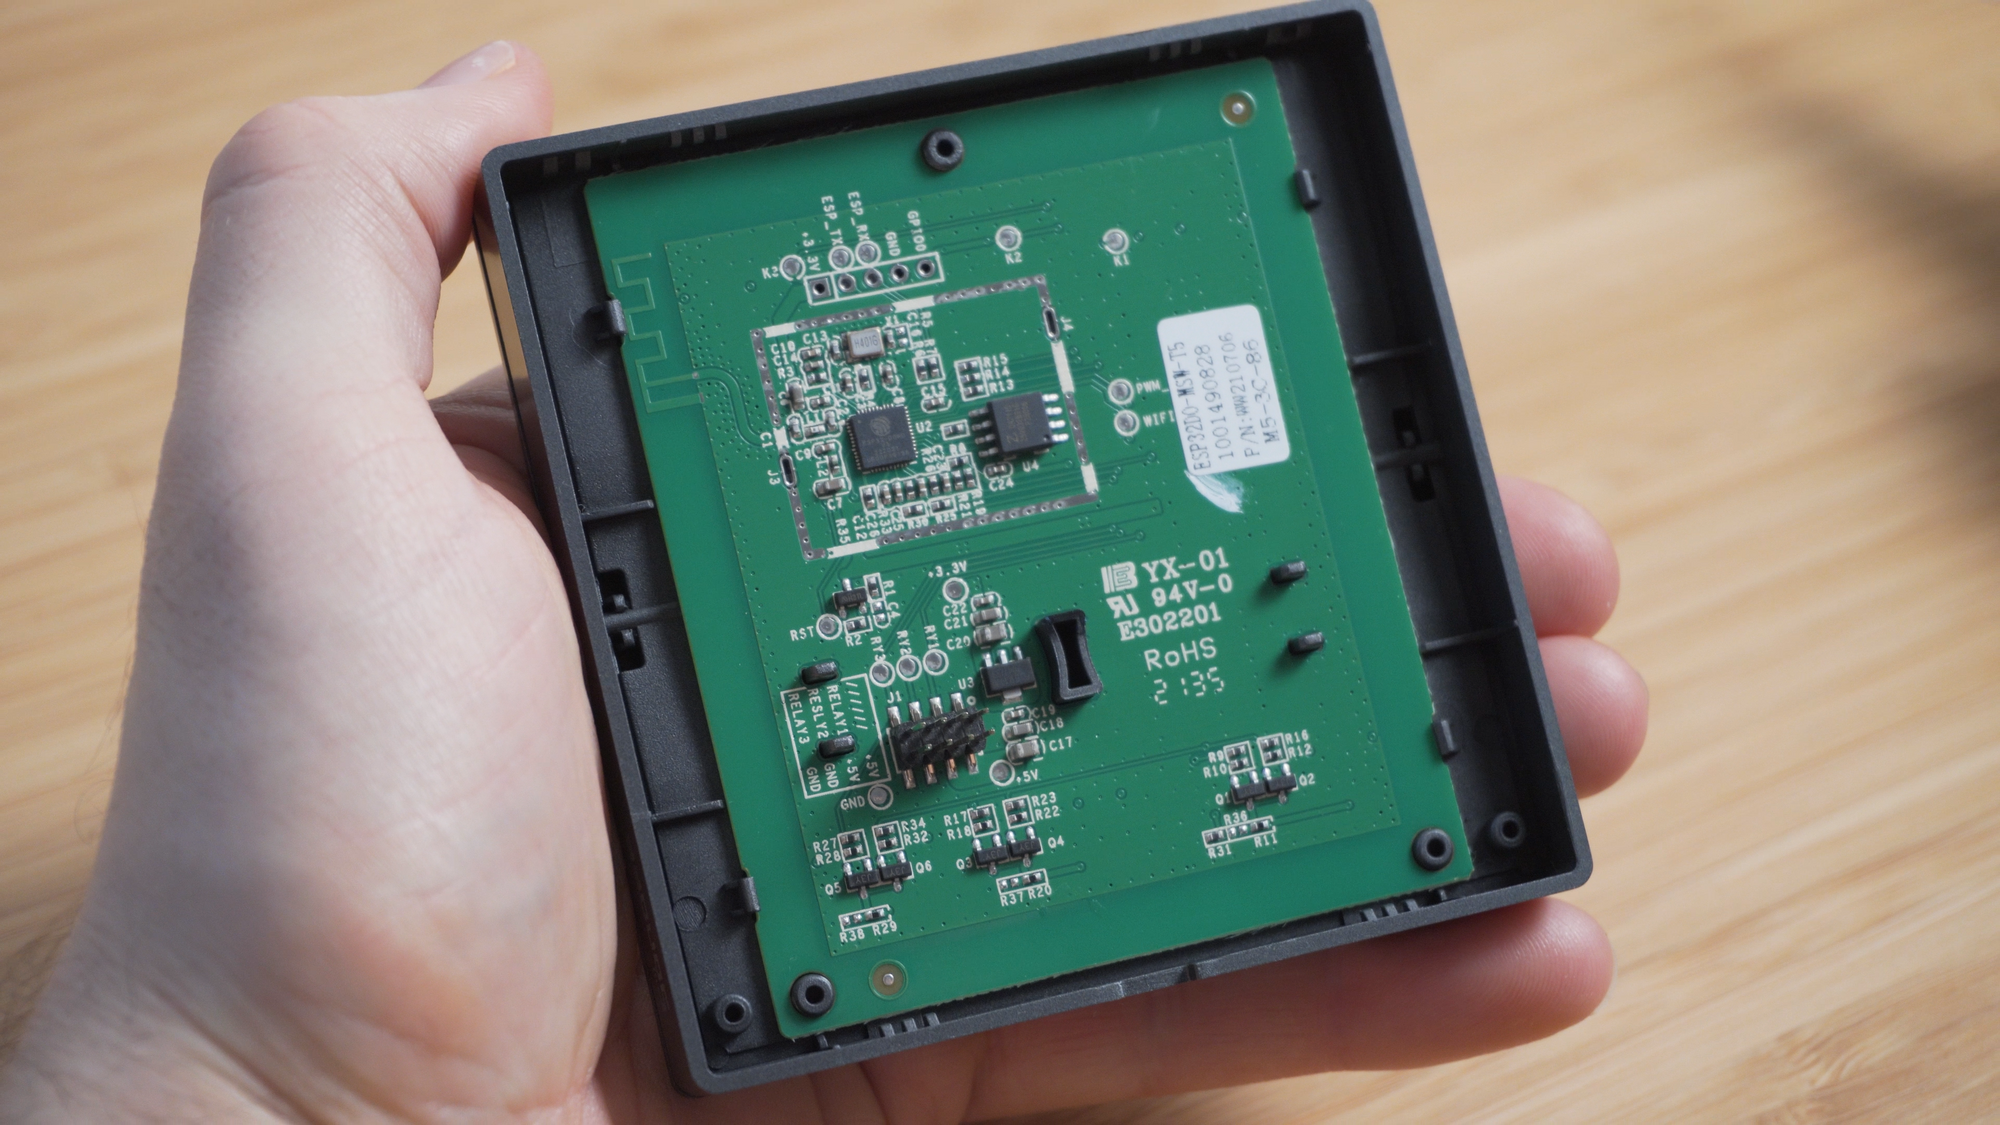
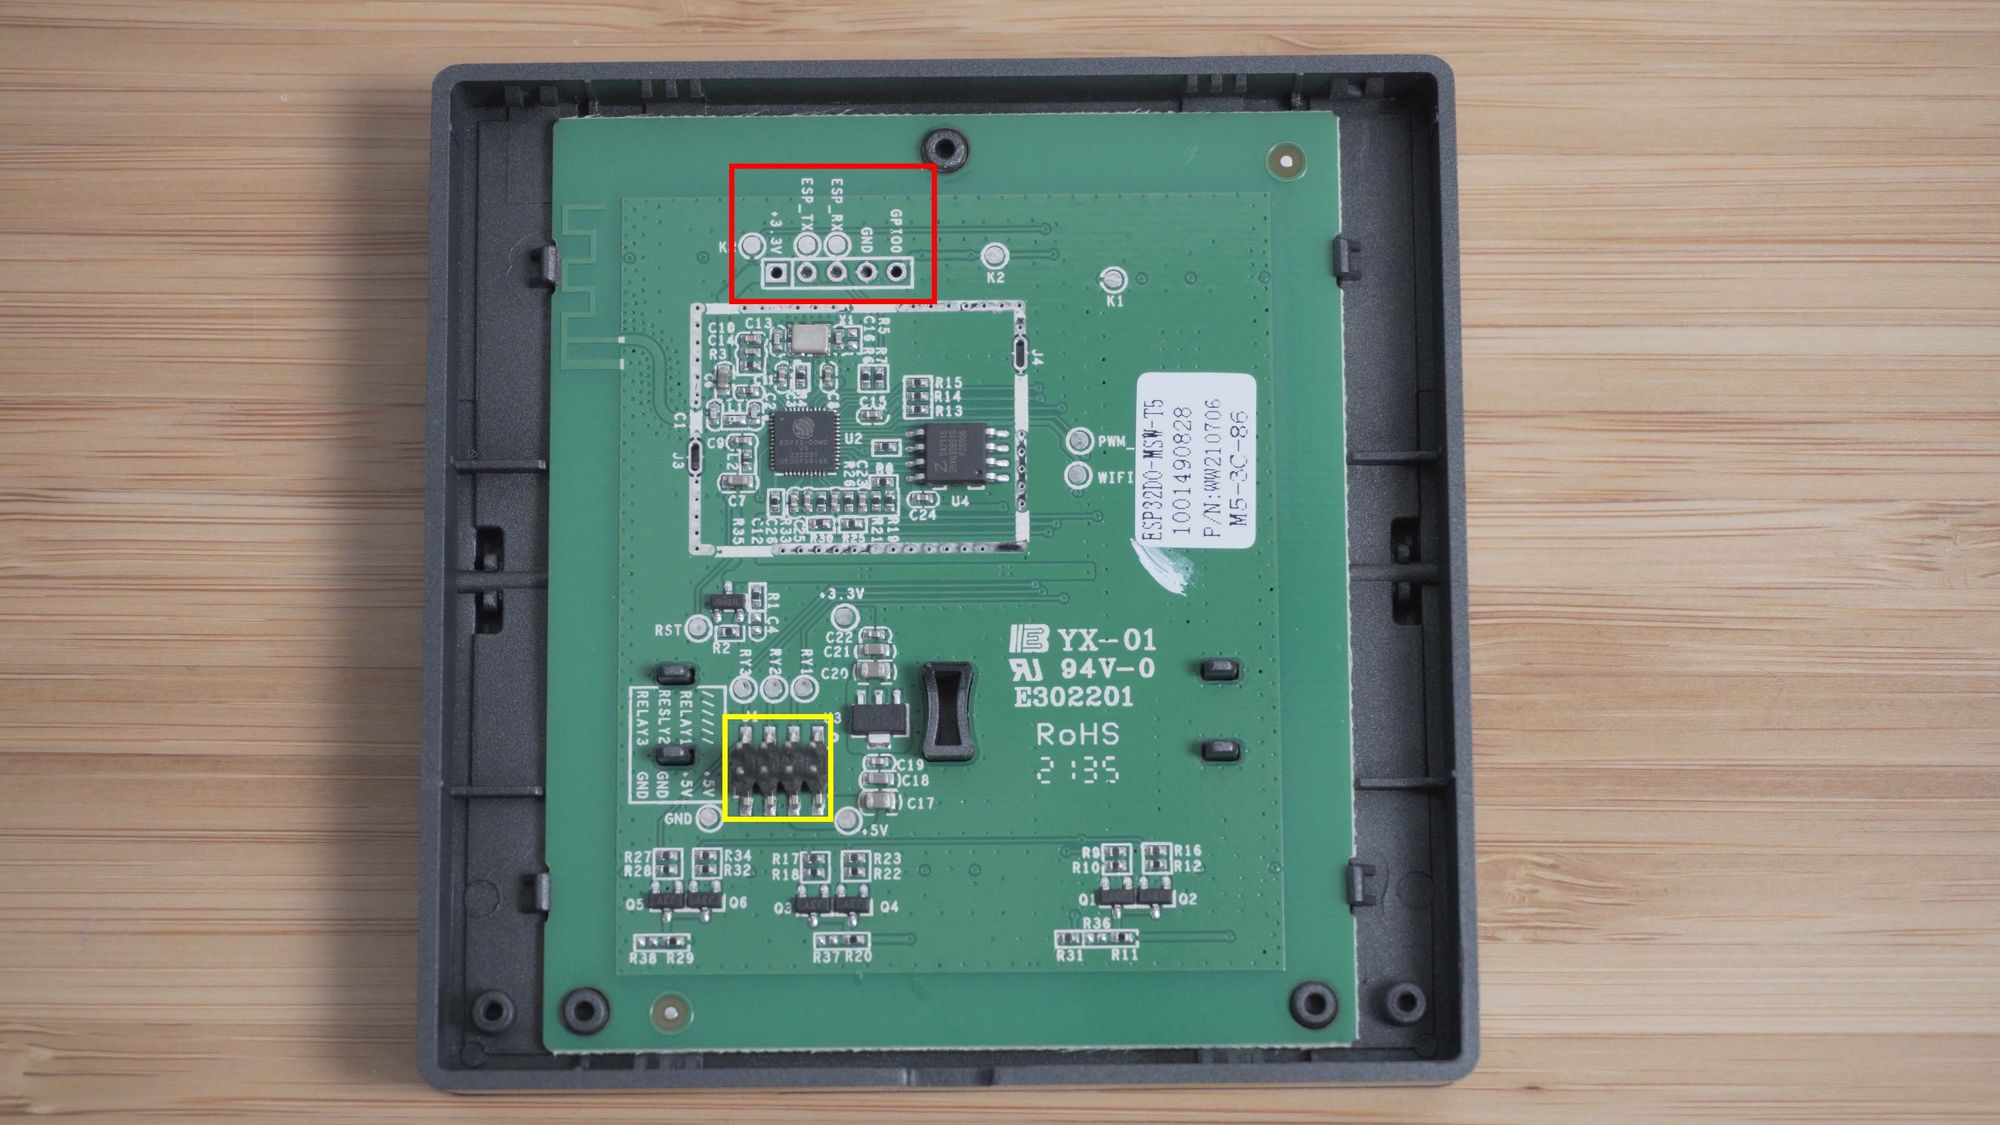
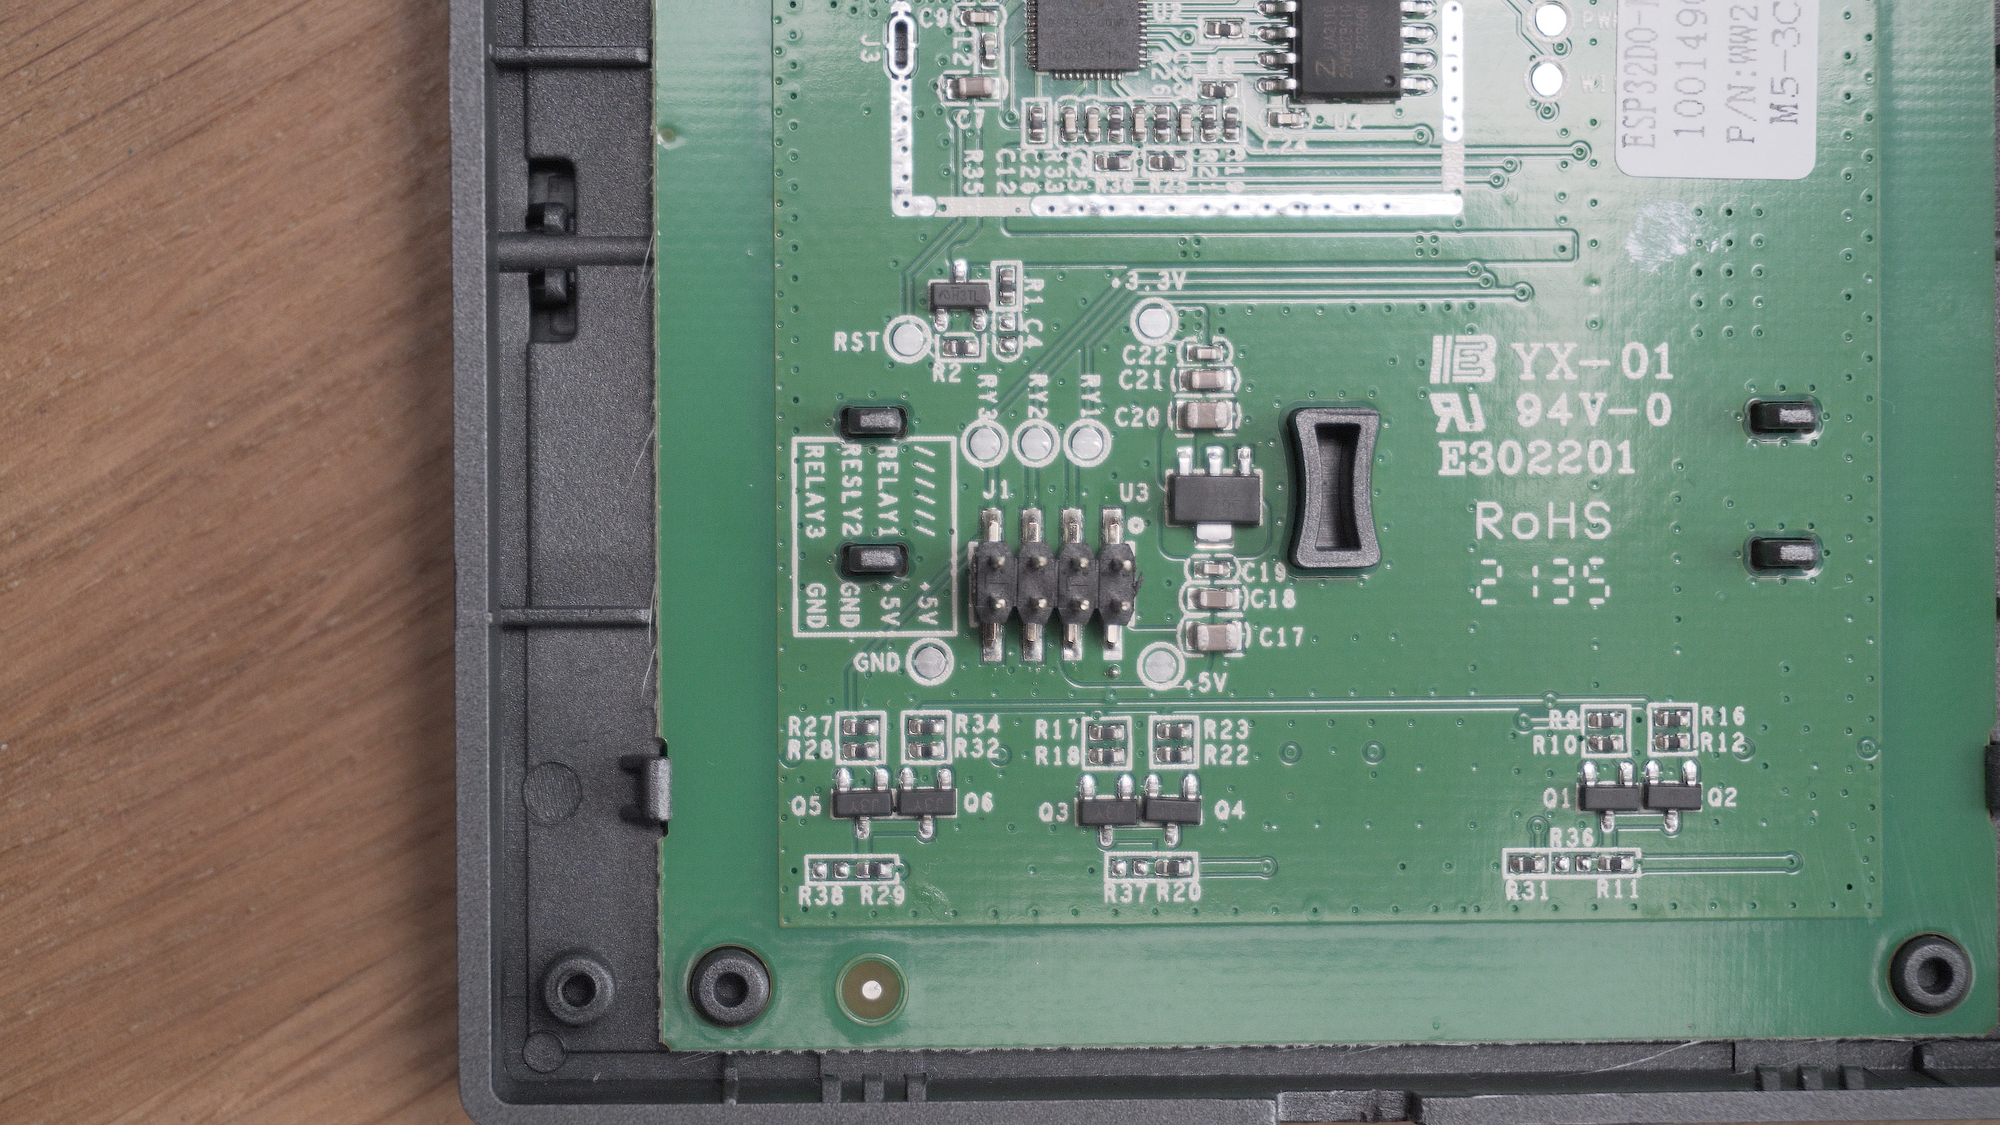
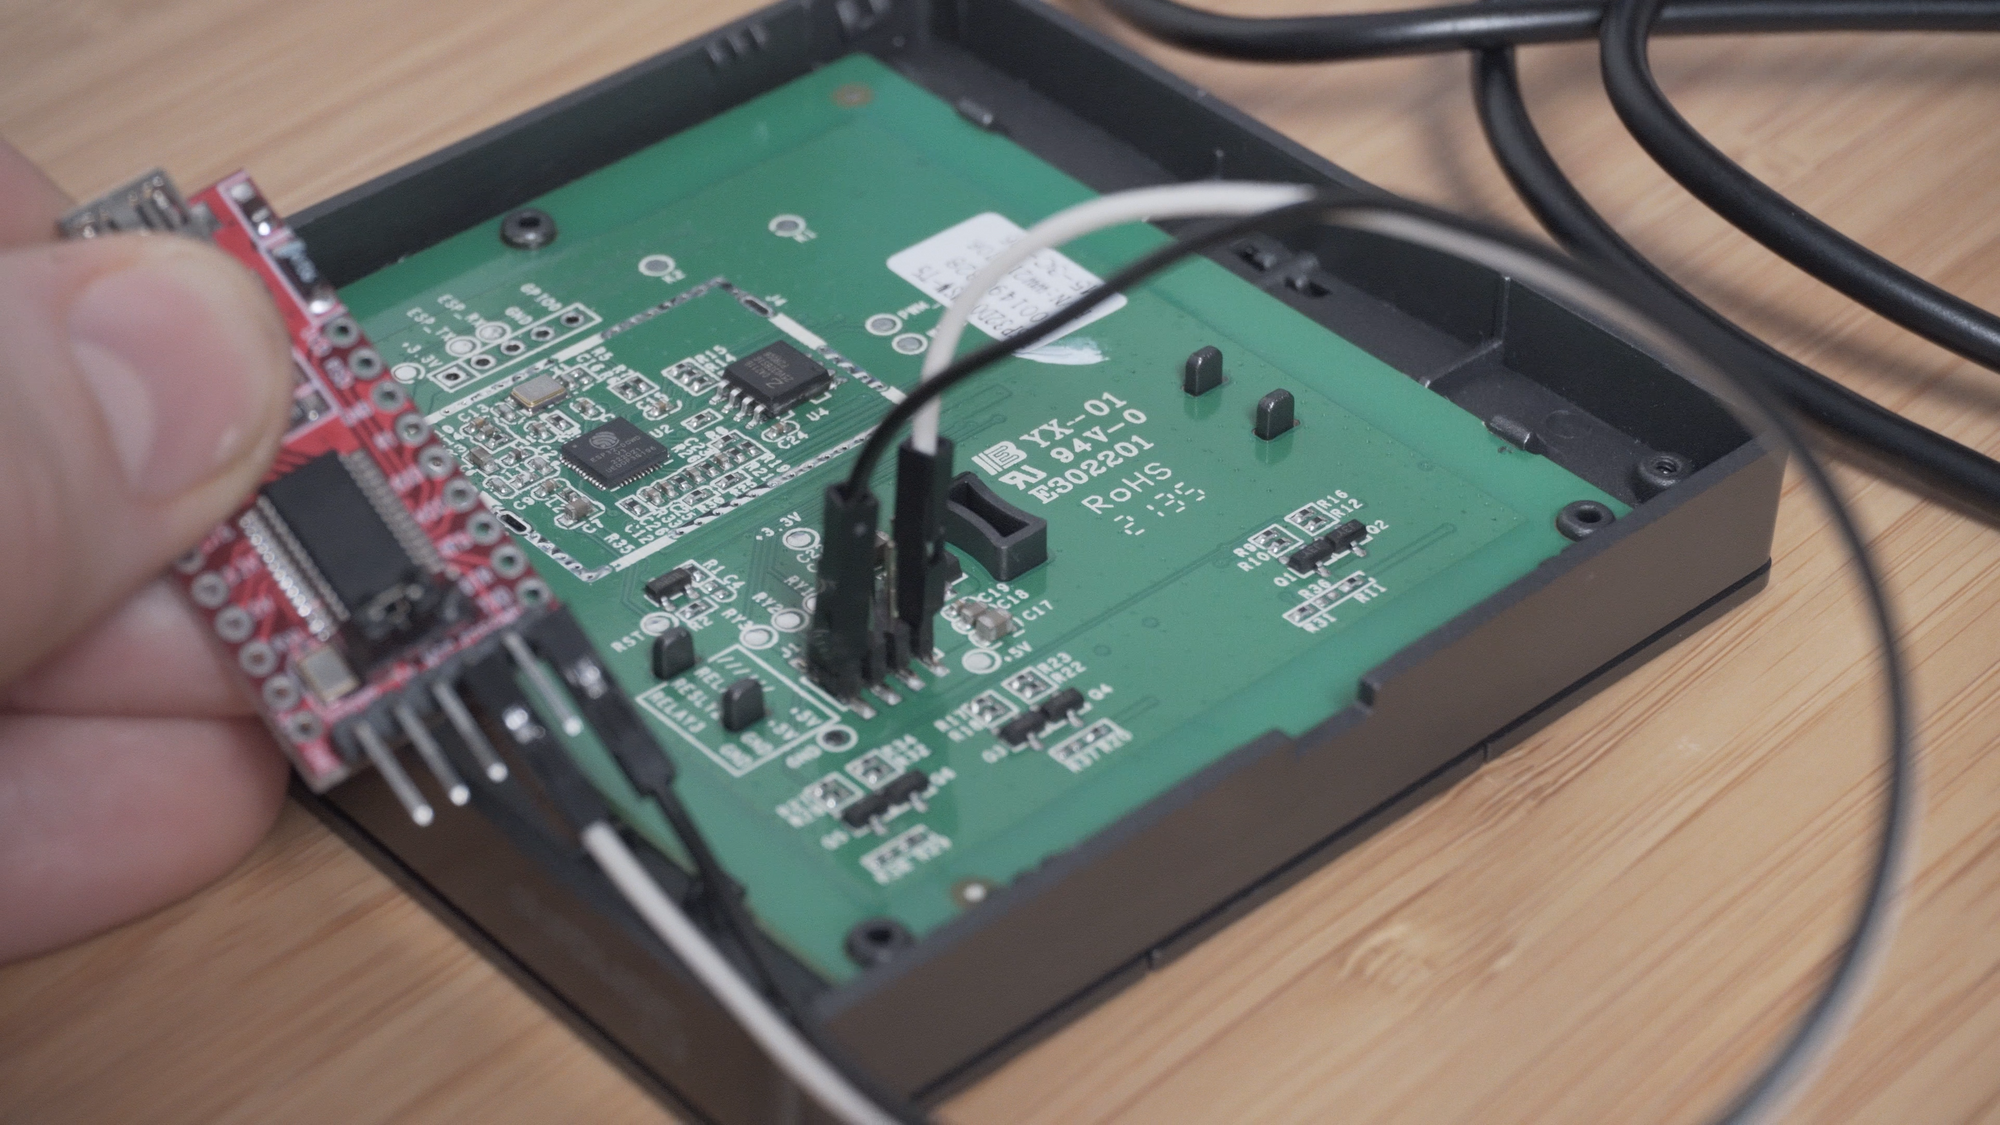
Inside you will find the PCB, and we will need to identify a few components, firstly with the switch the correct way up, towards the middle top left, you’ll see our ESP32, and then above that you will see a row of 5 pins, marked 3.3v esp_tx, esp_rx, ground and gpio0 – these are the pins we will connect to for the initial flash. Below that, also take note of the header with 8 pins – these will be important later.
First grab your USB adapter and make sure it is set to 3.3v, this is usually done by moving the jumper between pins. Then with the USB cable disconnected from your laptop, wire the USB adapter to the Sonoff as follows:
ESPHome Initial Configuration
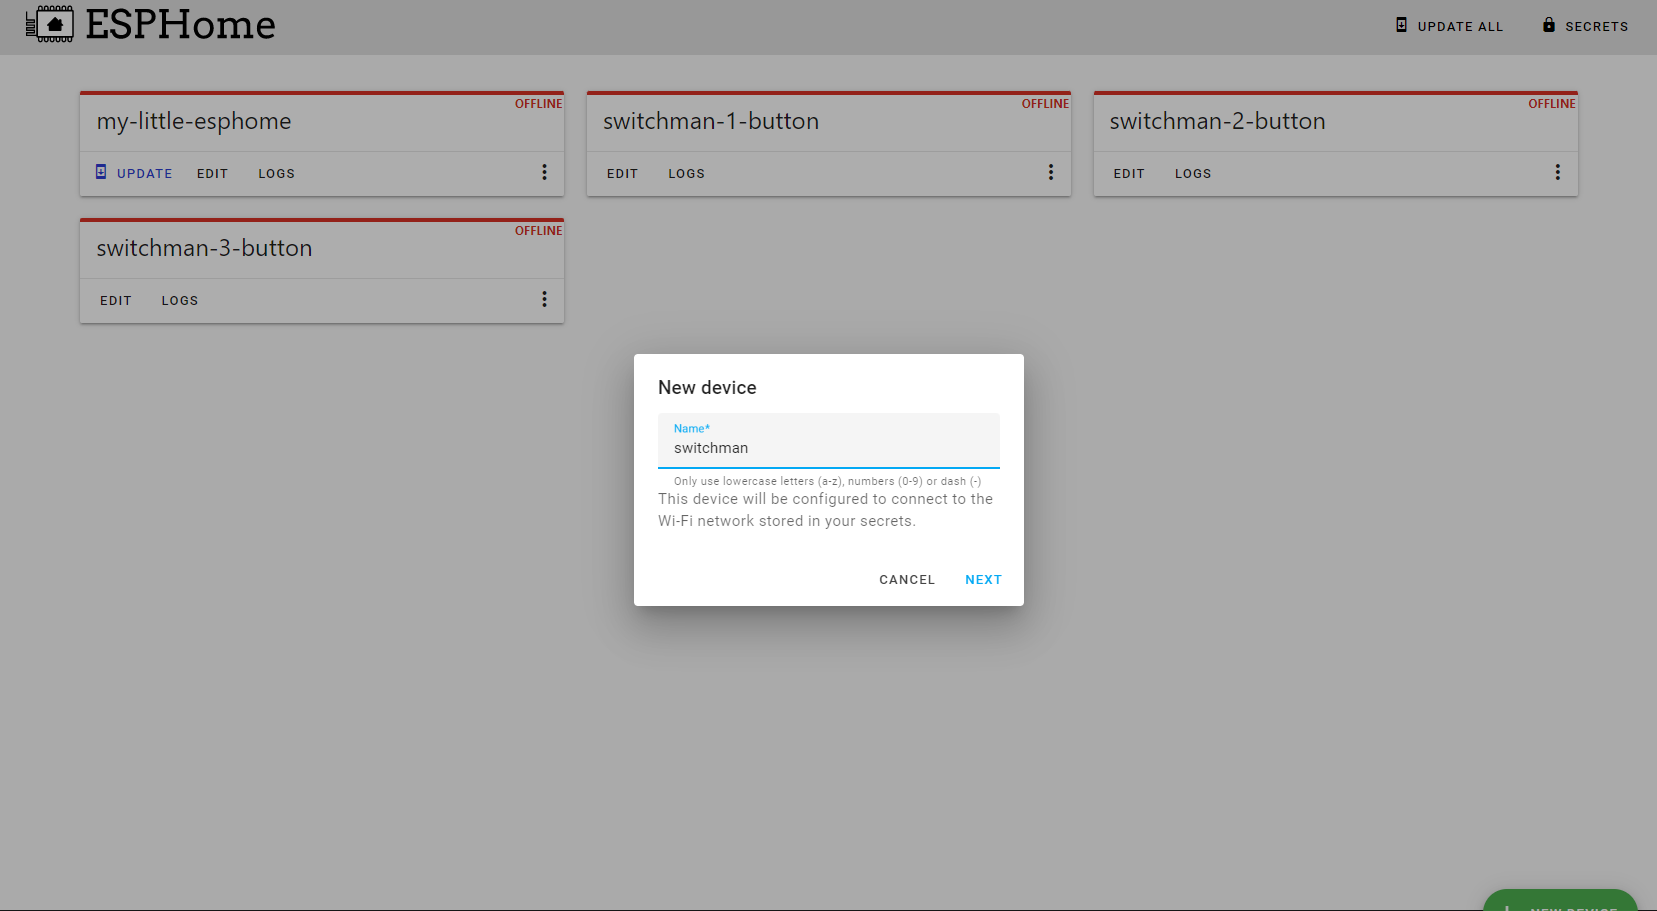
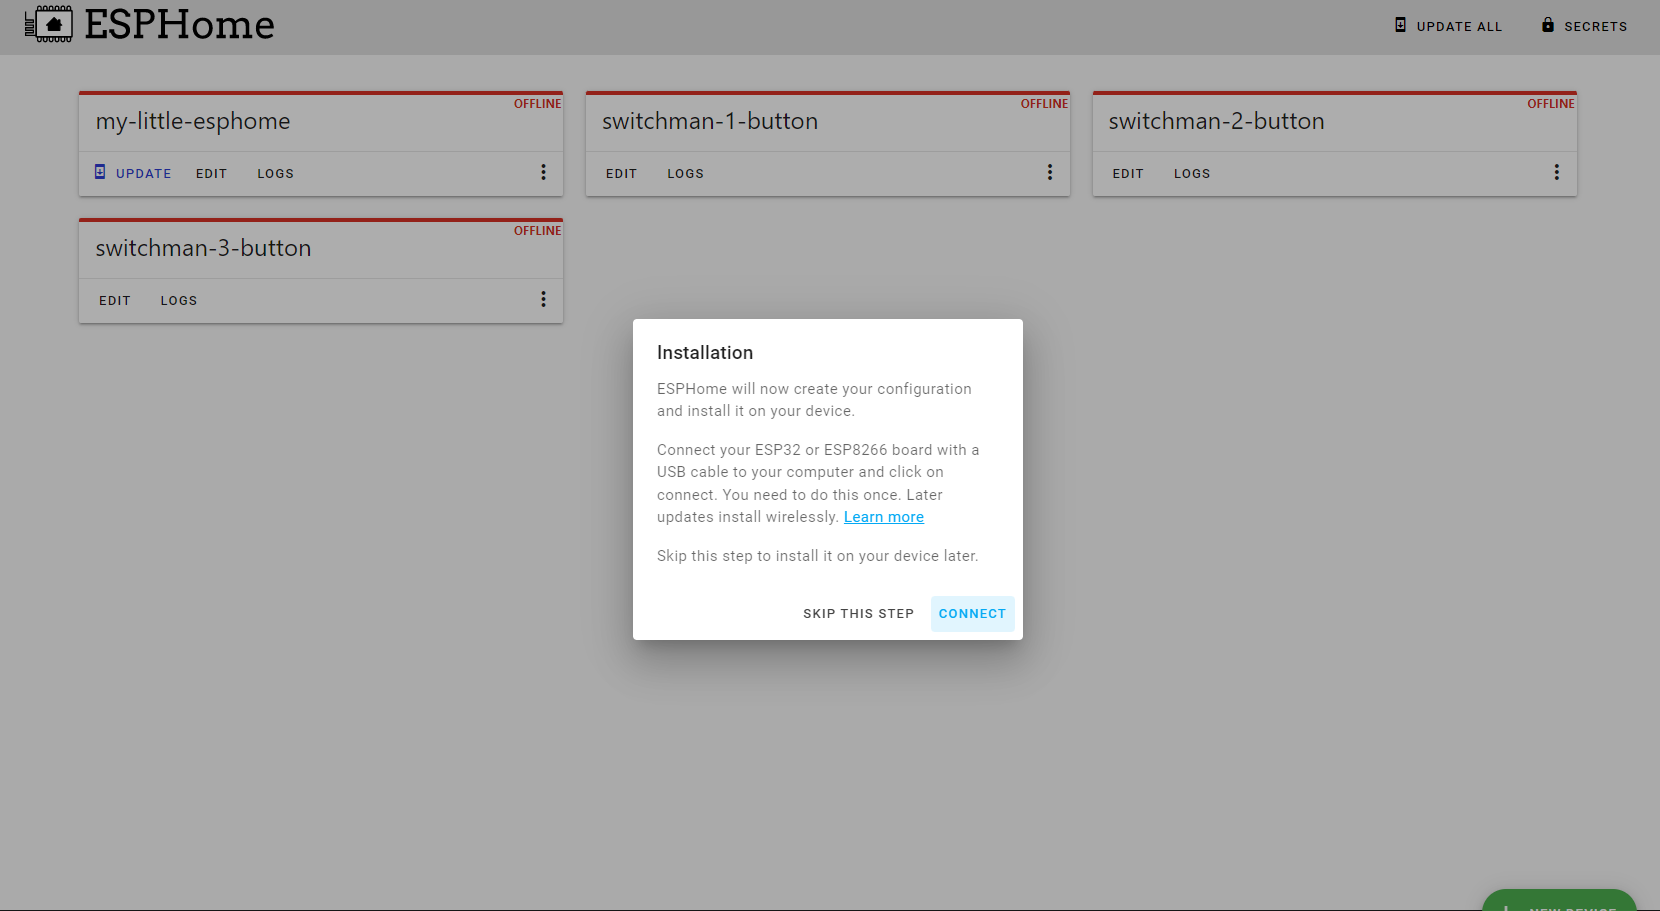
Set that aside and jump into Home Assistant and the ESPHome console. In the bottom right hand corner, click add new device, and name your new switch as well as enter your Wi-Fi details. Click skip this step on the next screen.
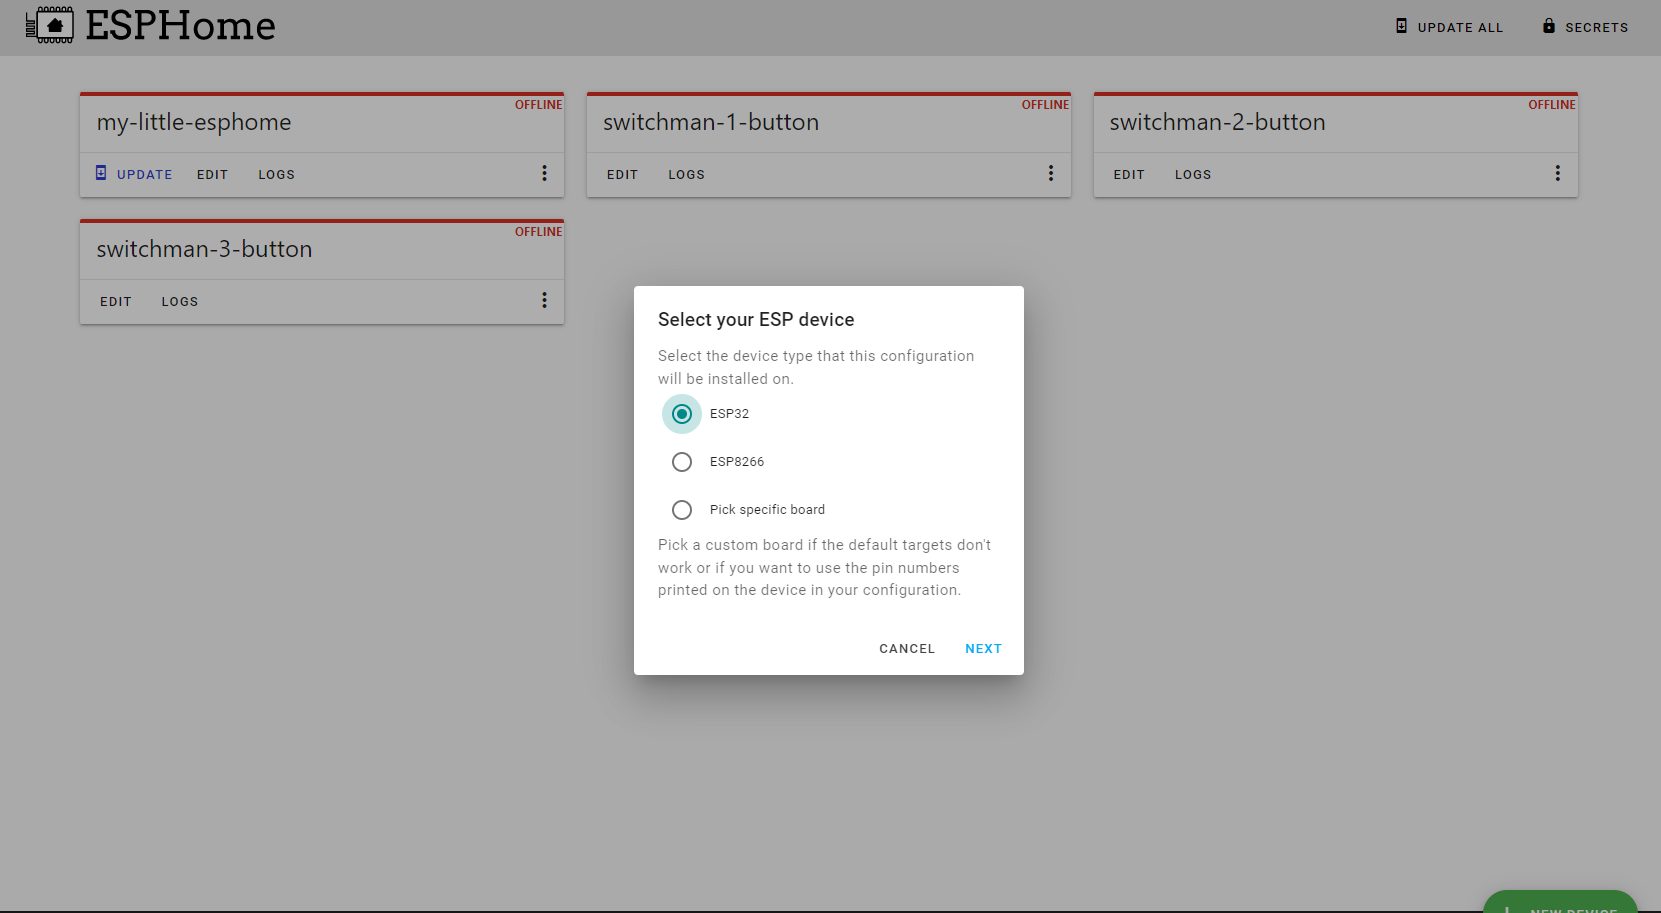
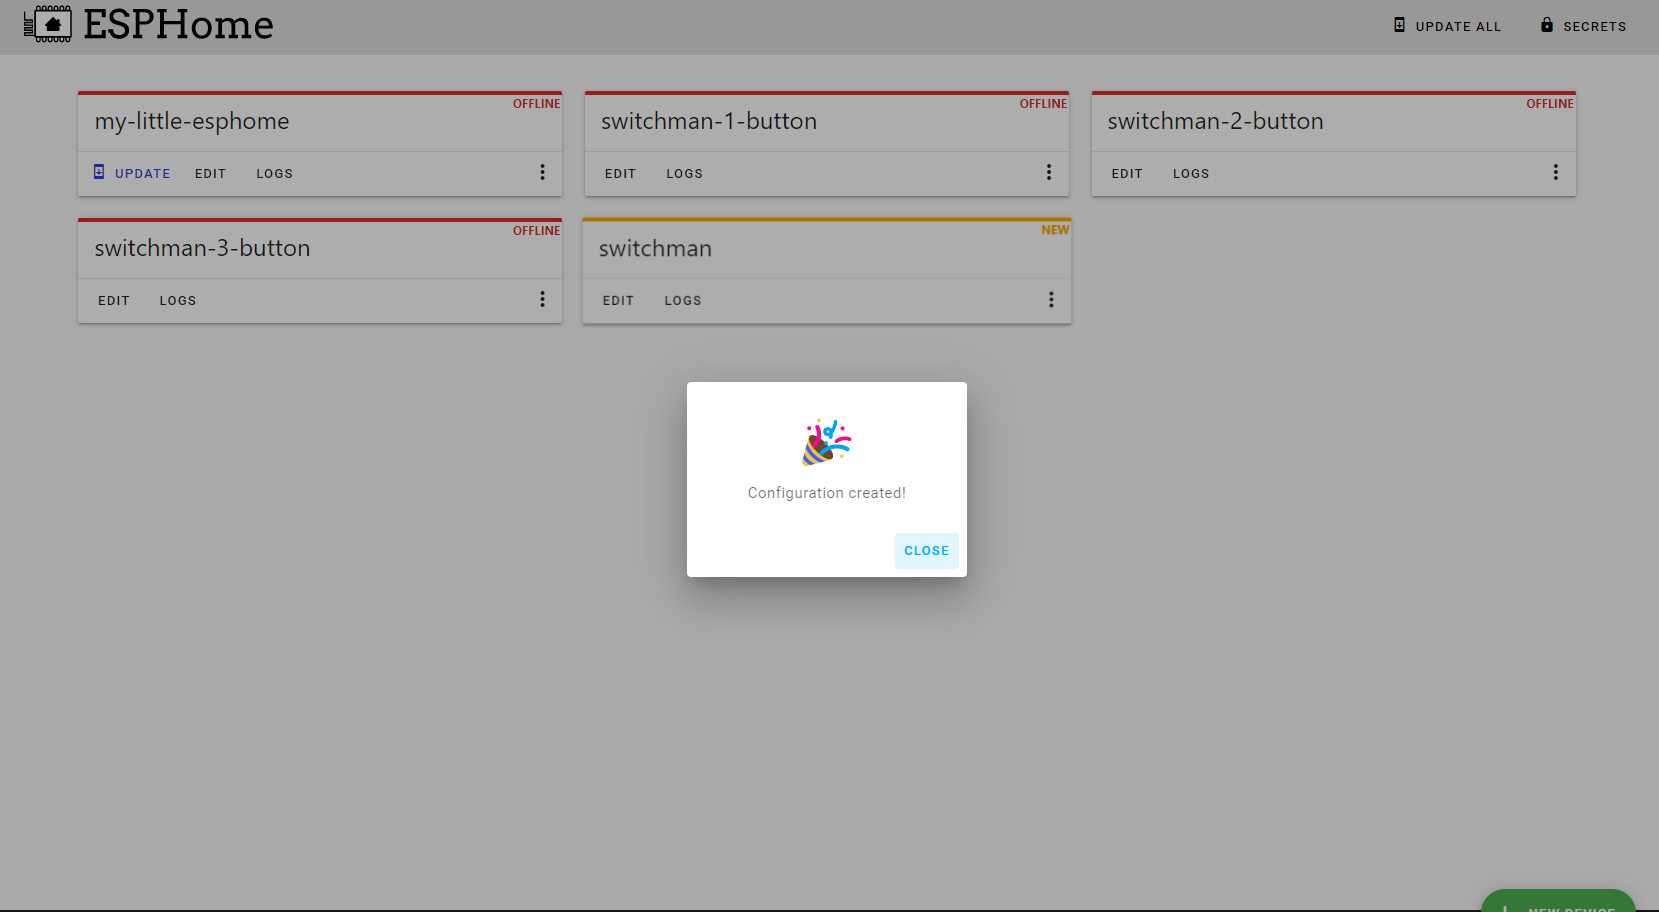
Then select ESP32 as the board type and your configuration will be created:
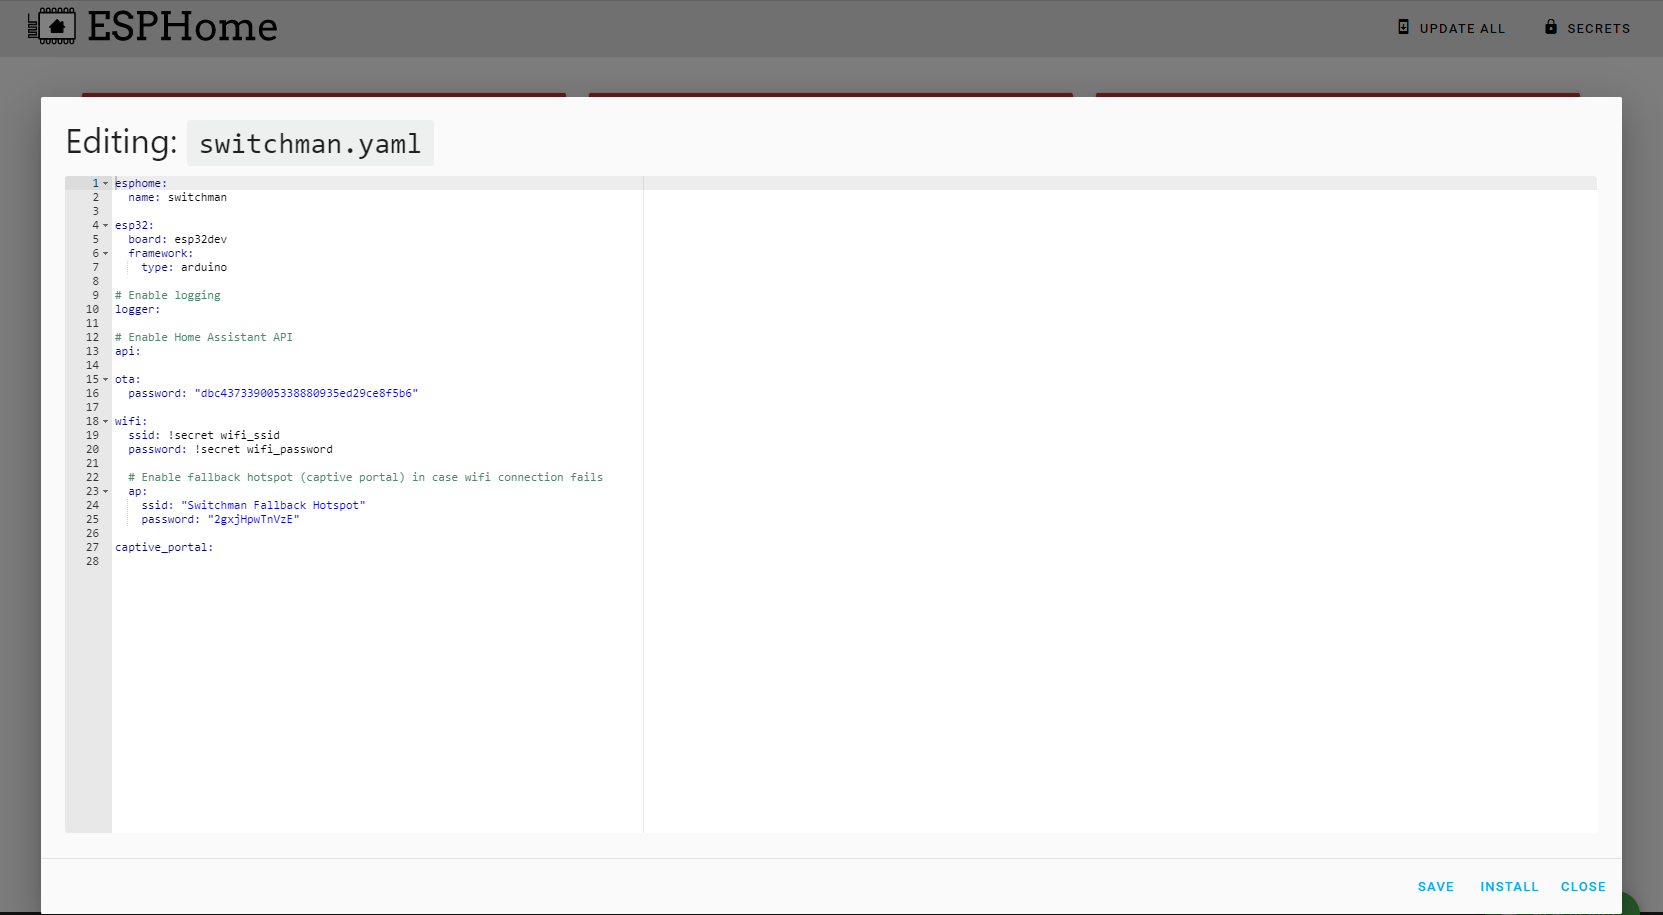
If we click edit on the config, we can see that ESPHome has created a basic config with everything we need in it for Home Assistant to connect to, it doesn’t contain the information to connect the relays and switches yet, but we can do that later with an over the air update after installing our initial configuration.
Installing the initial firmware
Plug in the USB cable to your USB adapter, whilst holding pressure down on the pins to make sure they make good contact. If you have a 1 or a 3 button switch, make sure you are pressing and holding the middle button in order to enter flashing mode before you plug in the USB cable to your computer. Wait 3-4 seconds and then you can release the button if you are pressing it, but make sure to keep constant pressure on the pins – it may be easier to have someone help you do this.
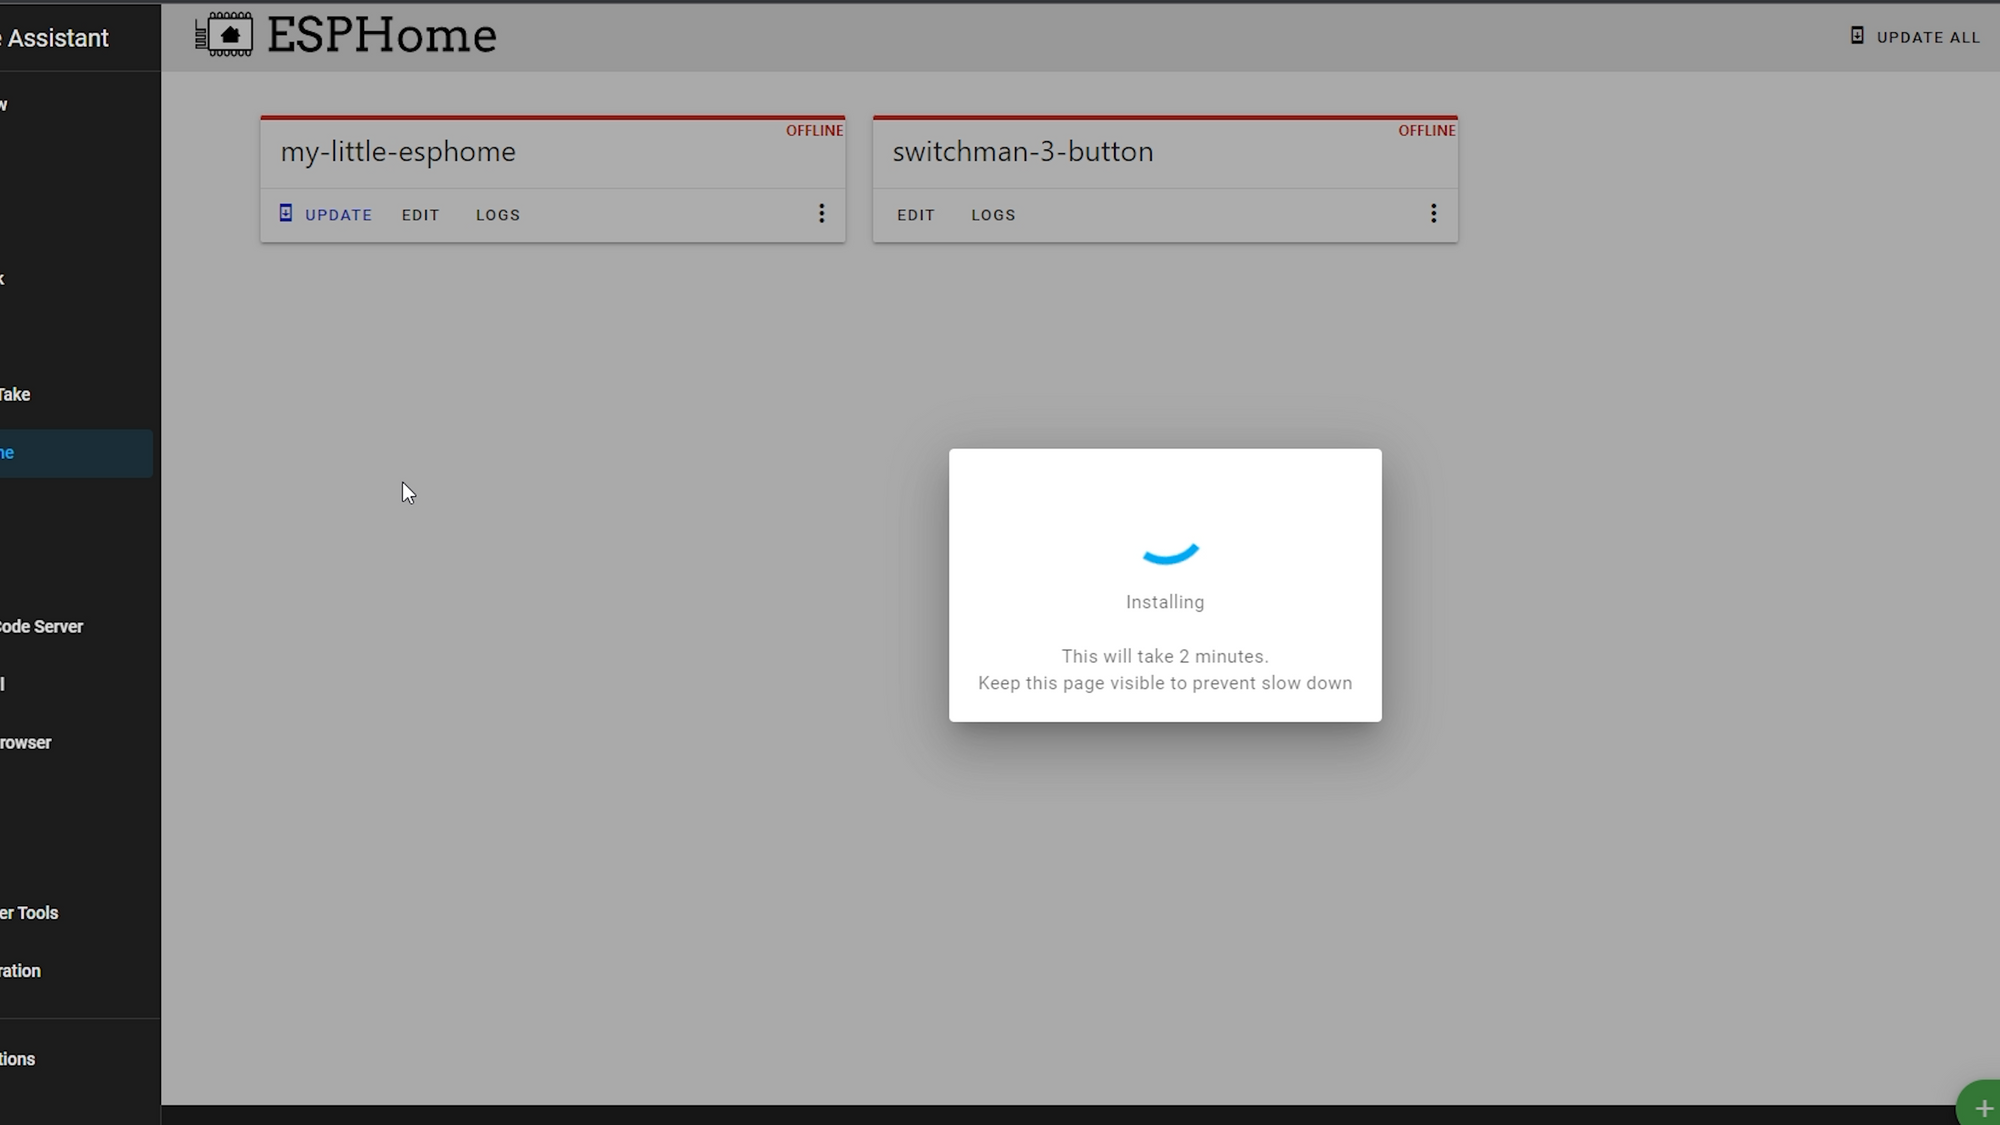
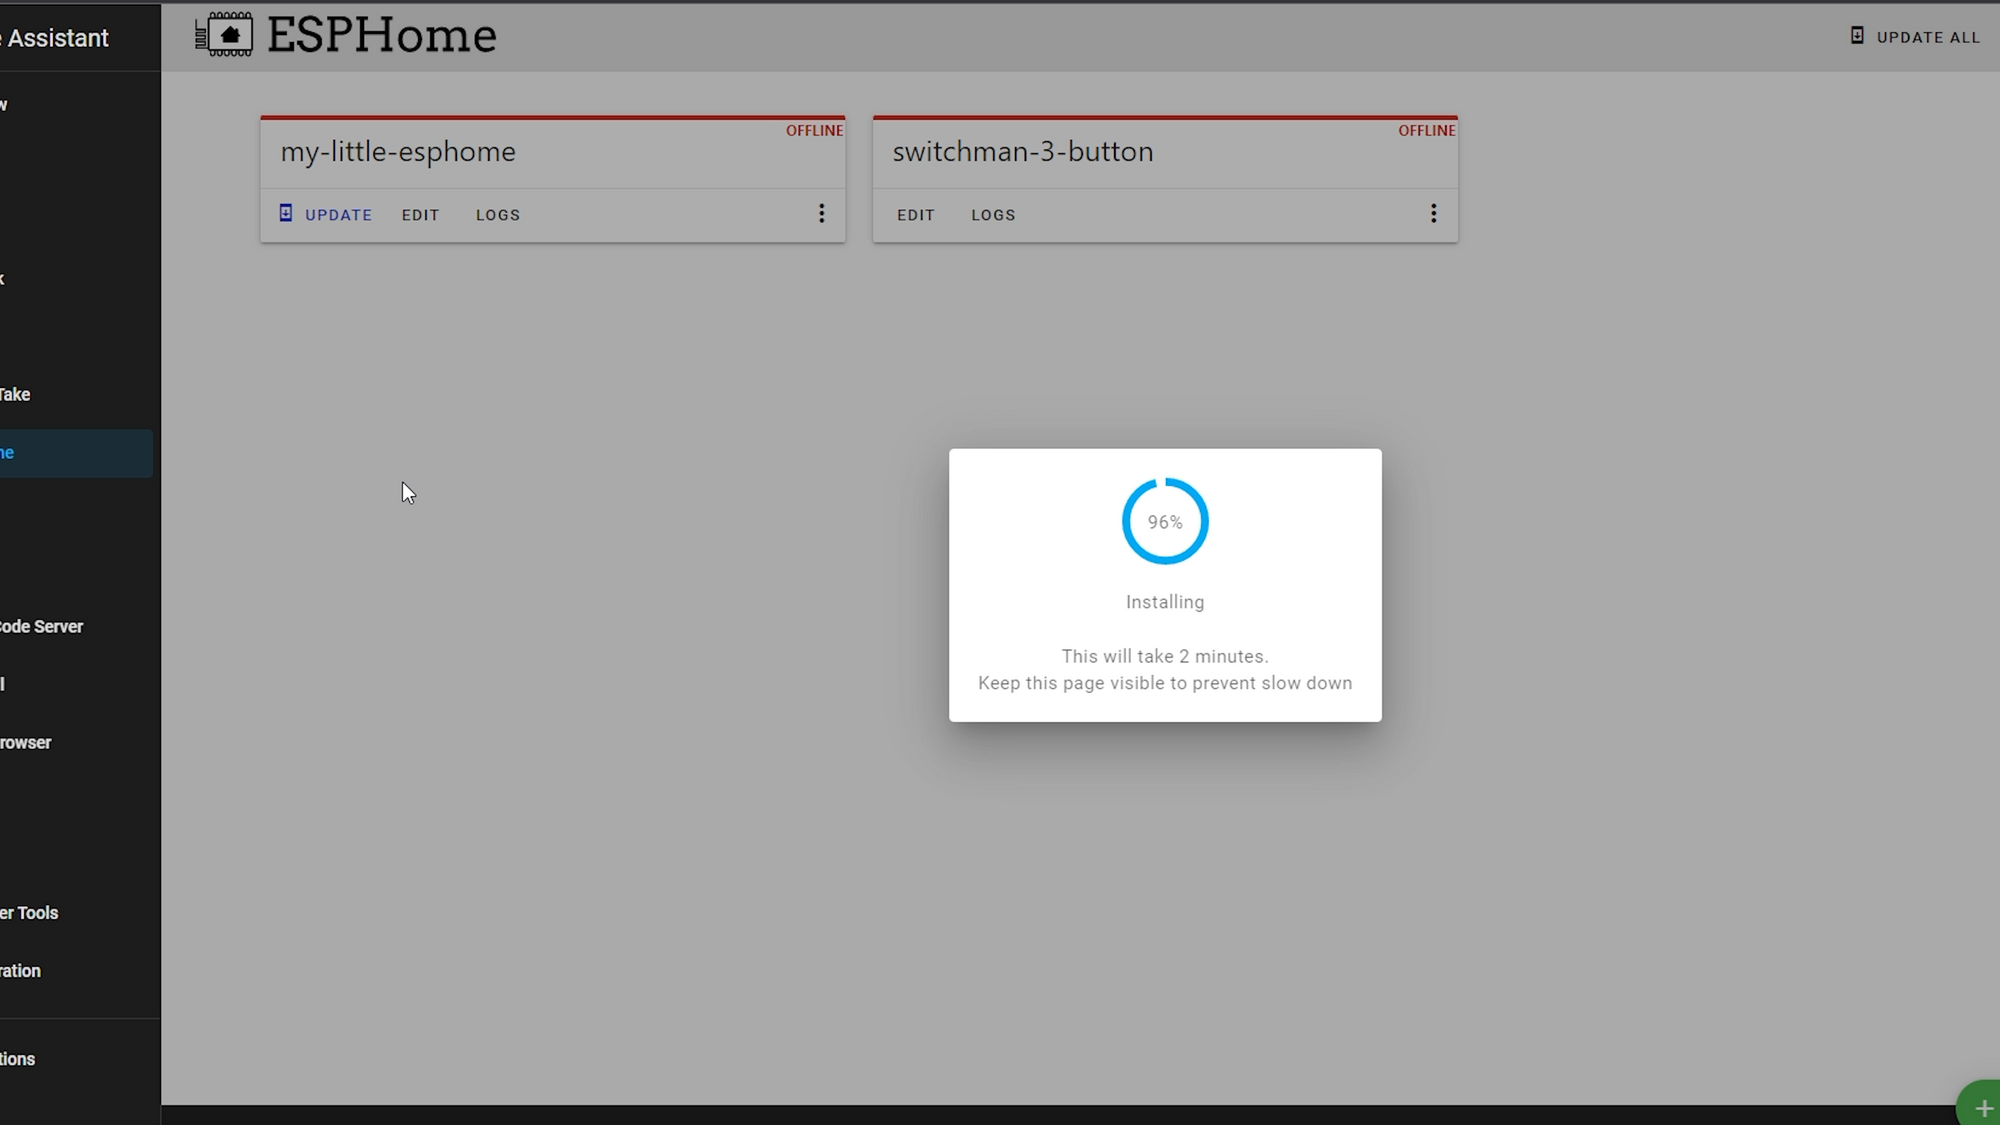
Then press the install button on your ESPHome config, and select the “plug into this computer option” and then select your USB to serial adapter from the list and hit connect. ESPHome will now begin to install the firmware to the device, this process takes a few minutes the first time you run it, so make sure to keep still and not disturb the wires while this process happens.

Once you get to 100% complete, you can disconnect and re-connect the USB cable to the computer to power cycle the device, this time without having GPIO0 grounded through the cable or pressing the button.
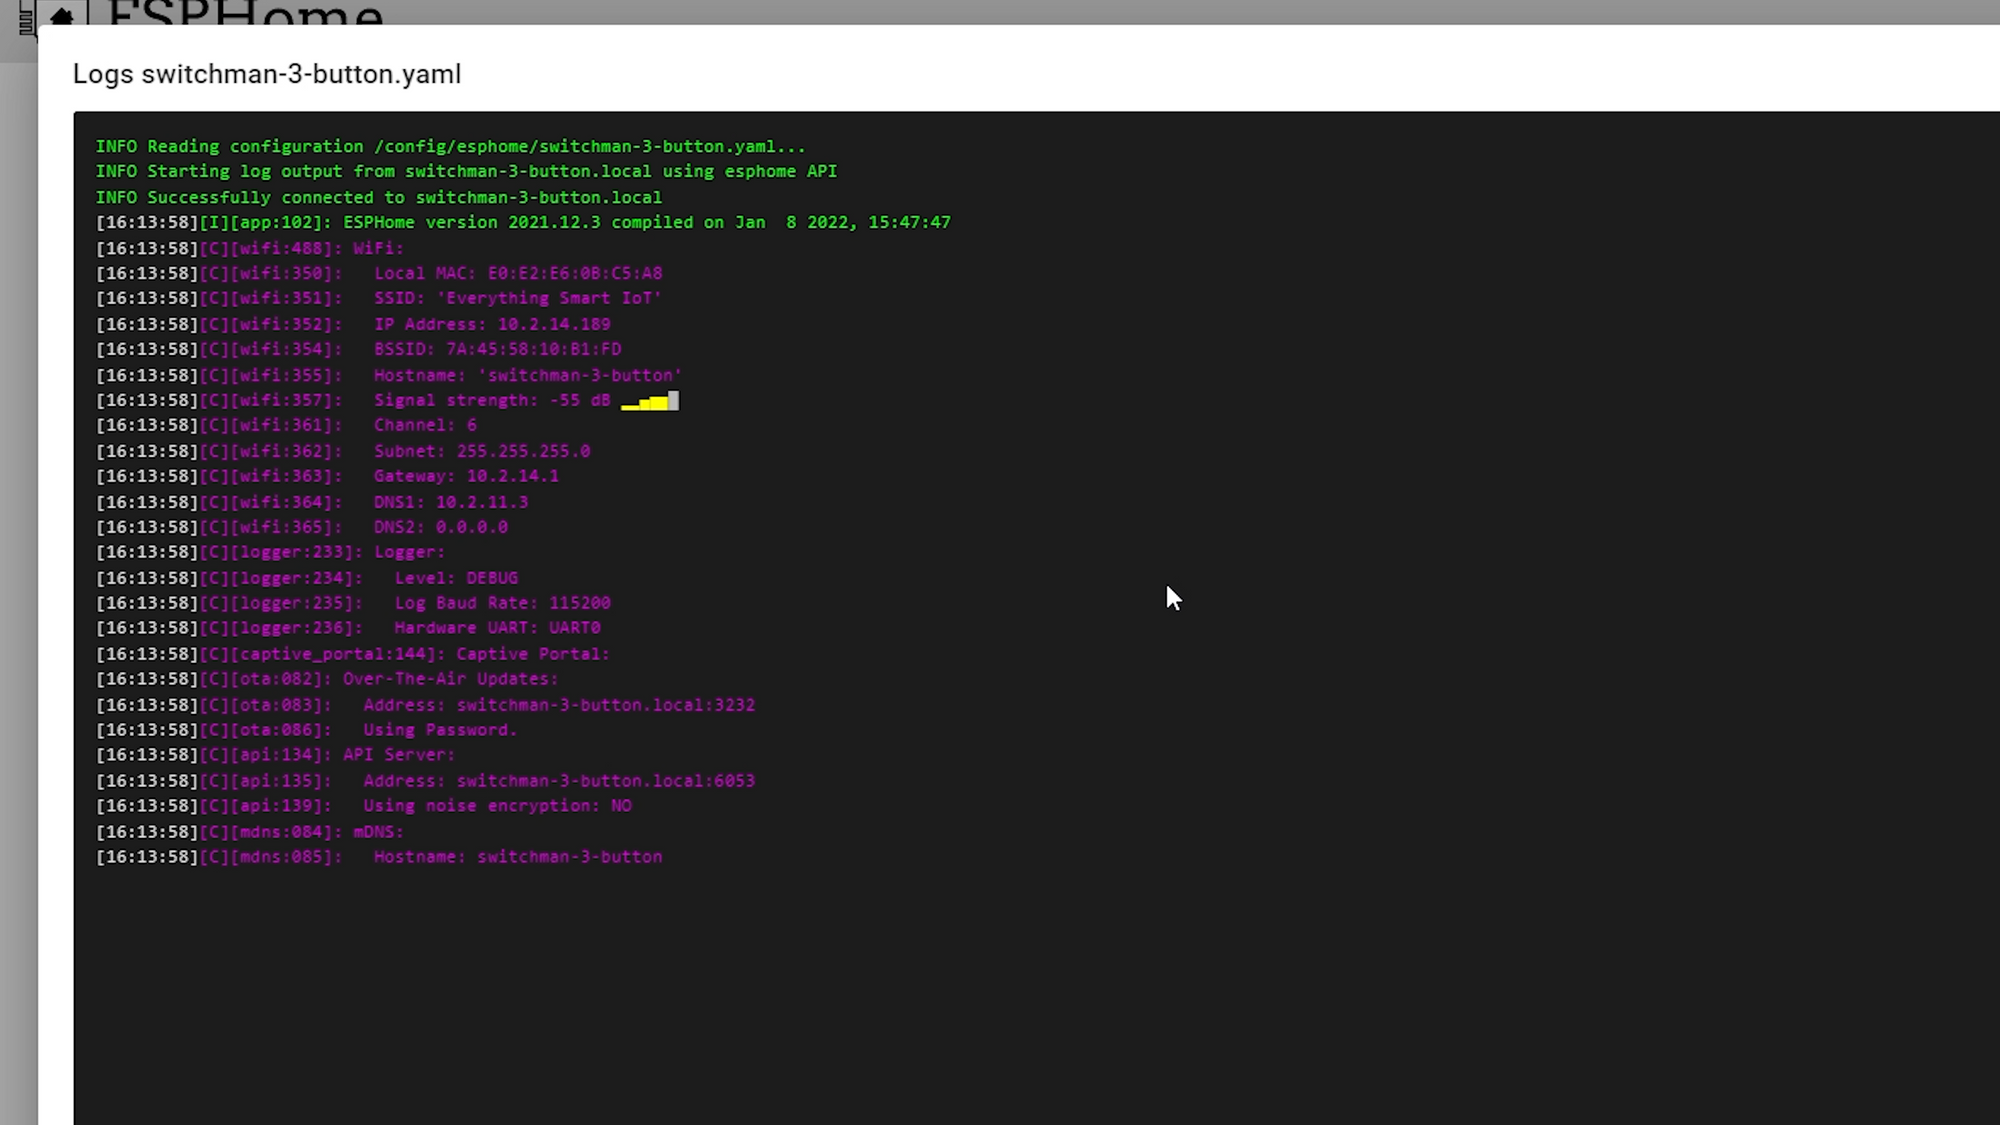
Then hit the logs button and select your COM port again, and you should see some logs pop up which means everything went successfully.
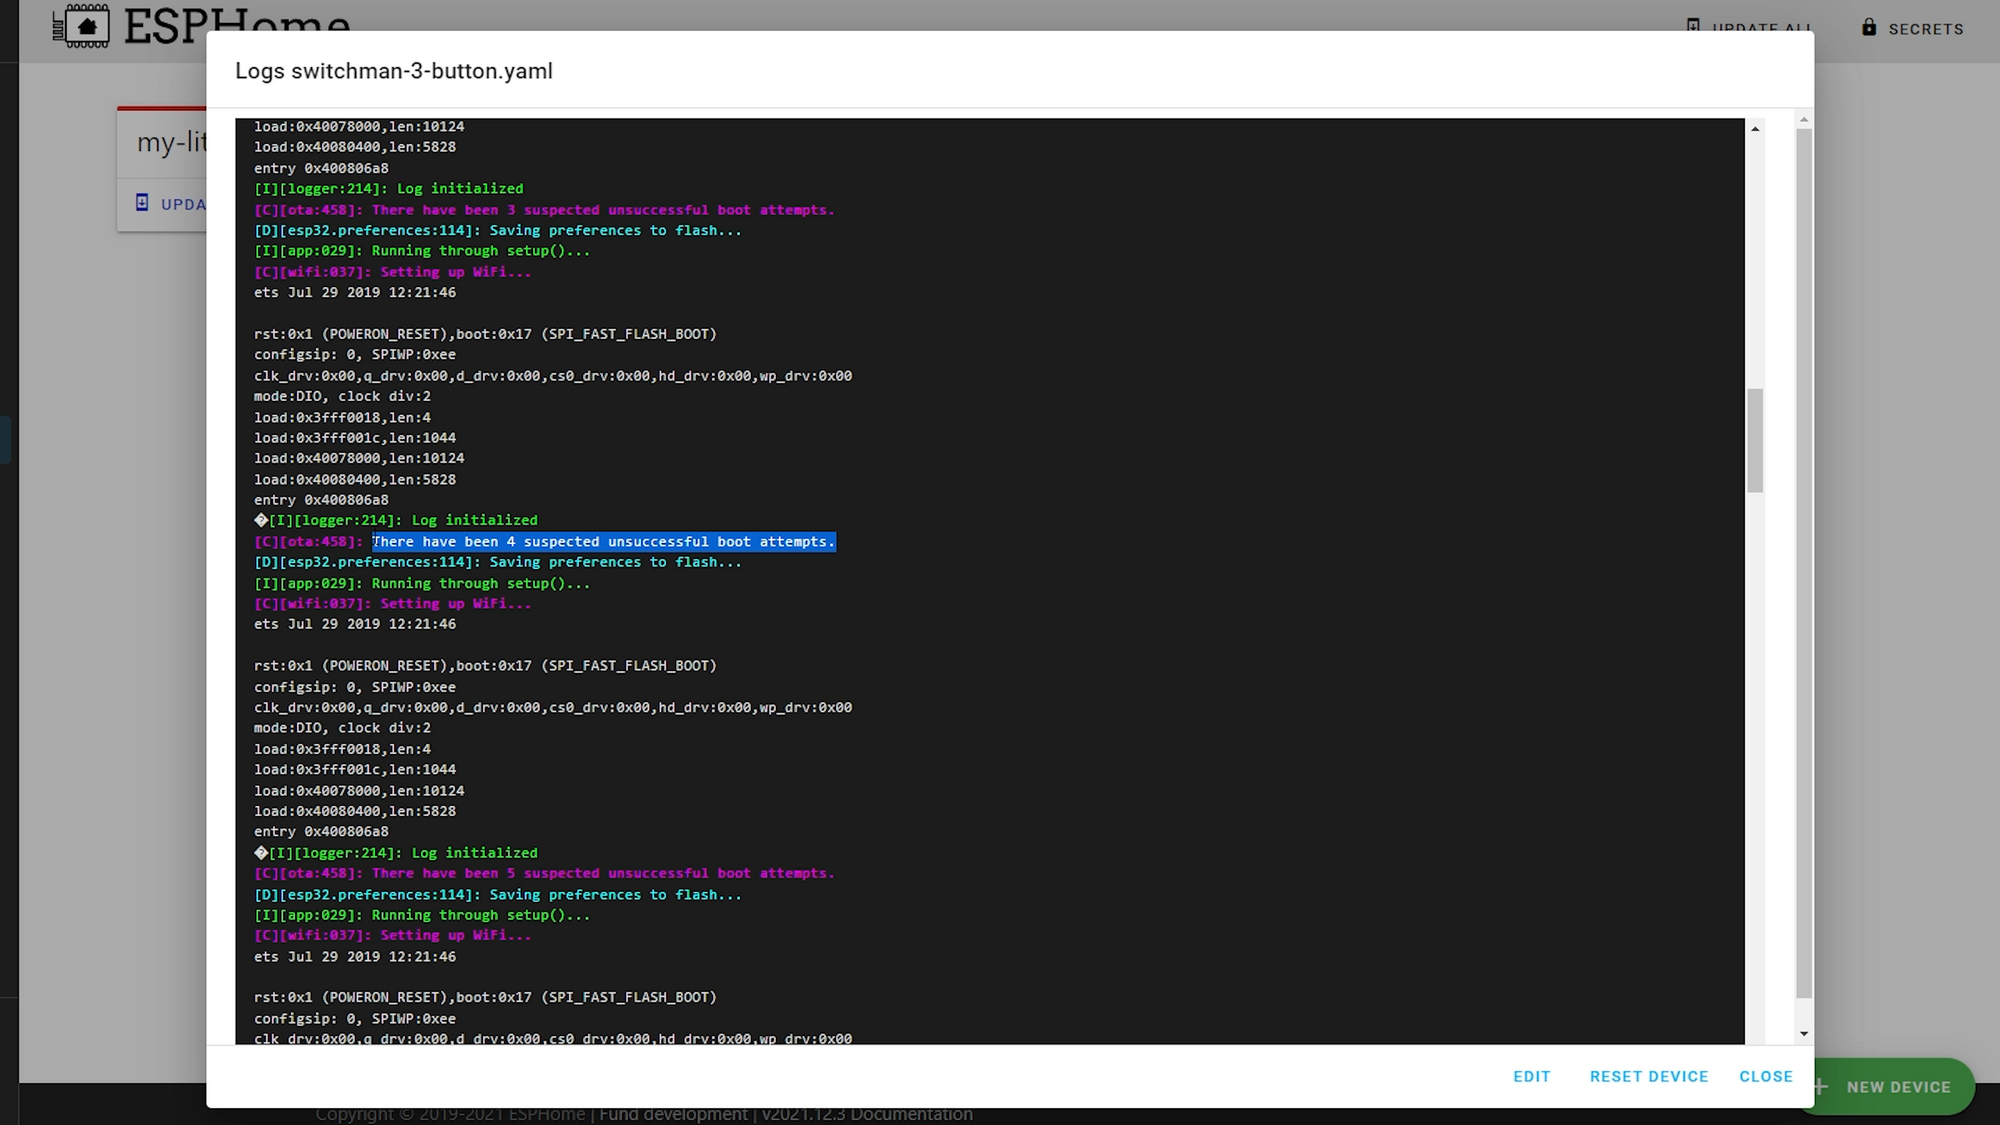
It’s worth mentioning here that you may or may not run into a boot loop occurring in the logs, where its constantly rebooting and the logs are moving really fast, if that happens, that is OK – I found that the power delivered through the USB port on my computer at 3.3v was not enough, but if you are able to connect and see some logs at least, then everything worked OK. ESPHome is now installed on our Sonoff SwitchMan!
Testing with 5v
Before we go to the trouble of wiring it into the wall, let’s first give it a proper boot. Disconnect all the DuPont connections again, as well as unplug the USB to serial adapter. Set the USB to serial adapter to 5v using the jumper pin, and remember the 8 pin header we identified on the Sonoff earlier? Wire VCC from the USB adapter to the bottom right pin of the 8 pin header and ground to the bottom left pin. Note the legend which tells you which pins are which:
Plug the USB to serial in to your computer and let the switch power up, then either check your routers web page to see if the device has now shown up, or you can click the logs button in the ESPHome console to see if it connects. There should hopefully be no boot loop and the device should display basic information:
Now we know that the device has been flashed successfully and we can go ahead and re-assemble the entire device and at this point you can wire it into your wall.
Configuring the buttons and relays
Once wired and powered up, we can now go ahead and configure our relays and switches so that they actually work, up until this point we have just added a basic ESPHome config, but haven’t actually configured any of the relays to work yet. Let’s go ahead and actually configure ESPHome to use the relays and buttons on our Sonoff SwitchMan switches.
You’ll need to add 3 new sections to your ESPHome config to configure the relays and LEDs. Here are 3 sample configurations for you, depending on which version you have:
1 Button Switch
esphome:
  name: switchman-1-button

esp32:
  board: esp32dev
  framework:
    type: arduino

# Enable logging
logger:

# Enable Home Assistant API
api:

ota:
  password: "your-ota-password"

wifi:
  ssid: !secret wifi_ssid
  password: !secret wifi_password

  # Enable fallback hotspot (captive portal) in case wifi connection fails
  ap:
    ssid: "Switchman-1-Button"
    password: "your-ap-password"

captive_portal:

switch:
  - platform: gpio
    id: relay_1
    name: "Button"
    pin: 22

output:
  - platform: ledc
    pin: 18
    frequency: 1000 Hz
    id: pwm_output

light:
  - platform: monochromatic
    output: pwm_output
    name: "LEDs"
  - platform: status_led
    name: "Swtich state"
    pin:
      number: 5
      inverted: true

binary_sensor:
  - platform: gpio
    id: button
    pin:
      number: 0
      mode: INPUT_PULLUP
    on_press:
      - switch.toggle: relay_1
2 Button Switch
esphome:
  name: switchman-2-button

esp32:
  board: esp32dev
  framework:
    type: arduino

# Enable logging
logger:

# Enable Home Assistant API
api:

ota:
  password: "your-ota-password"

wifi:
  ssid: !secret wifi_ssid
  password: !secret wifi_password

  # Enable fallback hotspot (captive portal) in case wifi connection fails
  ap:
    ssid: "Switchman-2-Button"
    password: "your-ap-password"

captive_portal:

switch:
  - platform: gpio
    id: relay_1
    name: "Left Button"
    pin: 23
  - platform: gpio
    id: relay_2
    pin: 19
    name: "Right Button"

output:
  - platform: ledc
    pin: 18
    frequency: 1000 Hz
    id: pwm_output

light:
  - platform: monochromatic
    output: pwm_output
    name: "LEDs"
  - platform: status_led
    name: "Swtich state"
    pin:
      number: 5
      inverted: true

binary_sensor:
  - platform: gpio
    id: left_button
    pin:
      number: 4
      mode: INPUT_PULLUP
    on_press:
      - switch.toggle: relay_1
  - platform: gpio
    id: right_button
    pin:
      number: 15
      mode: INPUT_PULLUP
    on_press:
      - switch.toggle: relay_2
3 Button Switch
esphome:
  name: switchman-3-button

esp32:
  board: esp32dev
  framework:
    type: arduino

# Enable logging
logger:

# Enable Home Assistant API
api:

ota:
  password: "your-ota-password"

wifi:
  ssid: !secret wifi_ssid
  password: !secret wifi_password

  # Enable fallback hotspot (captive portal) in case wifi connection fails
  ap:
    ssid: "Switchman-3-Button"
    password: "your-ap-password"

captive_portal:

switch:
  - platform: gpio
    id: relay_1
    name: "Left Button"
    pin: 23
  - platform: gpio
    id: relay_2
    pin: 19
    name: "Middle Button"
  - platform: gpio
    id: relay_3
    pin: 22
    name: "Right Button"

output:
  - platform: ledc
    pin: 18
    frequency: 1000 Hz
    id: pwm_output

light:
  - platform: monochromatic
    output: pwm_output
    name: "LEDs"
  - platform: status_led
    name: "Swtich state"
    pin:
      number: 5
      inverted: true

binary_sensor:
  - platform: gpio
    id: left_button
    pin:
      number: 4
      mode: INPUT_PULLUP
    on_press:
      - switch.toggle: relay_1
  - platform: gpio
    id: middle_button
    pin:
      number: 0
      mode: INPUT_PULLUP
    on_press:
      - switch.toggle: relay_2
  - platform: gpio
    id: right_button
    pin:
      number: 15
      mode: INPUT_PULLUP
    on_press:
      - switch.toggle: relay_3
Once the config is pasted in, hit the install button and this time you should be able to choose wirelessly, which will allow ESPHome to install the new firmware over the air. Once uploaded, you should now be able to operate the switches physically on the Sonoff, and your lights should now toggle as expected.
Home Assistant
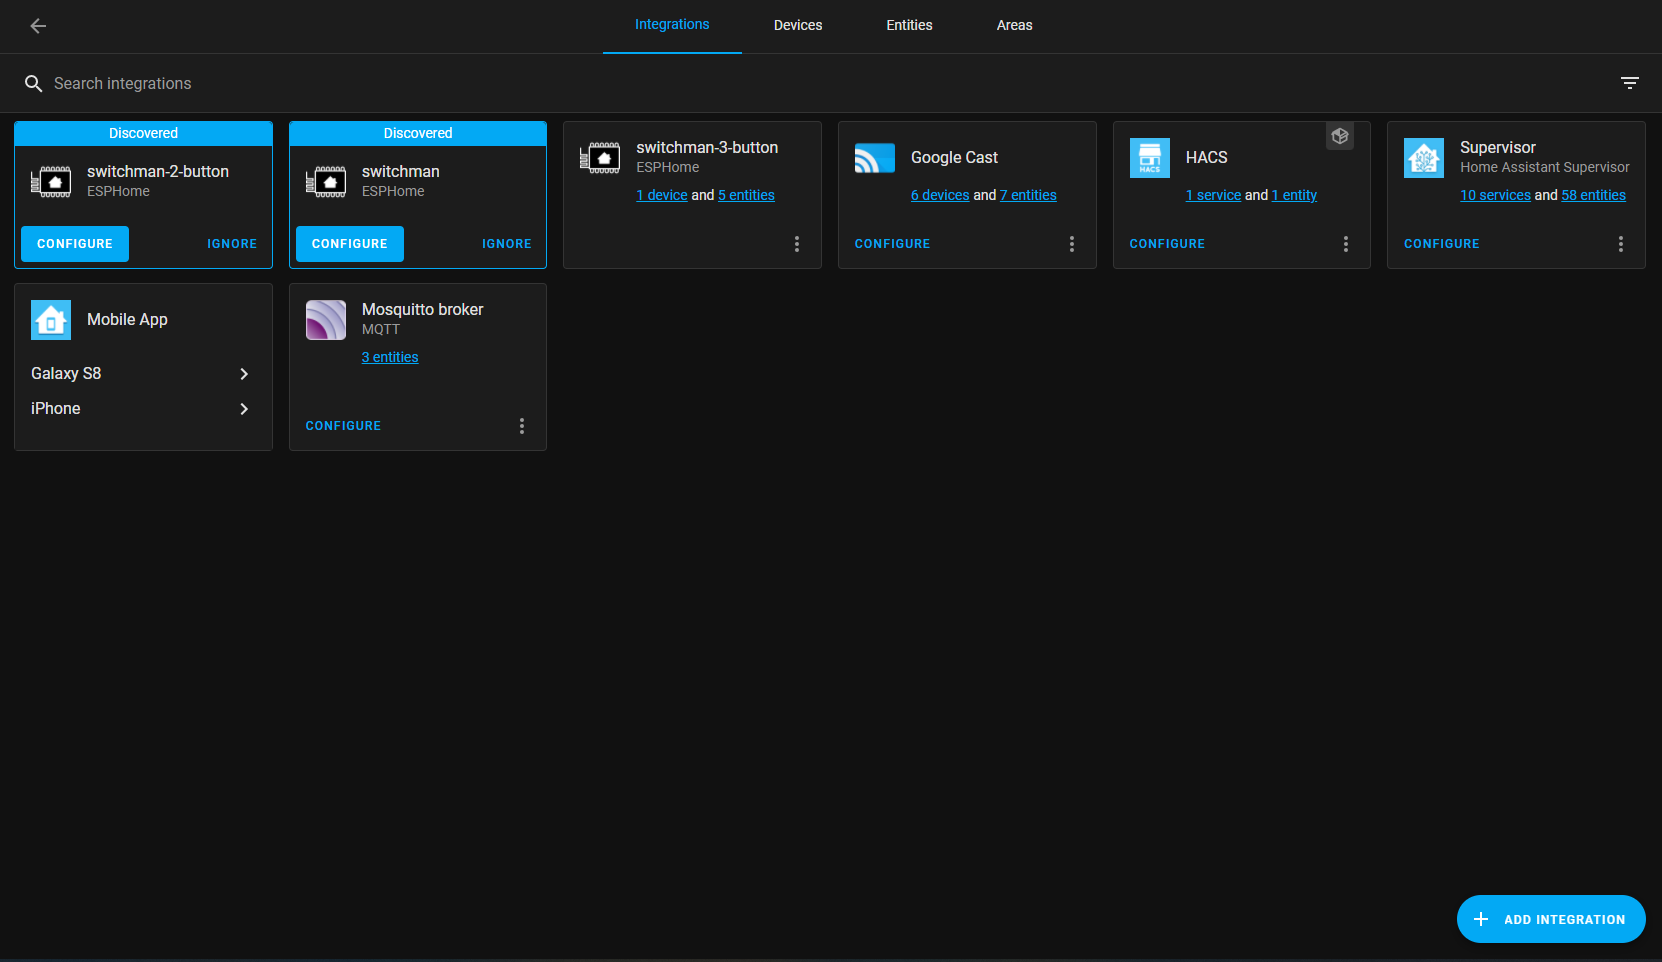
Finally we just need to check its been added to Home Assistant. Go over to Configuration, Devices and Services and hopefully Home Assistant should already have detected your new ESPHome devices automatically, where you can simply hit configure to complete the setup. If its not showing up for you, then simply hit the add integration button, search for ESPHome and complete the process that way:
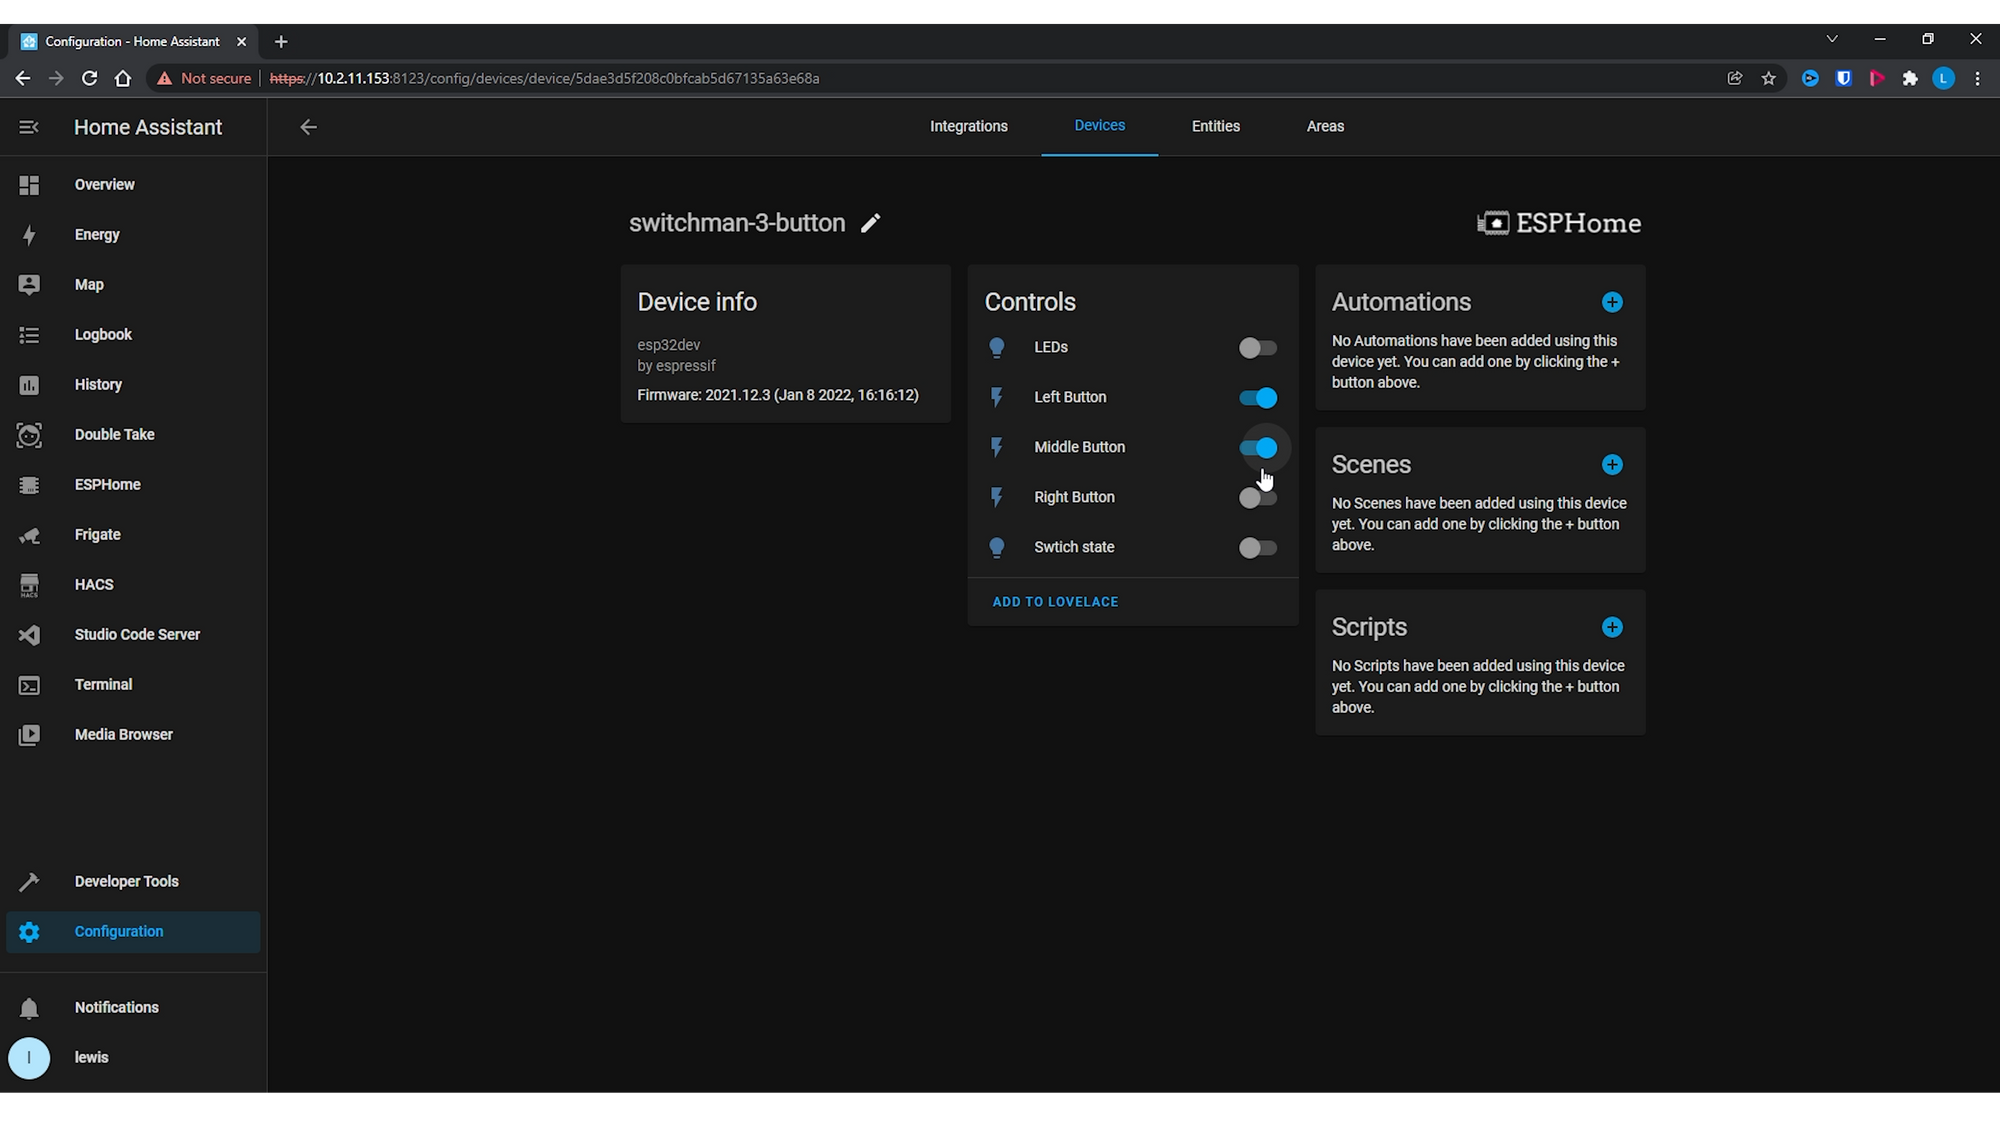
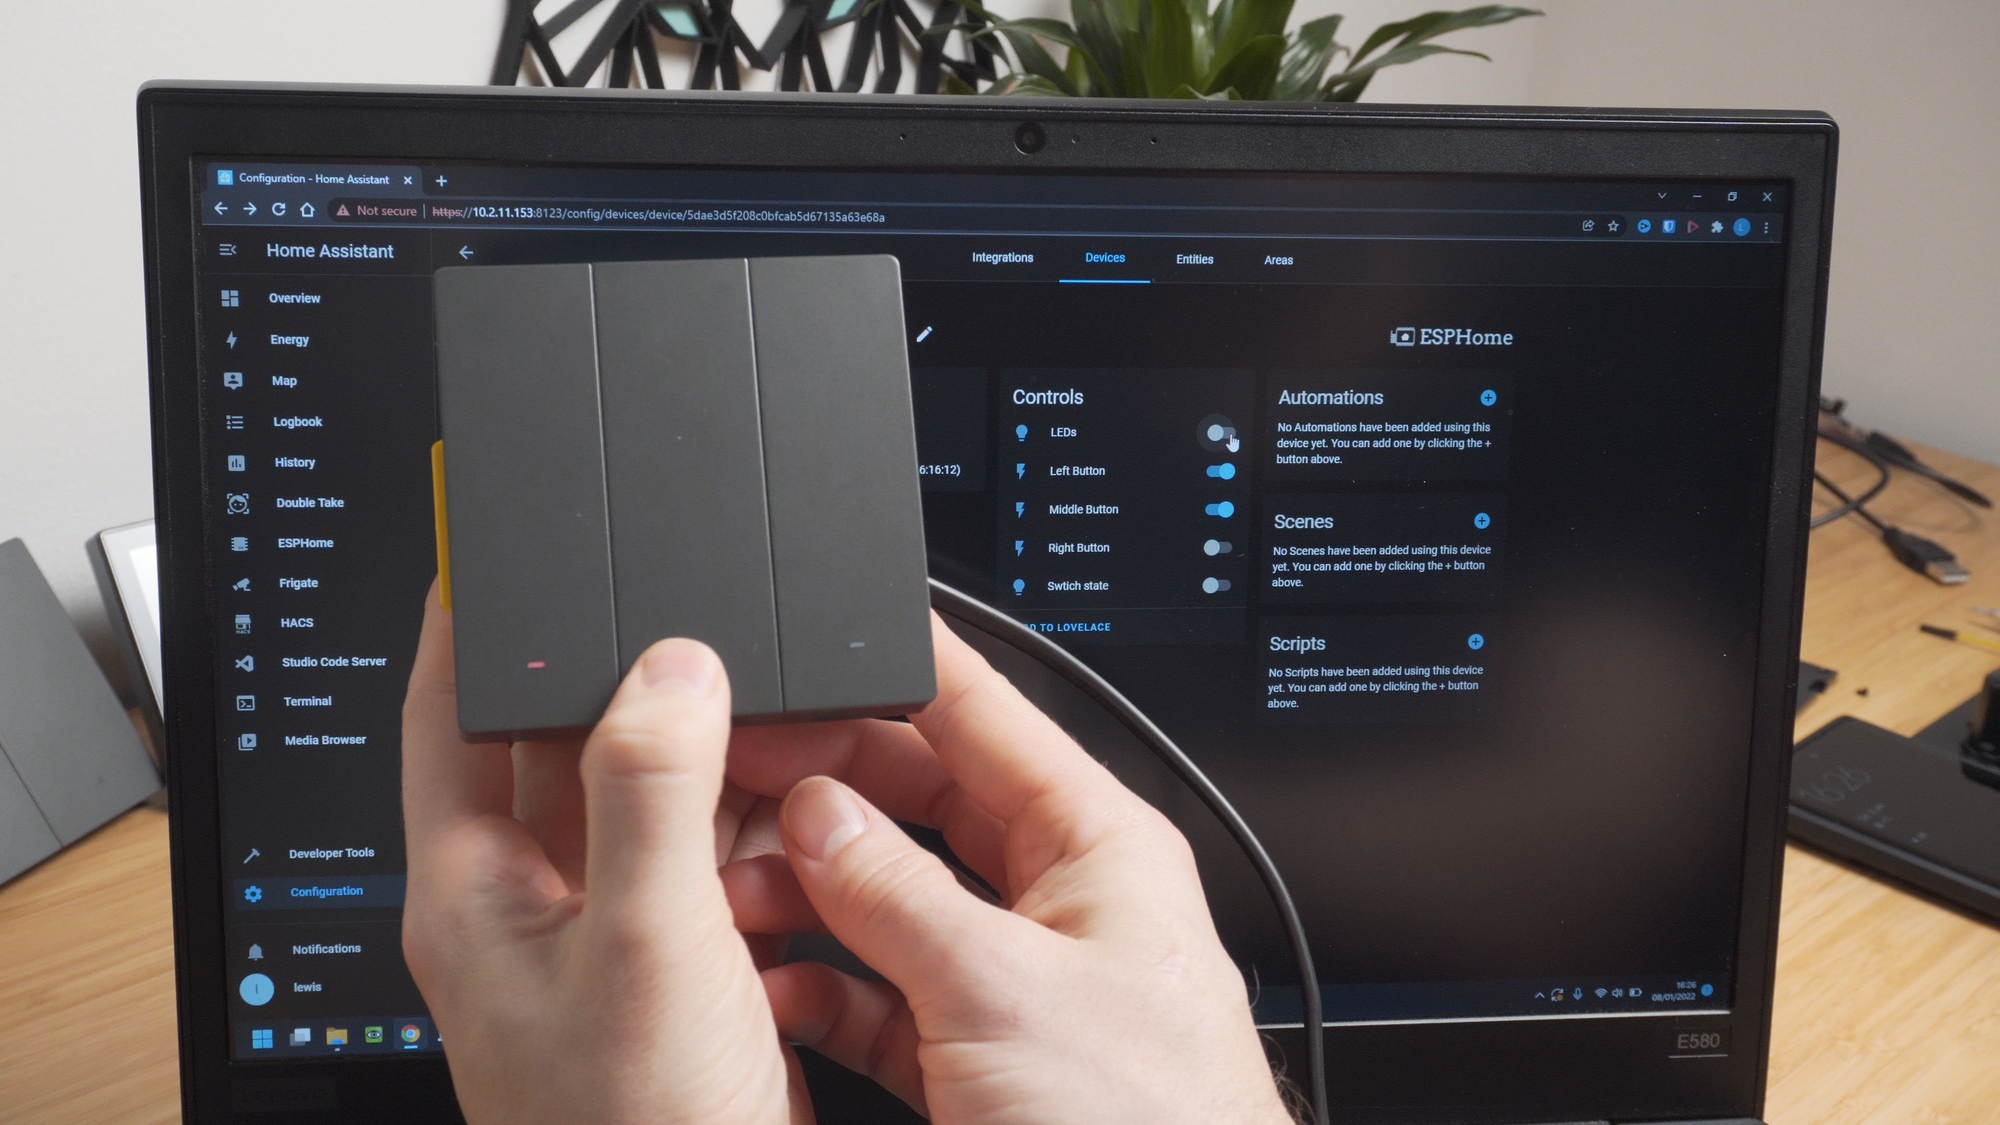
Once added, go into the device itself and you should have a few things you can toggle – firstly all the switches and relays on the Sonoff, plus you can toggle the LEDs on the front as well as their brightness There is also a status LED which shows you the connectivity of the ESPHome device itself, which you can of course toggle on or off if you don’t want to see that:
Final Words
And there we go, that is how to flash the new SwitchMan Switches from Sonoff with ESPHome to have them work locally and natively with Home Assistant, these new switches are actually pretty nice, I like how they colour matches them with the Sonoff NSPanel so that everything fits together.
Hope you guys enjoyed this guide, hopefully you found it useful, drop any comments or queries down below and I will catch you in the next one!